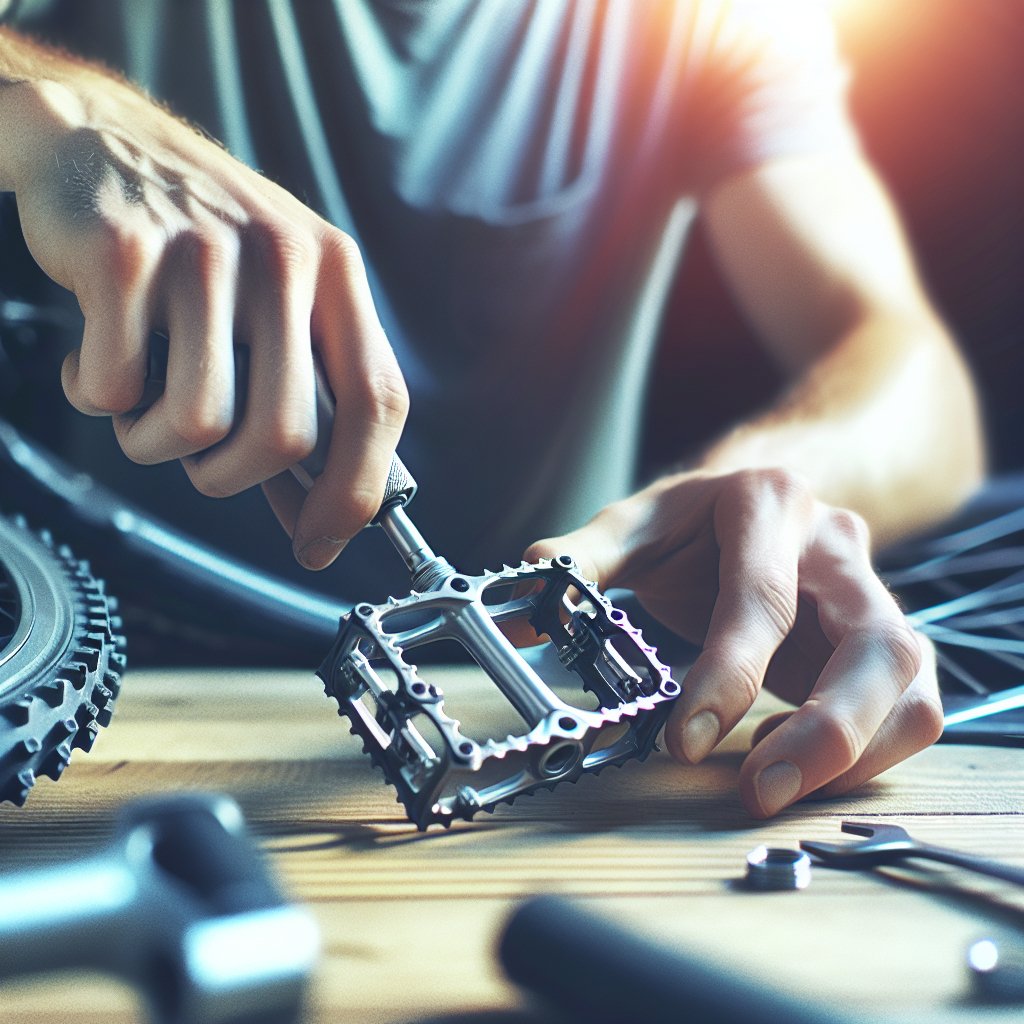
Maintaining and replacing your bicycle pedals is a crucial aspect of bike care that often goes overlooked. Pedals are the primary point of contact between you and your bike, and their condition can significantly impact your riding experience. This article will guide you through the essential steps for maintaining your pedals and provide detailed instructions on how to replace them when necessary.
Understanding the Importance of Pedal Maintenance
Pedals are subjected to a lot of wear and tear, as they bear the brunt of your weight and the force of your pedaling. Over time, this can lead to various issues such as squeaking, reduced efficiency, and even complete failure. Regular maintenance can help prevent these problems and ensure a smooth and safe ride.
Common Issues with Bicycle Pedals
Before diving into maintenance tips, it’s essential to understand the common issues that can arise with bicycle pedals:
- Squeaking: This is often caused by dirt and grime buildup or a lack of lubrication.
- Loose Pedals: Over time, pedals can become loose, affecting your control and efficiency.
- Worn Bearings: Bearings inside the pedals can wear out, leading to rough or uneven pedaling.
- Cracked or Broken Pedals: Physical damage can occur from impacts or prolonged use.
Tools and Materials Needed
To maintain and replace your bicycle pedals, you’ll need the following tools and materials:
- Pedal wrench or Allen key
- Grease or lubricant
- Replacement pedals (if necessary)
- Cleaning supplies (rags, brushes, degreaser)
Step-by-Step Guide to Pedal Maintenance
Regular maintenance can extend the life of your pedals and improve your riding experience. Follow these steps to keep your pedals in top condition:
Cleaning Your Pedals
Start by cleaning your pedals to remove any dirt and grime. This will make it easier to inspect and maintain them:
- Remove the pedals from your bike using a pedal wrench or Allen key. Remember that the left pedal has a reverse thread.
- Use a brush and degreaser to clean the pedals thoroughly. Pay special attention to the areas around the bearings and threads.
- Rinse the pedals with water and dry them with a clean rag.
Inspecting for Damage
Once your pedals are clean, inspect them for any signs of damage or wear:
- Check for cracks or breaks in the pedal body.
- Examine the bearings for smooth rotation. If they feel rough or uneven, they may need to be replaced.
- Look for any loose or missing parts, such as screws or reflectors.
Lubricating the Pedals
Proper lubrication is essential for smooth and efficient pedaling:
- Apply a small amount of grease or lubricant to the pedal threads before reattaching them to your bike.
- If your pedals have serviceable bearings, apply grease to the bearings as well.
- Reattach the pedals to your bike, ensuring they are securely tightened.
Replacing Your Bicycle Pedals
If your pedals are damaged or excessively worn, it may be time to replace them. Follow these steps to replace your bicycle pedals:
Choosing the Right Replacement Pedals
When selecting replacement pedals, consider the following factors:
- Type of Riding: Different pedals are designed for various types of riding, such as road cycling, mountain biking, or commuting.
- Compatibility: Ensure the new pedals are compatible with your bike’s crank arms and your cycling shoes (if using clipless pedals).
- Material and Durability: Choose pedals made from durable materials that can withstand your riding conditions.
Removing the Old Pedals
To remove the old pedals, follow these steps:
- Position your bike securely, either on a bike stand or by leaning it against a stable surface.
- Use a pedal wrench or Allen key to loosen the pedals. Remember that the left pedal has a reverse thread, so turn it clockwise to loosen.
- Once the pedals are loose, unscrew them completely and remove them from the crank arms.
Installing the New Pedals
To install the new pedals, follow these steps:
- Apply a small amount of grease or lubricant to the threads of the new pedals.
- Start by threading the pedals into the crank arms by hand. Ensure you are threading them in the correct direction (left pedal counterclockwise, right pedal clockwise).
- Once the pedals are hand-tight, use a pedal wrench or Allen key to securely tighten them. Be careful not to overtighten, as this can damage the threads.
Conclusion
Maintaining and replacing your bicycle pedals is a vital part of bike care that can enhance your riding experience and ensure your safety. By regularly cleaning, inspecting, and lubricating your pedals, you can prevent common issues and extend their lifespan. When it’s time to replace your pedals, choosing the right replacements and installing them correctly will keep your bike performing at its best. With these tips and guidelines, you’ll be well-equipped to keep your pedals in top condition and enjoy a smooth, efficient ride.


