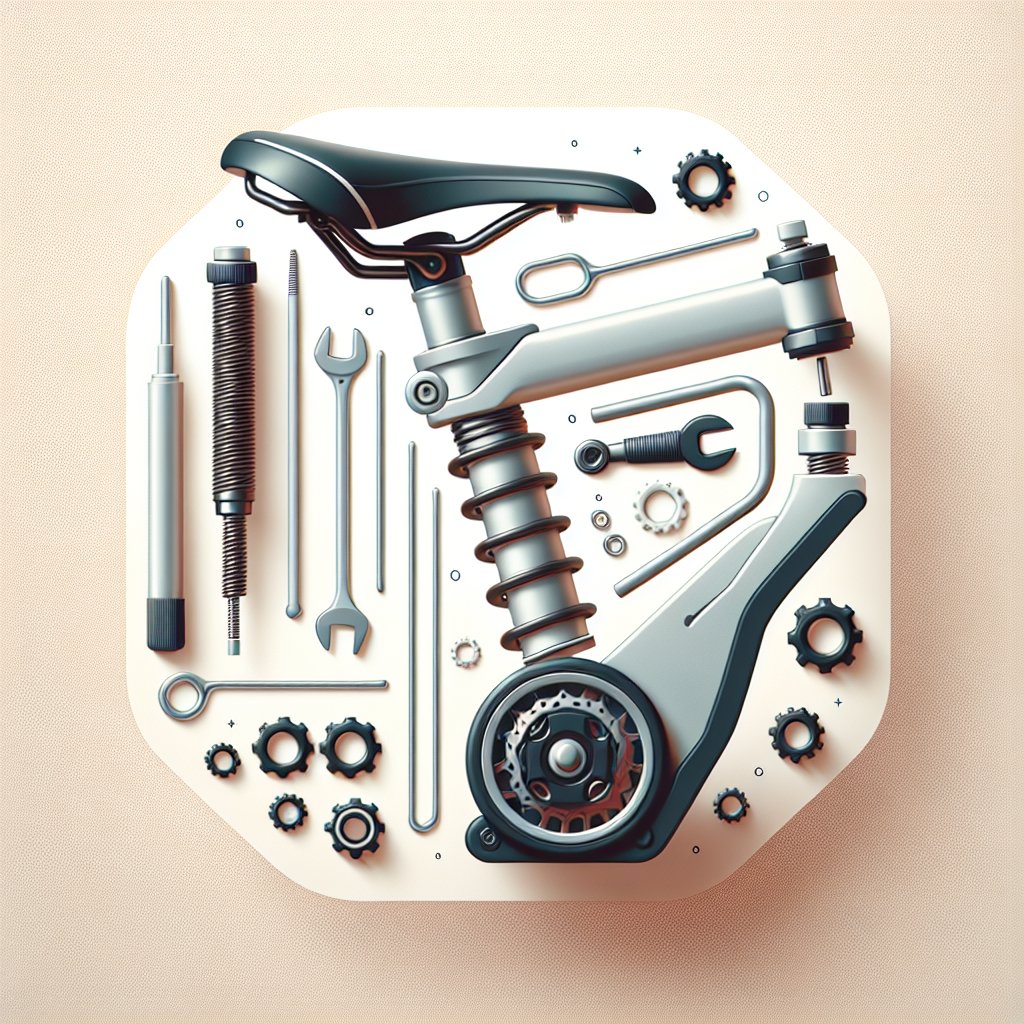
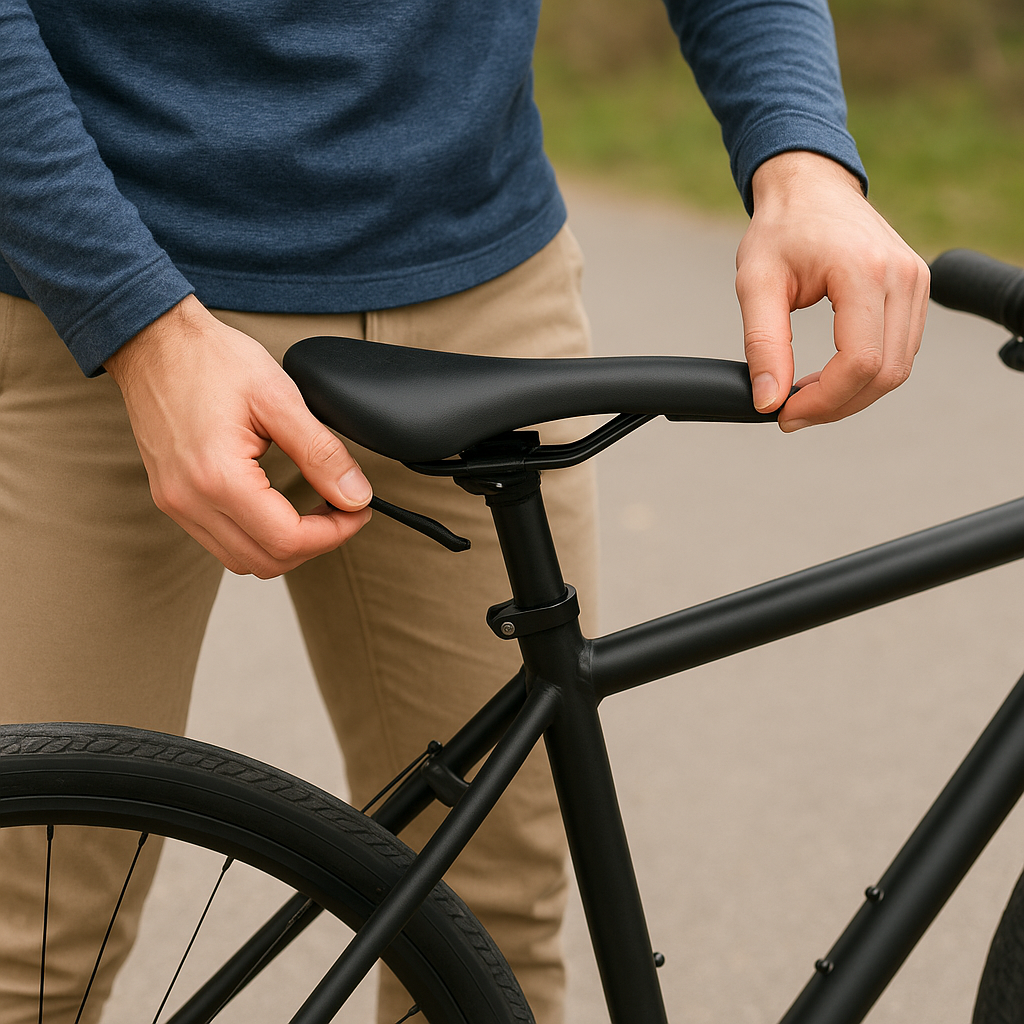
Dealing with a stuck or slipping seatpost can be a frustrating experience for any cyclist. Whether you’re a seasoned rider or a casual commuter, ensuring that your seatpost is properly adjusted and secure is crucial for both comfort and safety. In this article, we will explore the common causes of seatpost issues and provide step-by-step solutions to fix them.
Understanding the Problem
Before diving into the solutions, it’s important to understand why seatposts get stuck or start slipping. A seatpost can become stuck due to corrosion, dirt, or improper installation. On the other hand, a slipping seatpost is often the result of insufficient clamping force, a worn-out seatpost, or an incompatible seatpost and frame combination.
Common Causes of a Stuck Seatpost
- Corrosion: Over time, moisture can cause the seatpost to corrode, making it difficult to adjust or remove.
- Dirt and Debris: Accumulation of dirt and debris can create friction, leading to a stuck seatpost.
- Improper Installation: If the seatpost was not installed correctly, it might get wedged into the frame.
Common Causes of a Slipping Seatpost
- Insufficient Clamping Force: The seatpost clamp may not be tightened enough to hold the seatpost in place.
- Worn-Out Seatpost: Over time, the seatpost can wear out, losing its ability to stay secure.
- Incompatible Components: Using a seatpost that doesn’t match the frame’s specifications can lead to slipping.
Fixing a Stuck Seatpost
Fixing a stuck seatpost requires patience and the right tools. Here are the steps to follow:
Step 1: Apply Penetrating Oil
Start by applying a generous amount of penetrating oil around the junction where the seatpost enters the frame. Allow the oil to seep in for several hours or even overnight. This will help to loosen any corrosion or dirt that may be causing the seatpost to stick.
Step 2: Use a Seatpost Removal Tool
If the penetrating oil doesn’t do the trick, you may need to use a seatpost removal tool. This tool provides extra leverage, making it easier to twist and pull the seatpost out. Be sure to follow the manufacturer’s instructions to avoid damaging your bike.
Step 3: Apply Heat
In some cases, applying heat can help to expand the frame slightly, making it easier to remove the seatpost. Use a heat gun or a hairdryer to apply heat evenly around the seatpost area. Be cautious not to overheat, as this can damage the frame.
Step 4: Seek Professional Help
If all else fails, it may be time to take your bike to a professional mechanic. They have specialized tools and expertise to safely remove a stuck seatpost without causing damage to your bike.
Fixing a Slipping Seatpost
Fixing a slipping seatpost is generally easier than dealing with a stuck one. Here are the steps to follow:
Step 1: Check the Seatpost Clamp
Ensure that the seatpost clamp is properly tightened. Use a torque wrench to tighten the clamp to the manufacturer’s recommended torque setting. Over-tightening can damage the seatpost or frame, so be sure to follow the guidelines.
Step 2: Clean the Seatpost and Frame
Remove the seatpost and clean both the seatpost and the inside of the frame. Use a clean cloth and some rubbing alcohol to remove any dirt, grease, or debris. This will help to create a better grip between the seatpost and the frame.
Step 3: Apply Carbon Assembly Paste
If you have a carbon seatpost, consider applying a small amount of carbon assembly paste. This paste increases friction, helping to prevent slipping without the need for excessive clamping force.
Step 4: Inspect for Wear and Tear
Check the seatpost for any signs of wear and tear. If the seatpost is worn out, it may be time to replace it. Similarly, inspect the seatpost clamp and replace it if it’s damaged or worn.
Step 5: Ensure Compatibility
Make sure that the seatpost and frame are compatible. Using the correct diameter seatpost for your frame is crucial for a secure fit. Refer to your bike’s specifications to ensure compatibility.
Preventive Measures
Taking preventive measures can help to avoid seatpost issues in the future. Here are some tips:
Regular Maintenance
Regularly clean and lubricate your seatpost and frame. This will help to prevent corrosion and dirt buildup, making it easier to adjust the seatpost when needed.
Proper Installation
Ensure that the seatpost is installed correctly. Follow the manufacturer’s instructions and use the recommended torque settings for the seatpost clamp.
Use Quality Components
Invest in high-quality seatposts and clamps. Cheap or poorly made components are more likely to cause issues over time.
Store Your Bike Properly
Store your bike in a dry, cool place to prevent moisture buildup and corrosion. If you live in a humid area, consider using a dehumidifier in your storage space.
Conclusion
Dealing with a stuck or slipping seatpost can be a hassle, but with the right approach, you can fix the issue and get back to enjoying your ride. By understanding the common causes and following the steps outlined in this article, you’ll be well-equipped to handle any seatpost problems that come your way. Remember, regular maintenance and using quality components are key to preventing future issues. Happy riding!


