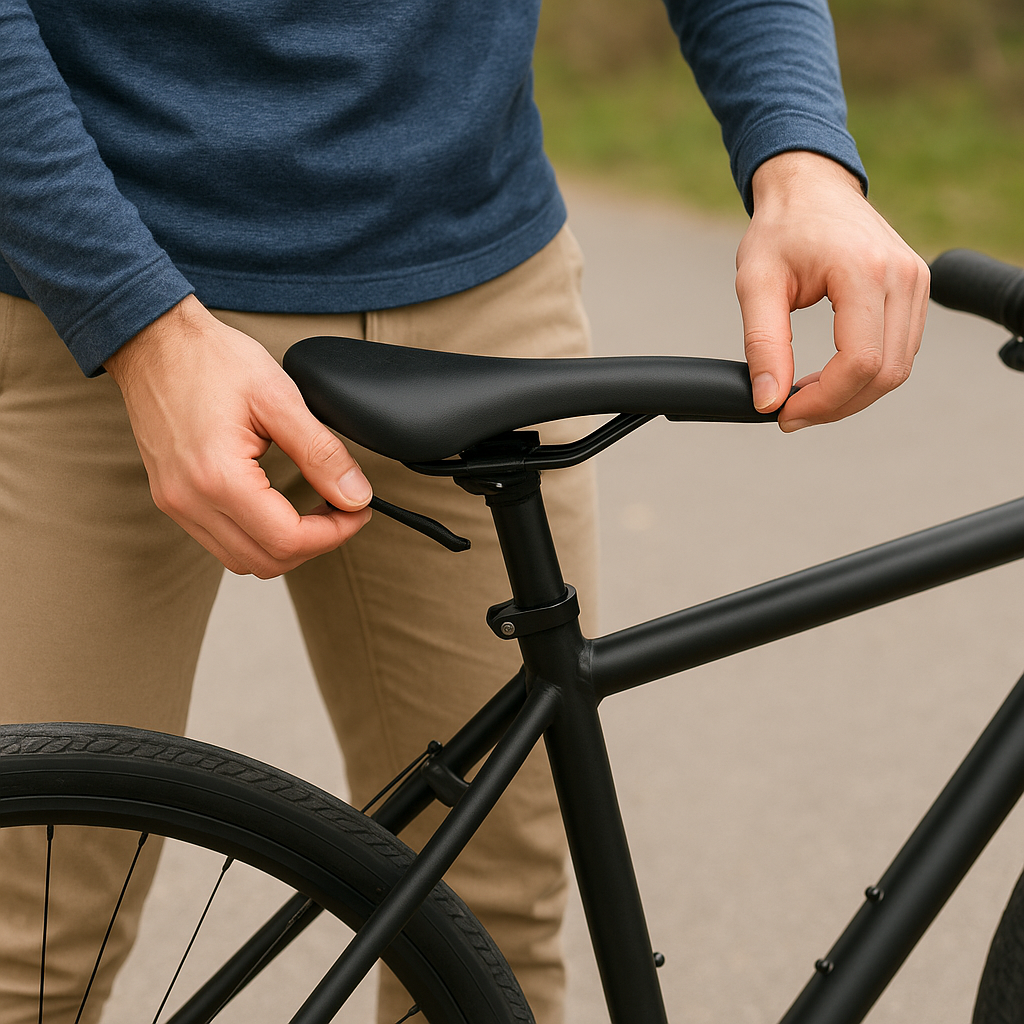
Bicycles are a fantastic mode of transportation and a great way to stay fit. However, like any mechanical device, they require regular maintenance and occasional repairs. Knowing how to perform common bicycle repairs at home can save you time and money, and it can also give you a deeper understanding of how your bike works. In this article, we will explore some of the most common bicycle repairs that you can easily do at home.
Fixing a Flat Tire
One of the most common issues cyclists face is a flat tire. Fortunately, fixing a flat tire is a straightforward process that you can do with a few basic tools.
Tools You Will Need
- Tire levers
- Patch kit or a new inner tube
- Bicycle pump
- Wrench (if your bike has bolt-on wheels)
Steps to Fix a Flat Tire
1. Remove the wheel from the bike. If your bike has quick-release levers, this will be easy. If not, you will need a wrench to loosen the nuts.
2. Use the tire levers to remove the tire from the rim. Insert the lever under the edge of the tire and pry it away from the rim. Work your way around the tire until it is completely off.
3. Remove the inner tube from the tire. Inflate it slightly and listen for the sound of escaping air to locate the puncture. If you can’t hear it, submerge the tube in water and look for bubbles.
4. Once you have found the puncture, use the patch kit to repair it or replace the inner tube with a new one.
5. Reinstall the inner tube and tire onto the rim. Make sure the tire is seated properly and inflate it to the recommended pressure.
6. Reattach the wheel to the bike and ensure it is secure before riding.
Adjusting the Brakes
Properly functioning brakes are crucial for your safety. If you notice that your brakes are not working as well as they should, it may be time to adjust them.
Tools You Will Need
- Allen wrenches
- Screwdriver
- Needle-nose pliers
Steps to Adjust the Brakes
1. Check the brake pads. They should be aligned with the rim of the wheel and not rubbing against the tire. If they are misaligned, use an Allen wrench to loosen the bolts holding the pads in place, adjust them, and then tighten the bolts.
2. If the brake lever feels too loose or too tight, you may need to adjust the brake cable tension. Locate the barrel adjuster on the brake lever or caliper and turn it to increase or decrease tension.
3. If the brakes are still not functioning properly, you may need to adjust the brake calipers. Use a screwdriver to turn the adjustment screws on the calipers until the brake pads are evenly spaced on either side of the rim.
4. Test the brakes by squeezing the brake lever and ensuring that the bike comes to a stop smoothly and quickly. Make further adjustments as needed.
Lubricating the Chain
A well-lubricated chain is essential for smooth and efficient riding. Over time, dirt and grime can build up on the chain, causing it to wear out more quickly and reducing its performance.
Tools You Will Need
- Bicycle chain lubricant
- Clean rag
- Chain cleaning tool (optional)
Steps to Lubricate the Chain
1. Clean the chain thoroughly. Use a clean rag to wipe off any dirt and grime. If the chain is very dirty, you may want to use a chain cleaning tool.
2. Apply the lubricant to the chain. Hold the bottle of lubricant above the chain and squeeze gently as you pedal the bike backward. Make sure the lubricant is evenly distributed along the entire length of the chain.
3. Wipe off any excess lubricant with a clean rag. Too much lubricant can attract more dirt and grime, so it’s important to remove any excess.
4. Test the chain by pedaling the bike and shifting through the gears. The chain should move smoothly and quietly.
Conclusion
By learning how to perform these common bicycle repairs at home, you can keep your bike in top condition and avoid costly trips to the bike shop. With a few basic tools and a little bit of know-how, you can handle most minor repairs and maintenance tasks yourself. Not only will this save you money, but it will also give you a greater sense of confidence and independence as a cyclist.


