Fixing a flat tire is an essential skill for any cyclist, whether you’re a casual rider or a seasoned pro. Knowing how to repair a flat tire can save you time, money, and the inconvenience of being stranded far from home. This guide will walk you through the process step-by-step, ensuring that you can confidently tackle this common issue.
Gathering the Necessary Tools and Materials
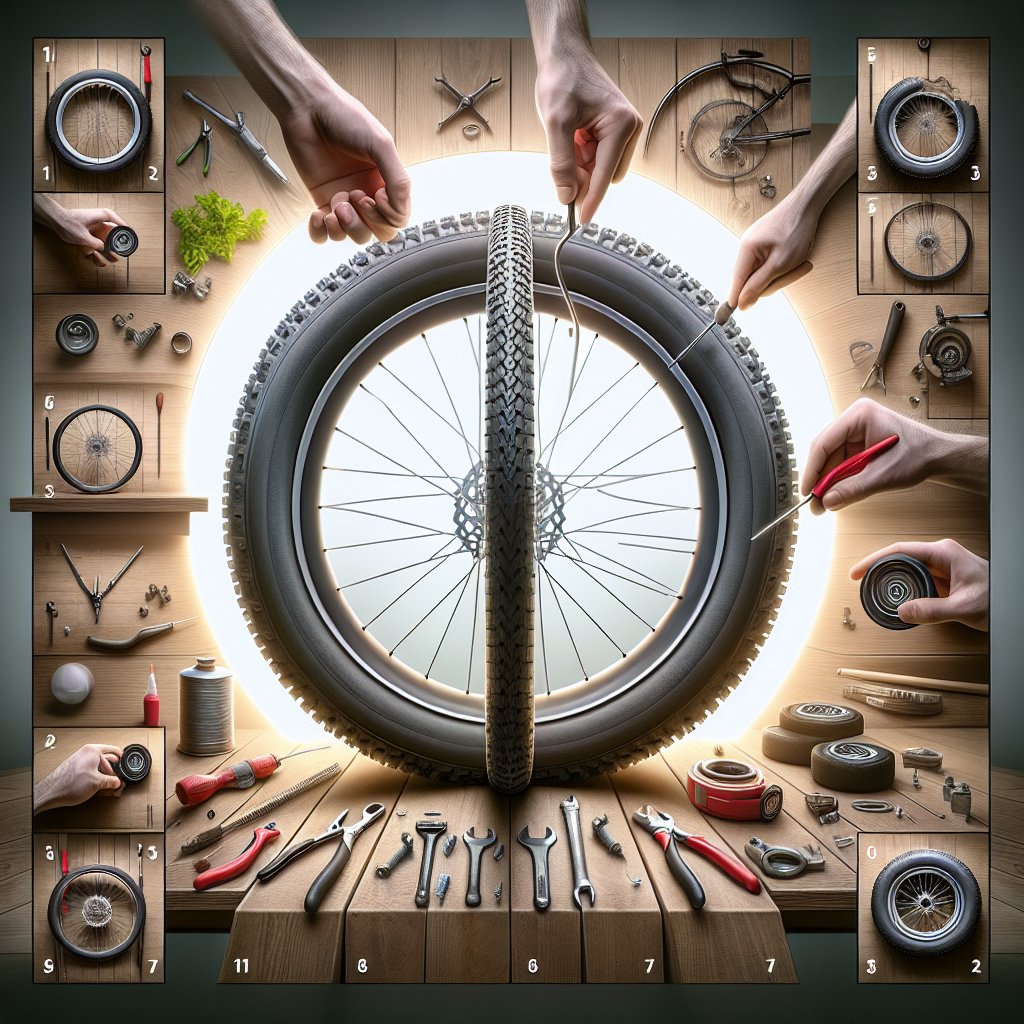
Before you can fix a flat tire, you’ll need to gather a few essential tools and materials. Having everything on hand will make the process smoother and more efficient.
Essential Tools
- Tire Levers: These are used to pry the tire off the rim. It’s a good idea to have at least two.
- Patch Kit: This includes patches, glue, and sandpaper for repairing the inner tube.
- Spare Tube: Sometimes it’s easier to replace the tube entirely rather than patching it.
- Bike Pump: You’ll need this to inflate the tire once the repair is complete.
- Wrench or Multi-tool: Depending on your bike, you may need a tool to remove the wheel.
Optional Tools
- CO2 Inflator: A quick and portable way to inflate your tire.
- Gloves: To keep your hands clean and protected.
- Rag: Useful for cleaning the tire and your hands.
Removing the Wheel and Tire
Once you have all your tools and materials ready, the next step is to remove the wheel and tire from your bike. This process can vary slightly depending on whether you have a front or rear flat tire.
Removing the Front Wheel
Removing the front wheel is generally easier than the rear wheel. Follow these steps:
- Shift your bike into the smallest chainring and smallest rear cog to make the chain loose.
- Release the brake caliper to allow the tire to pass through.
- Open the quick-release lever or use a wrench to loosen the axle nuts.
- Lift the bike and remove the wheel from the fork.
Removing the Rear Wheel
The rear wheel can be a bit trickier due to the chain and derailleur. Here’s how to do it:
- Shift your bike into the smallest chainring and smallest rear cog to make the chain loose.
- Release the brake caliper to allow the tire to pass through.
- Open the quick-release lever or use a wrench to loosen the axle nuts.
- Lift the bike and carefully guide the wheel out of the frame, making sure to clear the derailleur.
Removing the Tire and Tube
With the wheel off the bike, you can now remove the tire and tube. This is where your tire levers come in handy.
Steps to Remove the Tire
- Insert a tire lever under the edge of the tire bead.
- Pry the tire away from the rim and hook the lever onto a spoke to hold it in place.
- Insert a second tire lever a few inches away from the first and pry the tire off the rim.
- Work your way around the tire until one side is completely off the rim.
Removing the Tube
- Once one side of the tire is off, you can pull the tube out from inside the tire.
- Remove the valve stem from the rim hole.
- Inspect the tube for punctures or damage.
Finding and Repairing the Puncture
Now that the tube is out, it’s time to find and repair the puncture. This step is crucial for ensuring your tire holds air once it’s reassembled.
Locating the Puncture
- Inflate the tube slightly to make it easier to find the hole.
- Listen for a hissing sound or feel for escaping air.
- If you can’t find the hole by sound or feel, submerge the tube in water and look for bubbles.
Repairing the Puncture
- Once you’ve located the hole, mark it with a pen or chalk.
- Use the sandpaper from your patch kit to roughen the area around the hole.
- Apply a thin layer of glue and let it dry for a few minutes until it’s tacky.
- Press the patch firmly onto the glued area and hold it in place for a minute.
- Check the patch to ensure it’s securely attached.
Reassembling the Tire and Wheel
With the tube repaired, you can now reassemble the tire and wheel. This process is essentially the reverse of disassembly.
Inserting the Tube
- Insert the valve stem through the rim hole.
- Carefully tuck the tube back inside the tire, making sure it isn’t twisted or pinched.
Reinstalling the Tire
- Starting at the valve, use your hands to push the tire bead back onto the rim.
- Work your way around the tire, pushing the bead onto the rim.
- If the tire is too tight, use the tire levers to help pry it back onto the rim.
Inflating the Tire
- Use your bike pump or CO2 inflator to inflate the tire to the recommended pressure.
- Check the tire to ensure it’s seated properly on the rim and that there are no bulges or pinches.
Reattaching the Wheel
With the tire and tube reassembled, the final step is to reattach the wheel to your bike.
Reattaching the Front Wheel
- Align the wheel with the fork dropouts.
- Insert the axle into the dropouts and tighten the quick-release lever or axle nuts.
- Reconnect the brake caliper.
Reattaching the Rear Wheel
- Align the wheel with the frame dropouts, making sure the chain is properly positioned on the smallest cog.
- Insert the axle into the dropouts and tighten the quick-release lever or axle nuts.
- Reconnect the brake caliper.
Final Checks and Test Ride
Before you hit the road, it’s important to perform a few final checks to ensure everything is in working order.
Final Checks
- Spin the wheel to make sure it rotates freely and doesn’t wobble.
- Check the tire pressure and adjust if necessary.
- Ensure the brakes are functioning properly and not rubbing against the tire.
Test Ride
- Take a short test ride to make sure everything feels right.
- Listen for any unusual noises and check for any issues with the tire or wheel.
By following these steps, you can confidently fix a flat tire and get back to enjoying your ride. With a little practice, this process will become second nature, and you’ll be prepared for any flat tire emergencies that come your way.


