Upgrading and installing new components on your bicycle can significantly enhance your riding experience, whether you’re a casual rider or a seasoned cyclist. This article will guide you through the process of selecting and installing new parts, ensuring that your bike performs at its best.
Choosing the Right Components
Before diving into the installation process, it’s crucial to choose the right components for your bicycle. The selection process involves understanding your riding style, the compatibility of parts, and your budget.
Understanding Your Riding Style
Your riding style plays a significant role in determining which components will best suit your needs. For instance:
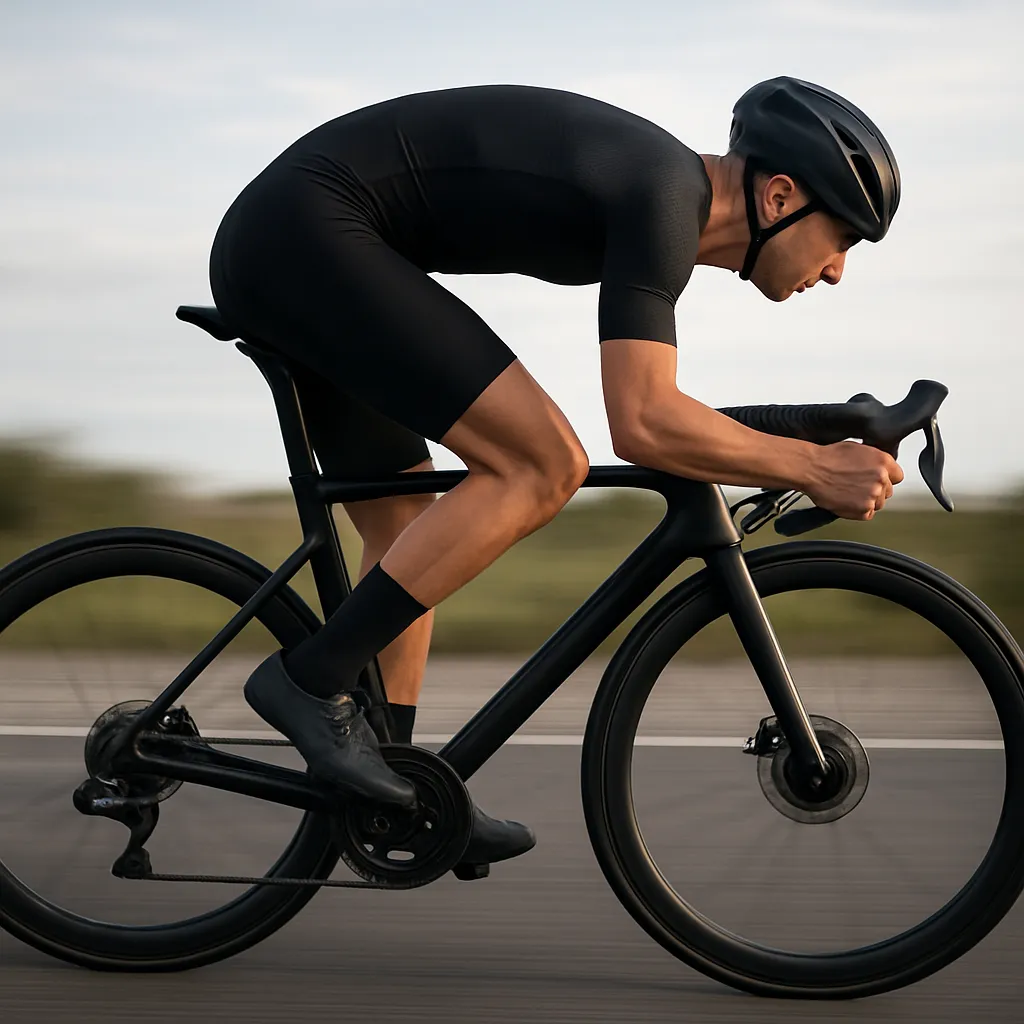
- Road Cyclists: If you primarily ride on paved roads, you might prioritize lightweight components and aerodynamic features.
- Mountain Bikers: For off-road adventures, durability and suspension are key factors.
- Commuters: If you use your bike for daily commuting, comfort and reliability are essential.
Compatibility of Parts
Ensuring that new components are compatible with your existing setup is vital. Here are some compatibility considerations:
- Frame Size: Make sure the new parts fit your bike’s frame size.
- Drivetrain: Components like the chain, cassette, and derailleur must be compatible with each other.
- Brakes: Check if your bike uses disc or rim brakes and choose accordingly.
Budget Considerations
Upgrading your bike can be expensive, so it’s important to set a budget. Decide which components are most critical for your upgrade and allocate your funds accordingly. Sometimes, investing in high-quality parts for key areas like the drivetrain or wheels can make a significant difference.
Installing New Components
Once you’ve selected the right components, the next step is installation. This section will cover the installation process for some common upgrades, including the drivetrain, brakes, and wheels.
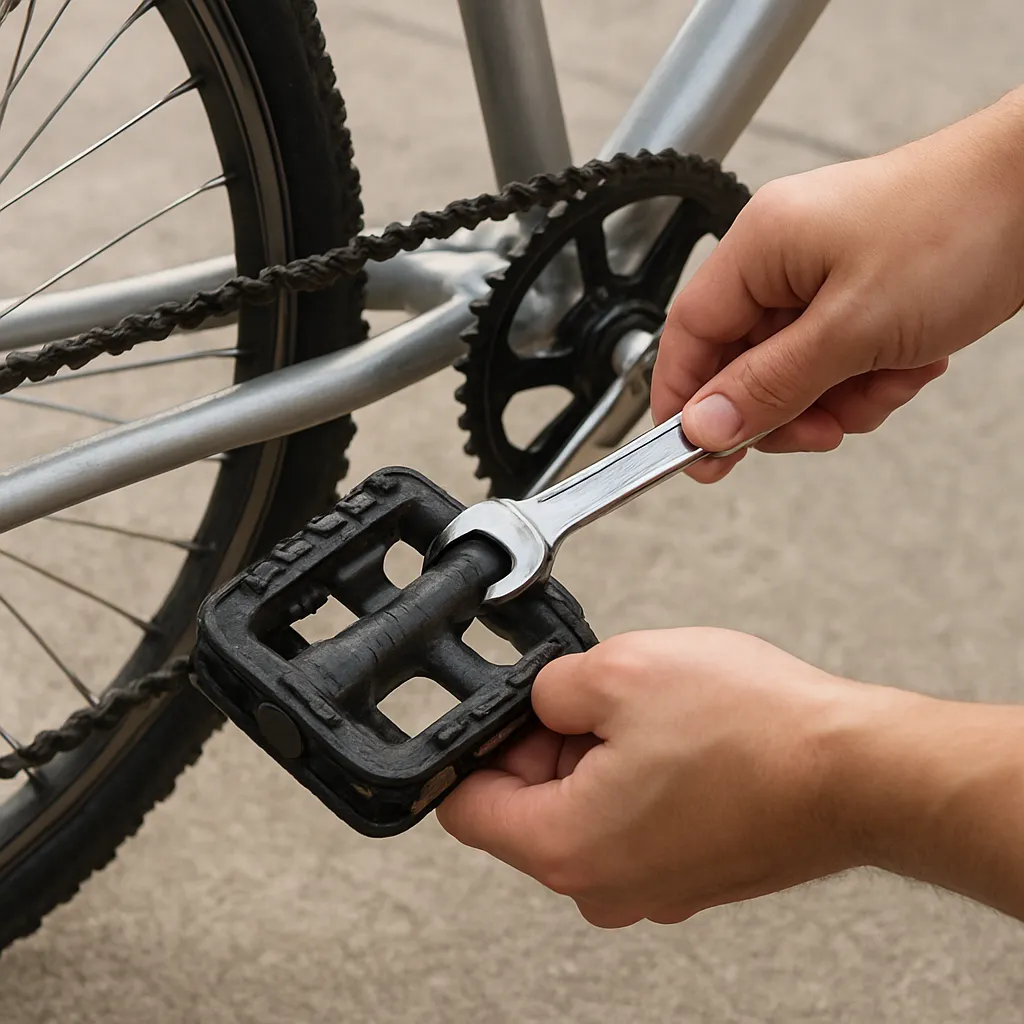
Drivetrain Installation
The drivetrain is a crucial part of your bike, affecting both performance and efficiency. Here’s how to install a new drivetrain:
- Remove the Old Drivetrain: Start by removing the chain, cassette, and derailleur. Use a chain tool to break the chain and a cassette tool to remove the cassette.
- Install the New Cassette: Place the new cassette onto the freehub body and tighten it using a cassette tool.
- Install the New Derailleur: Attach the new derailleur to the derailleur hanger and adjust the limit screws to ensure proper alignment.
- Install the New Chain: Thread the new chain through the derailleur and around the cassette and chainring. Use a chain tool to connect the chain links.
- Adjust the Derailleur: Fine-tune the derailleur settings to ensure smooth shifting.
Brake Installation
Upgrading your brakes can improve stopping power and safety. Follow these steps to install new brakes:
- Remove the Old Brakes: Detach the brake calipers from the frame or fork and remove the brake levers from the handlebars.
- Install the New Brake Calipers: Attach the new calipers to the frame or fork, ensuring they are properly aligned with the brake rotors or rims.
- Install the New Brake Levers: Mount the new brake levers onto the handlebars and connect the brake cables.
- Adjust the Brakes: Fine-tune the brake calipers and levers to ensure optimal braking performance.
Wheel Installation
Upgrading your wheels can enhance your bike’s performance and ride quality. Here’s how to install new wheels:
- Remove the Old Wheels: Release the quick-release skewer or thru-axle and remove the wheels from the frame and fork.
- Install the New Wheels: Place the new wheels into the dropouts and secure them using the quick-release skewer or thru-axle.
- Check Alignment: Ensure the wheels are properly aligned and centered within the frame and fork.
- Inflate the Tires: Inflate the tires to the recommended pressure and check for any issues.
Maintenance and Final Adjustments
After installing new components, it’s essential to perform regular maintenance and make final adjustments to ensure everything functions smoothly.
Regular Maintenance
Regular maintenance is key to keeping your bike in top condition. Here are some maintenance tips:
- Lubricate the Chain: Regularly lubricate the chain to reduce friction and prevent wear.
- Check Tire Pressure: Maintain the recommended tire pressure for optimal performance and safety.
- Inspect Brakes: Regularly check the brake pads and calipers for wear and make necessary adjustments.
- Clean the Bike: Keep your bike clean to prevent dirt and grime from affecting performance.
Final Adjustments
After installing new components, make final adjustments to ensure everything is working correctly:
- Test Ride: Take your bike for a test ride to check for any issues with shifting, braking, or alignment.
- Fine-Tune Settings: Make any necessary adjustments to the derailleur, brakes, and other components.
- Check Bolts: Ensure all bolts and fasteners are properly tightened.
By following these steps, you can successfully upgrade and install new components on your bicycle, enhancing your riding experience and ensuring your bike performs at its best. Happy riding!