Riding a bicycle should be a smooth and enjoyable experience, but a squeaky brake can quickly steal the fun. Whether you hear a high-pitched chirp every time you apply pressure or a continuous grinding sound when rolling, resolving the noise involves careful inspection, cleaning, lubrication, and precise adjustment. This guide will walk you through each essential step, helping you transform that annoying squeal into quiet confidence on every ride.
Identifying the Source of the Noise
Before diving into tools and greases, pinpointing the exact cause of the squeak is crucial. Many riders assume worn brake pads are at fault, but noise can also stem from misaligned rotors, contaminated surfaces, or even a bent calipers housing. A systematic approach saves time and prevents unnecessary component replacement.
Visual Inspection
- Examine the pads for uneven wear or embedded debris such as small stones or metal shards.
- Look at the rotor or rim braking surface for scratches, oil stains, or rust spots that might vibrate under friction.
- Check the caliper alignment: ensure both pads sit parallel to the braking surface and that the rotor travels centrally without rubbing on one side.
Functional Spin Test
Lift the bike so wheels spin freely. Gently apply the brake lever to locate exactly where the noise originates. Note whether the sound occurs at a specific point in the wheel’s rotation or consistently whenever the brake is engaged. A point-specific squeal often indicates a localized contaminant, while a repeating chirp might reveal a persistent alignment issue.
Cleaning and Lubrication Techniques
Once the culprit surfaces are spotted, thorough cleaning and proper lubrication are the most effective remedies. Avoid household oils or greases that attract grit. Instead, rely on bicycle-specific cleaning agents and lubricants tailored for brake systems to maintain peak performance.
Removing Contaminants
- Use isopropyl alcohol (at least 90%) or a dedicated brake cleaner spray to wipe down the rotor or rim surface. Allow it to air dry completely before reassembly.
- If pad faces are glazed or stained, lightly sand them with ultra-fine grit sandpaper (around 150–200 grit) to restore the porous surface that grips the rotor effectively.
- Inspect pad housing for oil drips from chain lube or nearby drivetrain components, which can easily transfer to braking surfaces and cause contaminants.
Applying the Right Lubricant
Avoid placing any lube directly on pad or rotor surfaces. Instead, lubricate moving parts that require low friction, such as pivot points, cable housings, and quick-release levers. Wipe away excess with a clean rag. Choose a dry lubricant formula that resists attracting dust and grit, especially in wet or muddy conditions.
Precise Adjustment and Alignment
Misaligned brakes are a top culprit behind persistent squeaks. Even a slight twist in the caliper or a skewed pad can create uneven pressure and noise. Follow these steps for pinpoint accuracy.
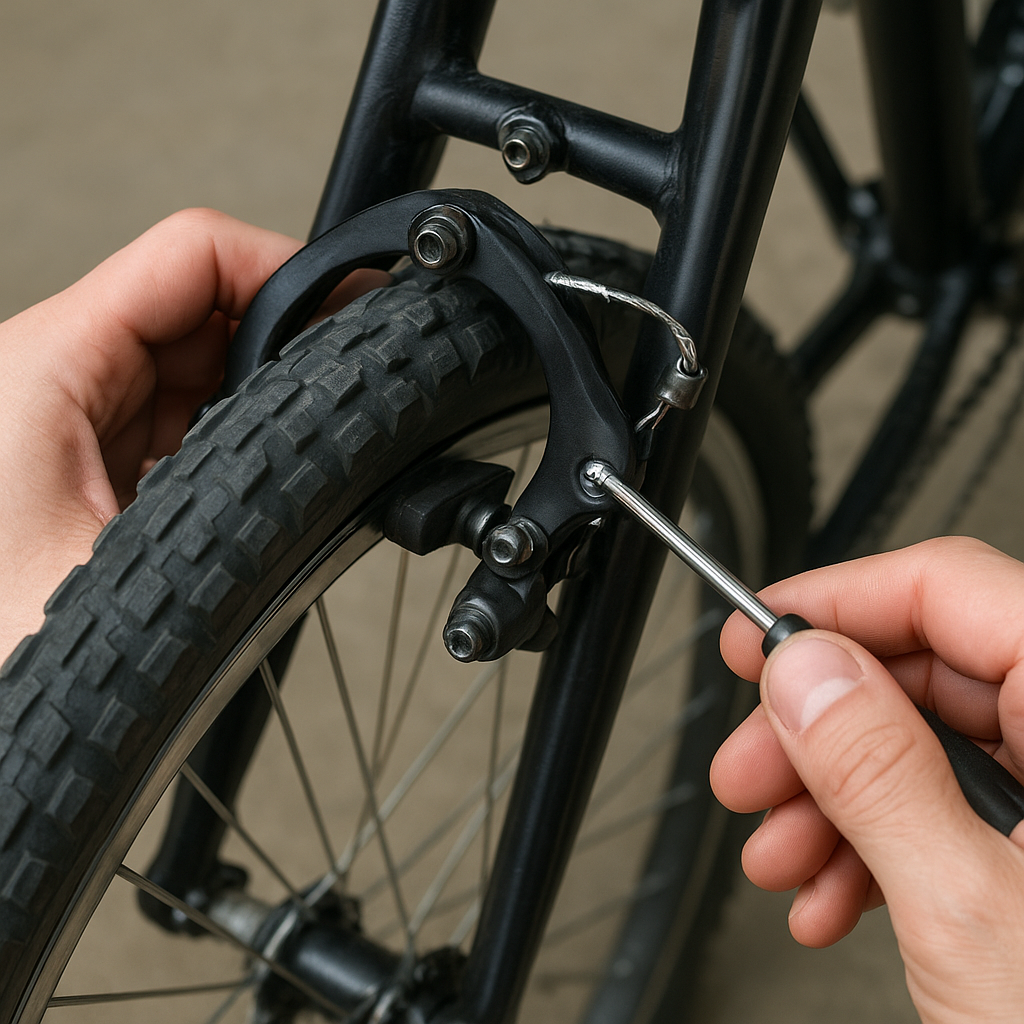
Centering the Caliper
- Loosen the caliper mounting bolts just enough to allow side-to-side movement.
- Gently squeeze the brake lever fully—this action self-centers the caliper over the rotor or rim.
- While holding the lever, retighten the mounting bolts evenly, checking that the caliper remains centered and doesn’t shift.
Fine-Tuning Pad Clearance
Set pad clearance so that each pad sits close enough for firm braking but not so close as to rub. For mechanical disc brakes, adjust the stationary pad via a small screw on the caliper body. For hydraulic systems, rely on the brake lever’s self-adjusting mechanism but inspect for leaks or air bubbles that may cause uneven pad travel. Rim brakes often feature spring tension screws near the pivots—turn these to level both pads symmetrically.
Upgrading Components for Lasting Silence
Sometimes, replacement is the best path to a quiet ride. Quality aftermarket parts can deliver improved performance and noise resistance.
Choosing High-Performance Pads
- Ceramic-infused pads are designed to run cooler and resist glazing, making them ideal for long descents and frequent braking.
- Sintered metal pads offer robust stopping power and durability but may be noisier when cold; pair them with a suitable pad bed-in process.
- Organic pads (resin) provide quieter operation initially but wear faster, especially in wet or muddy conditions.
Selecting Noise-Reducing Rotors
Look for rotors featuring cooling vanes and alignment slots. These designs disperse heat evenly and prevent rotor warping, reducing the likelihood of squeaks caused by thermal deformation. Some brands also offer anti-vibration dampener rings bonded to the rotor’s outer edge, further eliminating residual chirps.
Preventative Maintenance for Quiet Braking
Regular upkeep is the key to preventing future squeaks. A monthly inspection routine can catch minor issues before they escalate into noisy nuisances.
- Clean brake surfaces after every wet ride to remove waterborne grit and prolong pad life.
- Check cable tension or brake fluid levels at least quarterly, topping off or bleeding as needed.
- Reapply light lubricant to pivot points and quick-release skewers after washes, ensuring smooth mechanical operation.
- Periodically check for loose bolts and torque them to manufacturer specifications to maintain safe and silent performance.
By following these steps—identifying the exact source of the squeak, performing targeted cleaning, applying the right lubricants, making precision adjustments, and choosing high-quality components—you can enjoy a whisper-quiet brake setup that inspires confidence on every ride. With consistent maintenance, the days of irritating squeals become a distant memory, leaving you to focus on the open road and the thrill of the next adventure.