Riding a bicycle can be one of the most rewarding forms of exercise and exploration, but nothing puts a damper on a scenic ride faster than a snapped chain. With a few simple tools and the right technique, you can get back on the road in minutes. This guide covers essential steps for identifying the issue, performing an emergency fix, and ensuring your ride remains safe and reliable.
Recognizing Common Chain Breaks
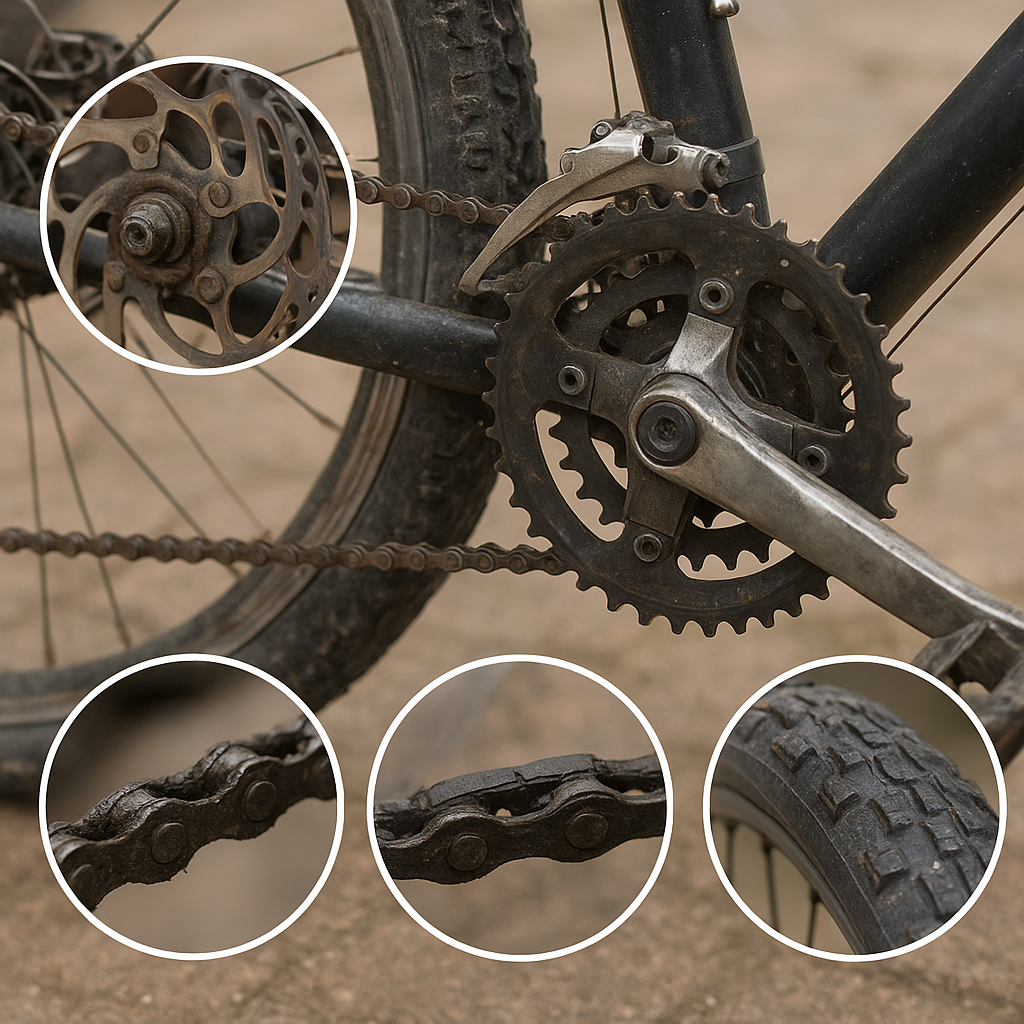
Before attempting any roadside repair, understanding how and why chains break is crucial. A bicycle chain consists of alternating inner and outer plates held together by pins and rollers. Over time, wear and tear cause stretching, misalignment, and eventually cracking under load. Typical causes include:
- Poor lubricate routine leading to corrosion and stiff links
- Sudden, heavy pedaling stress, especially on steep climbs
- Faulty or worn-out derailleur adjustment, causing chain rub
- Improper shifting that places excessive lateral force on the links
When a chain snaps, the fracture usually occurs at a pin or link plate. You might notice a loud “pop” or the pedals suddenly freewheeling without resistance. A quick visual inspection will reveal a damaged link, bent pin, or completely separated chain halves.
Essential Tools and Preparation
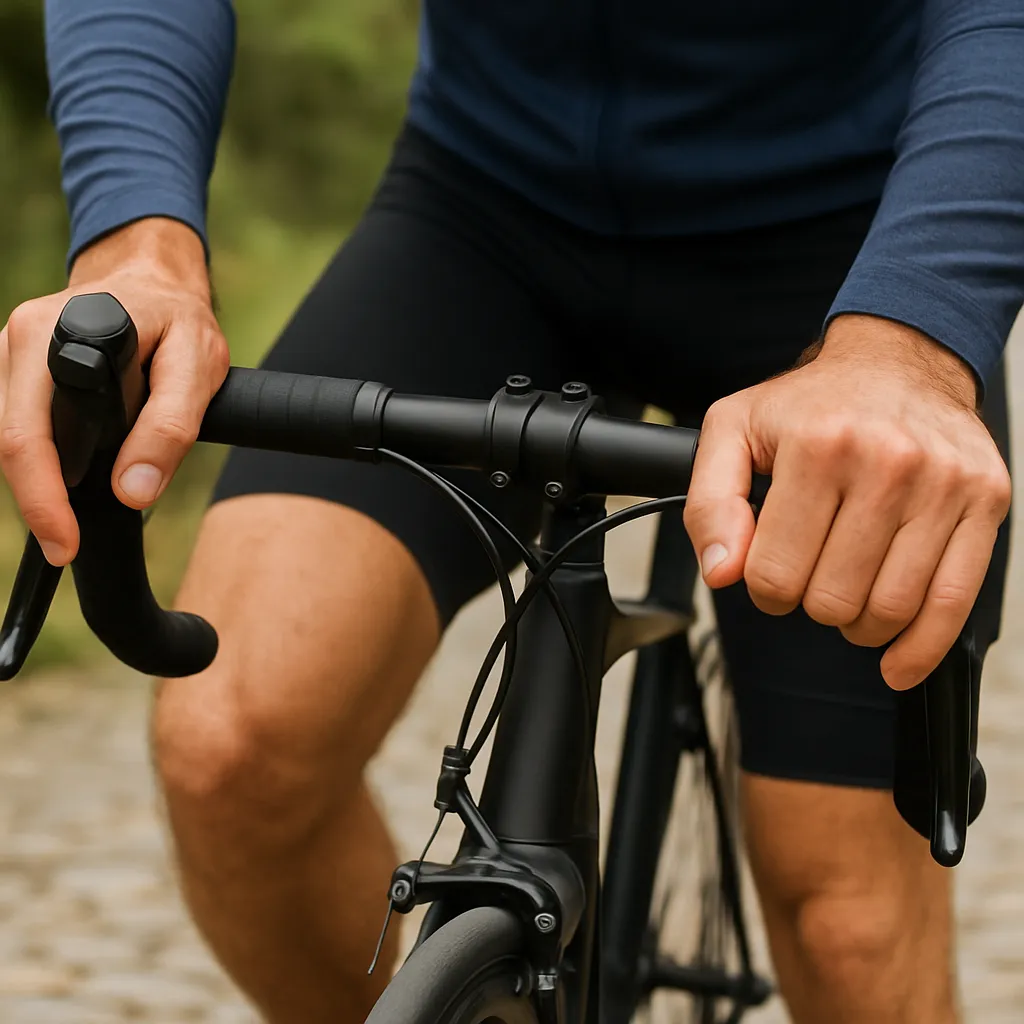
A well-prepared cyclist carries a minimal toolkit to manage most mechanical issues, including a broken chain. At minimum, you should have:
- Chain tool (also known as a breaker)
- Master link or a quick-connect link compatible with your chain
- Small adjustable wrench or multi-tool
- Compact pliers (for stubborn link removal)
- Lightweight chain lubricate dropper
Depending on your bike’s drivetrain, you may opt for a reusable master link or a one-time-use joining link. The reusable option often simplifies roadside repairs, as you only need to close or open the link without pushing out pins. Organize these items in a saddlebag or frame pack for easy access when you’re roadside.
Step-by-Step Roadside Chain Repair
Follow these instructions to perform a reliable fix:
1. Secure and Shift
- Flip the bike upside down or rest it against a wall to stabilize.
- Shift to the smallest front chainring and smallest rear cog to reduce tension.
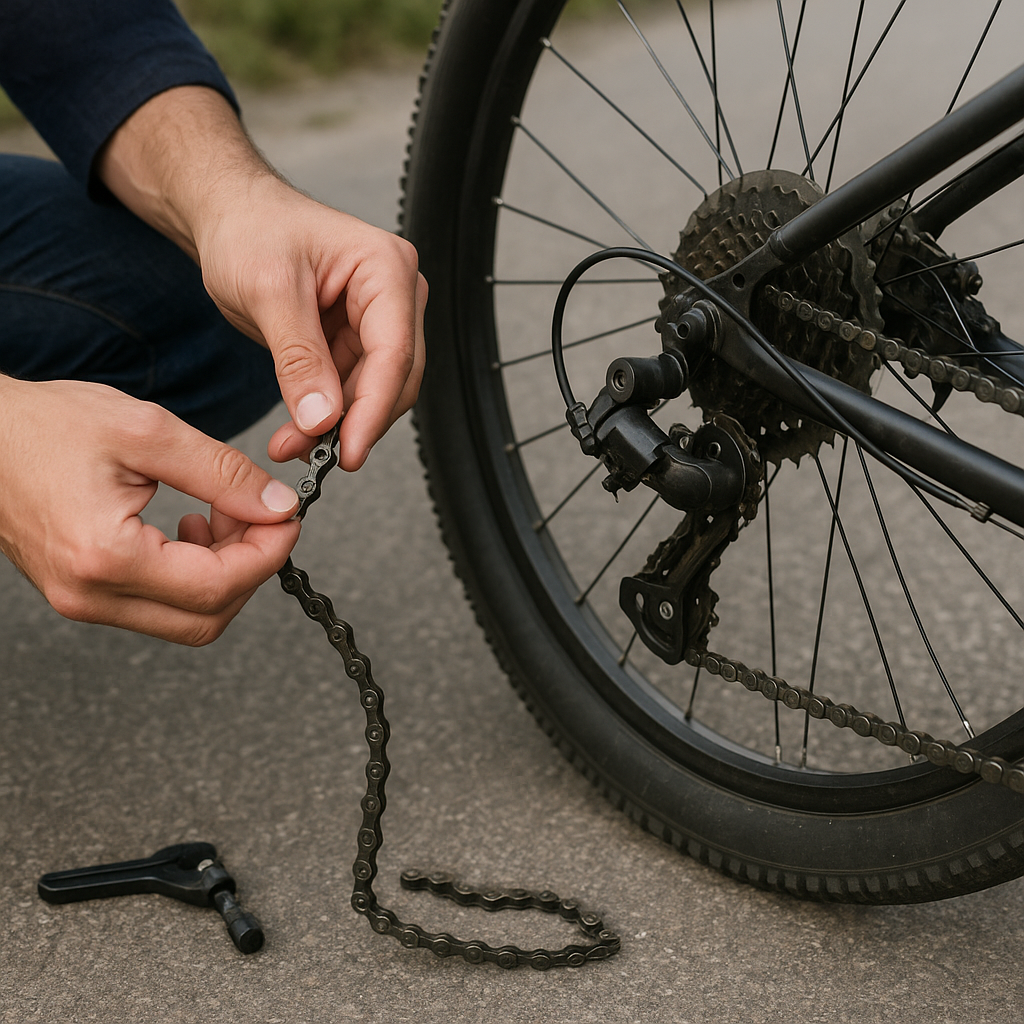
2. Remove the Broken Link
- Identify the damaged link. Use the chain tool to drive out the pin from an adjacent link. Avoid pushing it all the way through; instead, leave it partially engaged.
- Flex the chain sideways to detach the busted section. If the tool stalls, apply a drop of lubricate to loosen stuck components.
- With pliers, gently pry apart any stubborn plates.
3. Measure and Trim Excess
- Count the chain links on each side now free from the bike. Ensure equal halves after repair to maintain proper length.
- If necessary, remove an extra pair of plates to avoid a sagging chain. A proper fit prevents derailleur damage and slippage under load.
4. Install the Master Link
- Insert one half of the master link into each chain end.
- Bring both ends together, aligning the link plates and inserting the clip if provided.
- Rotate the cranks backward gently to seat the link. On some models, you must apply pedal tension by pressing down firmly on a static pedal to snap the link fully into place.
5. Fine-Tune and Lubricate
- Rotate the cranks through several revolutions, ensuring smooth tension and no binding at the repaired link.
- Apply a small amount of chain lubricate to the pin, wiper-clean excess with a rag or t-shirt to shed grit.
- Shift across the cassette and chainrings to confirm proper engagement. Any skipping indicates misalignment.
Ensuring Long-Term Performance
After a successful roadside repair, maintain vigilance to prevent future issues. Follow these guidelines:
- Safety check: Always perform a quick spin with brakes engaged to detect rubbing cables or misaligned wheels.
- Weekly chain inspection: Measure chain stretch with a ruler or dedicated gauge; replace when stretch exceeds 0.75%.
- Routine maintenance: Clean drivetrain every 200–300 miles using a degreaser, brush, and fresh lubricate.
- Professional tune-up: Quarterly visits to a qualified mechanic ensure derailleur hangers and pulleys remain true.
With these skills, you’ll transform a stranded moment into a confidence-building experience. A few minutes and a basic kit can make the difference between walking home and enjoying the rest of your ride.