Replacing a worn cassette and freewheel is a crucial maintenance task for any cyclist. Over time, these components can wear out, leading to poor shifting performance and increased chain wear. This guide will walk you through the steps to replace both a cassette and a freewheel, ensuring your bike runs smoothly and efficiently.
Understanding the Cassette and Freewheel
Before diving into the replacement process, it’s essential to understand what a cassette and a freewheel are and how they function. Both components are part of the bike’s drivetrain, which is responsible for transferring power from the pedals to the rear wheel.
The Cassette
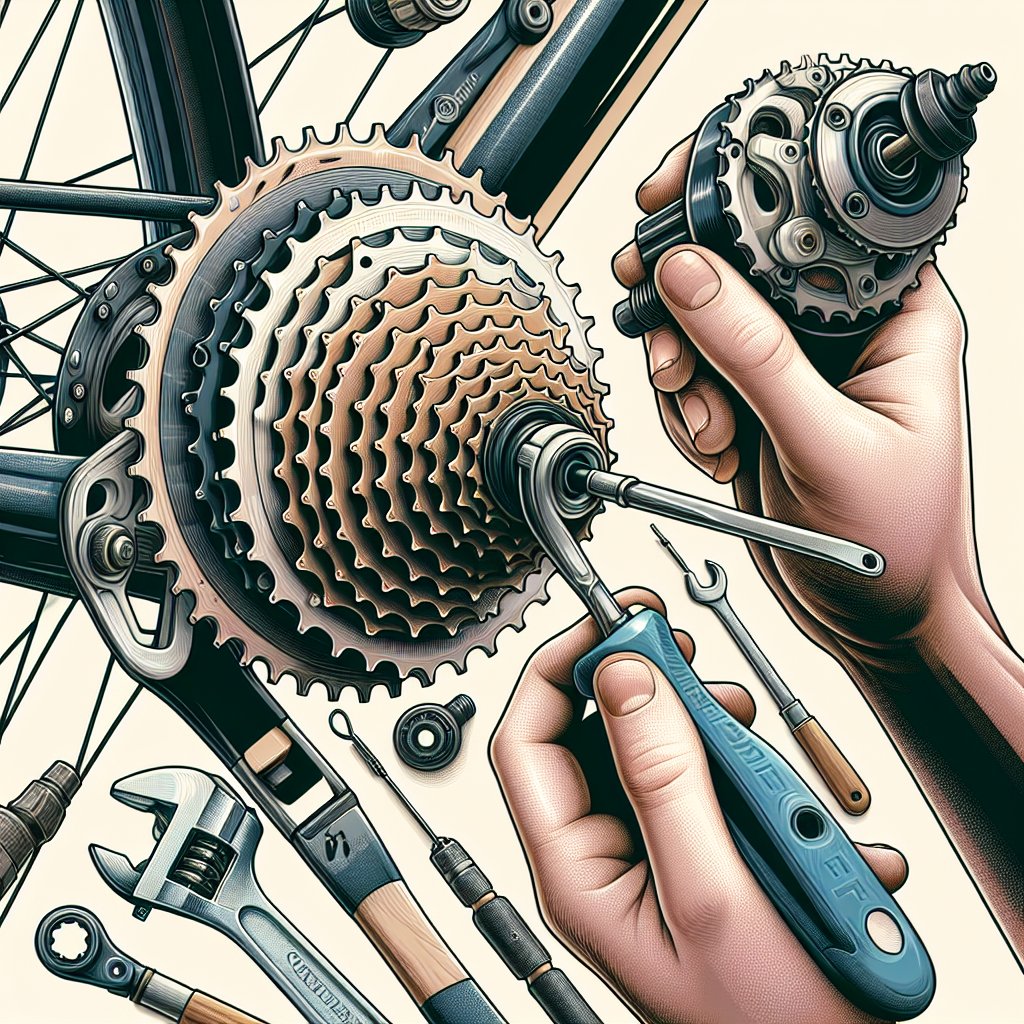
The cassette is a cluster of sprockets (gears) located on the rear wheel hub. Modern bikes typically use a cassette system, which allows for a wide range of gear ratios. The cassette is mounted on a freehub, which contains a ratcheting mechanism that allows the wheel to spin freely when you stop pedaling.
The Freewheel
Older bikes often use a freewheel system, where the ratcheting mechanism is built into the gear cluster itself. The freewheel screws directly onto the rear wheel hub. While less common on modern bikes, freewheels are still found on many entry-level and vintage bicycles.
Tools and Materials Needed
To replace a worn cassette or freewheel, you’ll need the following tools and materials:
- New cassette or freewheel
- Chain whip
- Lockring tool (for cassettes)
- Freewheel remover tool (for freewheels)
- Adjustable wrench or socket wrench
- Grease
- Rag or paper towels
Step-by-Step Guide to Replacing a Cassette
Step 1: Remove the Rear Wheel
First, shift your chain onto the smallest sprocket on the cassette. This will make it easier to remove the wheel. Release the quick-release lever or loosen the axle nuts, and carefully remove the rear wheel from the bike frame.
Step 2: Remove the Old Cassette
Place the chain whip on one of the larger sprockets to hold the cassette in place. Insert the lockring tool into the lockring and use an adjustable wrench or socket wrench to turn the lockring counterclockwise. Once the lockring is loose, remove it along with the old cassette.
Step 3: Clean the Freehub
With the old cassette removed, take a moment to clean the freehub body. Use a rag or paper towels to wipe away any dirt and old grease. Apply a thin layer of fresh grease to the freehub splines to ensure smooth installation of the new cassette.
Step 4: Install the New Cassette
Align the splines on the new cassette with the splines on the freehub body. Slide the cassette onto the freehub, ensuring each sprocket is properly seated. Once the cassette is in place, thread the lockring onto the freehub and tighten it using the lockring tool and wrench. Be sure to torque the lockring to the manufacturer’s specifications.
Step 5: Reinstall the Rear Wheel
Carefully place the rear wheel back into the bike frame, ensuring the chain is properly seated on the smallest sprocket. Tighten the quick-release lever or axle nuts, and check that the wheel is securely in place. Test the shifting to ensure the new cassette is functioning correctly.
Step-by-Step Guide to Replacing a Freewheel
Step 1: Remove the Rear Wheel
As with the cassette replacement, start by shifting the chain onto the smallest sprocket. Release the quick-release lever or loosen the axle nuts, and remove the rear wheel from the bike frame.
Step 2: Remove the Old Freewheel
Insert the freewheel remover tool into the notches on the freewheel. Use an adjustable wrench or socket wrench to turn the tool counterclockwise. The freewheel may be tightly secured, so you may need to apply significant force to loosen it. Once the freewheel is loose, unscrew it completely and remove it from the hub.
Step 3: Clean the Hub Threads
With the old freewheel removed, clean the hub threads using a rag or paper towels. Apply a thin layer of fresh grease to the threads to ensure smooth installation of the new freewheel.
Step 4: Install the New Freewheel
Thread the new freewheel onto the hub by hand, turning it clockwise. Once it is hand-tight, use the freewheel remover tool and wrench to secure it further. The freewheel will self-tighten as you ride, so there’s no need to over-tighten it at this stage.
Step 5: Reinstall the Rear Wheel
Place the rear wheel back into the bike frame, ensuring the chain is properly seated on the smallest sprocket. Tighten the quick-release lever or axle nuts, and check that the wheel is securely in place. Test the shifting to ensure the new freewheel is functioning correctly.
Maintenance Tips for Prolonging Cassette and Freewheel Life
Regular maintenance can help extend the life of your cassette and freewheel, ensuring smooth and efficient performance. Here are some tips to keep these components in top condition:
- Keep your drivetrain clean: Regularly clean your chain, cassette, and chainrings to remove dirt and grime. Use a degreaser and a brush to thoroughly clean these components.
- Lubricate your chain: Apply a suitable chain lubricant to keep your chain running smoothly. Wipe off any excess lubricant to prevent dirt buildup.
- Check for wear: Periodically inspect your cassette and freewheel for signs of wear, such as hooked or worn teeth. Replace these components as needed to maintain optimal performance.
- Replace your chain regularly: A worn chain can accelerate the wear of your cassette and freewheel. Replace your chain according to the manufacturer’s recommendations or when it shows signs of significant wear.
Conclusion
Replacing a worn cassette and freewheel is a straightforward process that can significantly improve your bike’s performance. By following the steps outlined in this guide and performing regular maintenance, you can ensure your drivetrain remains in excellent condition. Whether you’re a seasoned cyclist or a beginner, understanding how to replace these components is a valuable skill that will keep your bike running smoothly for years to come.


