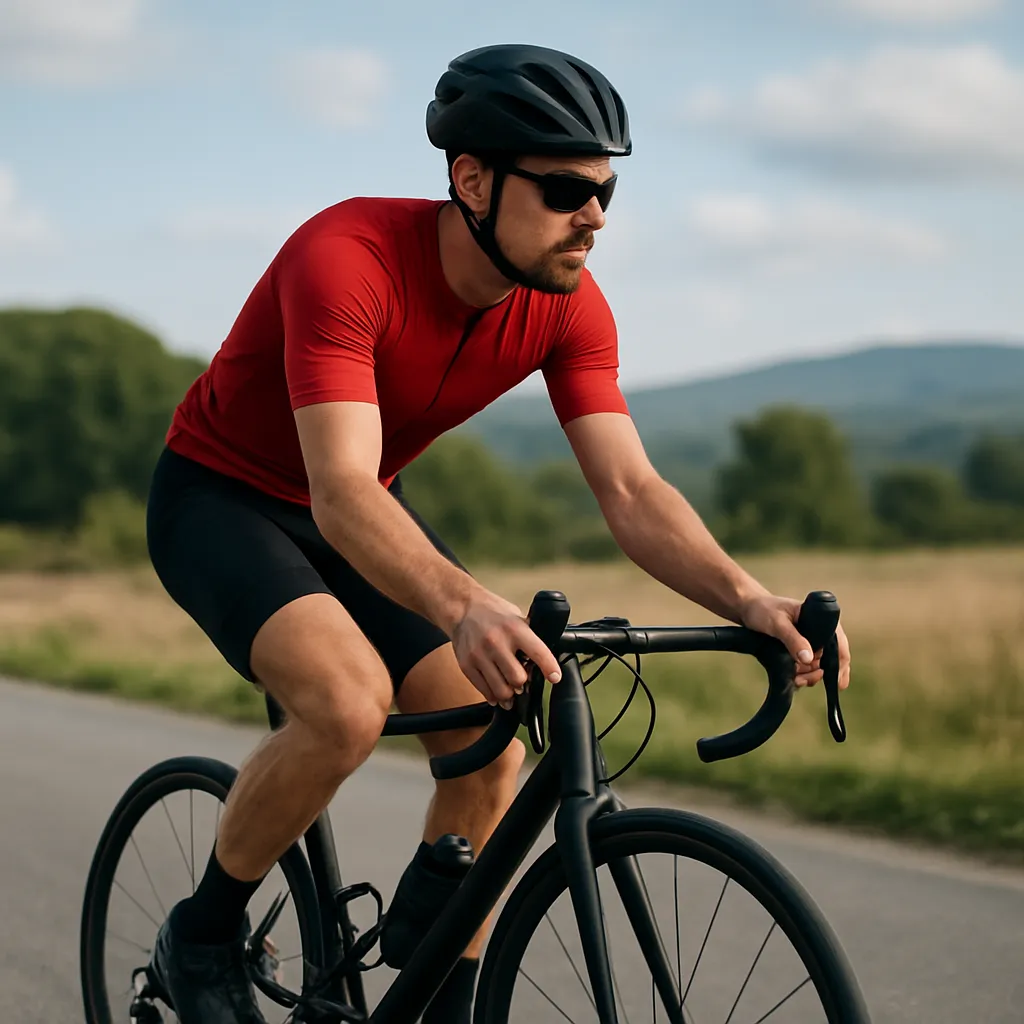
Selecting the right hydration pack is essential for any cyclist who wants to stay energized, comfortable, and safe on the road or trail. A well-chosen pack will not only provide convenient access to fluids but also support essential gear, maintain a stable center of gravity, and ensure long-lasting performance under varying conditions. This guide covers everything from basic hydration needs to advanced features, helping you make an informed choice that matches your riding style.
Understanding Your Hydration Needs
Assessing Ride Type and Duration
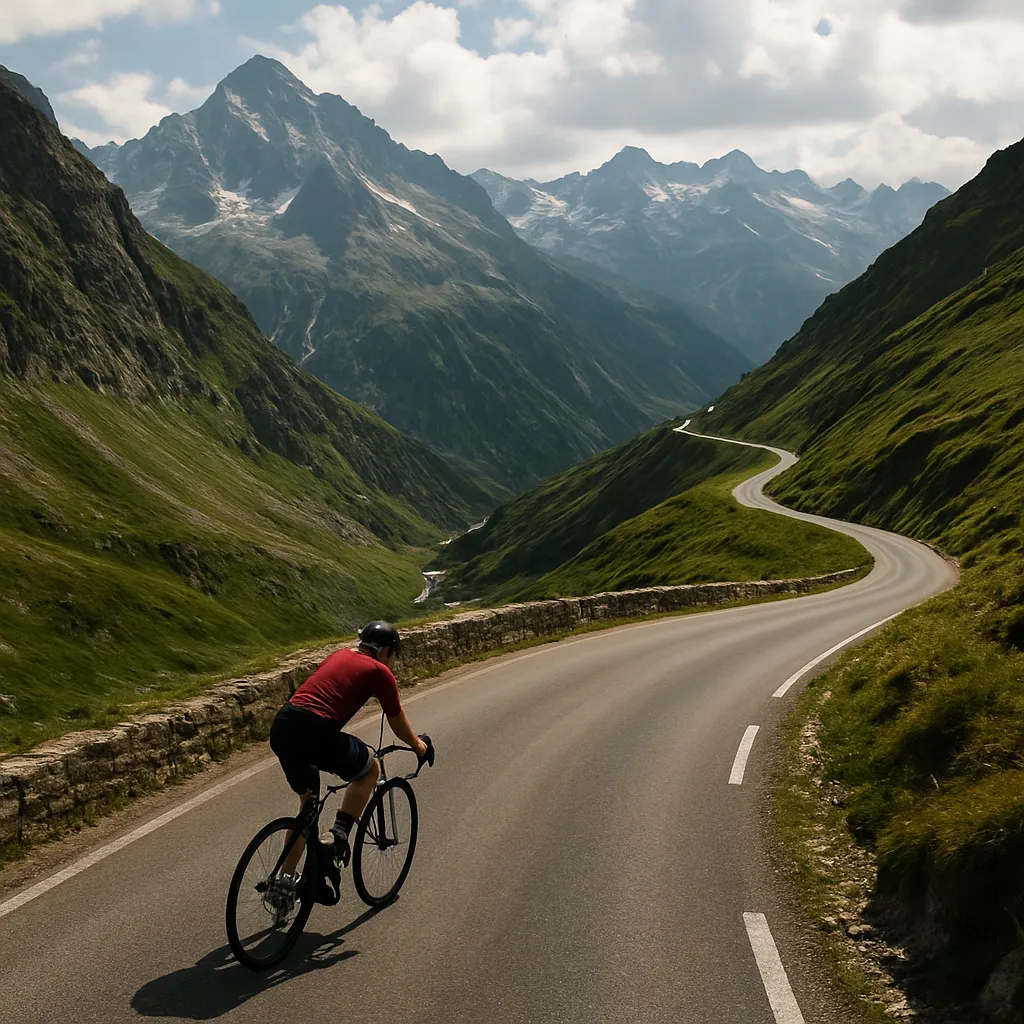
Every ride has unique requirements. A short urban commute demands a smaller reservoir and minimal storage, while a multi-day mountain biking expedition calls for maximum capacity and robust attachment points for gear. Determine the average time you spend in the saddle. For rides under one hour, a 1–1.5-liter bladder may suffice. Endurance events or remote trails often require 2–3 liters or more. Matching your pack to ride duration helps avoid under or overpacking, reducing unnecessary weight.
Environmental Factors
Temperature, altitude, and humidity all influence fluid needs. Hot climates increase sweat rates, making insulation critical to prevent water from warming in the sun. At higher altitudes, cold temperatures could freeze liquids, so look for packs with freeze-resistant tube routing or integrated sleeve systems. For humid or rainy conditions, a water-resistant exterior will protect the reservoir and your belongings from moisture.
Key Features to Consider
Reservoir vs. Bottle Compatibility
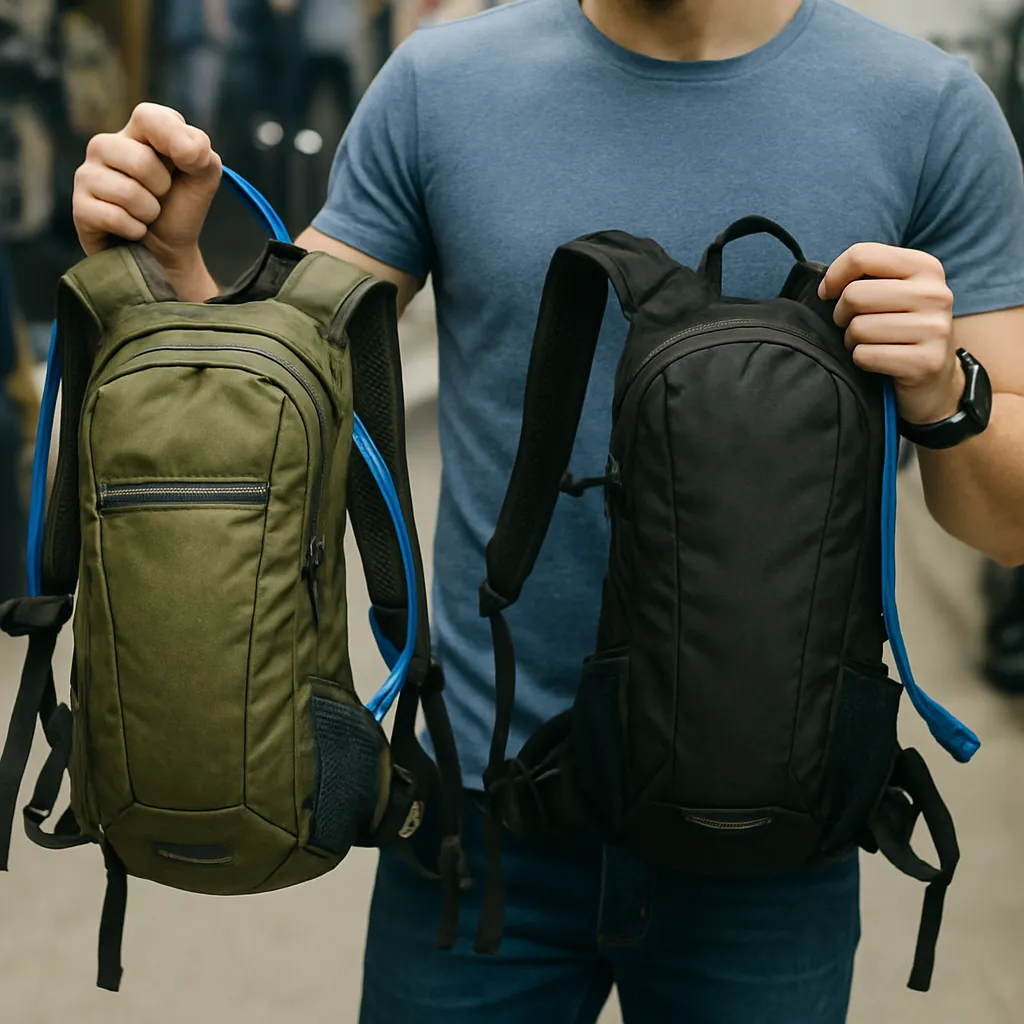
Hydration packs come in two main styles: those designed exclusively for a reservoir (bladder) and those that accept bottles alongside hydration bladders. Bladder-only systems offer hands-free flow from a drinking tube and allow balanced weight distribution close to your back. Bottle-compatible packs give you the flexibility to use standard water bottles, which can be easier to clean and refill at aid stations.
- Leak-proof valves: Check for reliable bite valves and locking mechanisms to prevent unwanted spills.
- Quick-connect fittings: Allow fast removal and reinstallation of the bladder for refills or cleaning.
- Wide-mouth openings: Facilitate thorough cleaning and simplify adding ice cubes on hot days.
- Multiple intake options: Some systems feature dual connections for faster refills from external sources.
Storage and Organization
Beyond carrying fluids, your pack should accommodate tools, snacks, electronics, and safety gear. Look for:
- Dedicated sleeves or pockets for a pump, multitool, and spare tube.
- Secure compartments with zippers or magnetic closures for quick access.
- Helmet attachment loops and external daisy chains for gloves or lights.
- Reflective accents for improved visibility in low-light conditions.
Fit, Comfort, and Stability
Adjustable Harness and Straps
Ergonomic design is crucial to prevent bounce and chafing. Features to evaluate include shoulder straps with breathable mesh, sternum straps that can be repositioned, and a snug hip belt for larger packs. Proper adjustment ensures the pack stays in place, even on bumpy singletrack or technical descents.
Back Panel Design and Ventilation
Rider comfort improves when air can circulate between your back and the pack. A vented or mesh back panel reduces sweat build-up. Some high-end packs use a suspended mesh system that channels airflow directly, minimizing heat retention. For all-day rides, prioritize ergonomics over minimal aesthetics.
Materials, Durability, and Maintenance
Fabric and Construction
Robust materials like ripstop nylon or Cordura resist tears and abrasions from branches, handlebars, or ground contact. Reinforced seams and high-quality zippers extend pack life. Consider packs with a durable water repellent (DWR) coating to shed light rain or mud splashes, keeping the reservoir and belongings dry.
Cleaning and Care
A clean hydration system prevents mold and bacteria growth. Choose a pack with a removable bladder that can be fully unzipped or detached. Wide-mouth reservoirs are easier to scrub, while rigid inserts help maintain shape during cleaning. Many reservoirs are dishwasher-safe (top rack), but always verify manufacturer guidelines.
- After each ride, empty and rinse the bladder and tube with warm water.
- Use specialized cleaning kits with brushes for the tube and bite valve.
- Allow all components to air-dry completely before reassembly to avoid odor.
- Inspect O-rings and seals regularly; replace if signs of wear appear to maintain a leak-proof system.
Specialized Packs and Advanced Options
Ultralight and Minimalist Designs
For cross-country racers or gravel riders, every ounce matters. Ultralight hydration packs use thinner fabrics, streamlined pockets, and reduced padding. While they shave weight, they may sacrifice storage capacity or durability. Assess whether you truly need minimal weight or prefer extra gear space for self-supported adventures.
Off-Road and Bikepacking Models
Bikepacking packs often integrate with frame bags and saddlebags to distribute load evenly across the bike. These systems rely less on carry-on-back solutions but sometimes include a small torso pack for immediate hydration and essentials. Combining frame and body storage can optimize access while maintaining a low center of gravity.
Making the Final Choice
When evaluating hydration packs, prioritize features that directly impact your riding comfort and efficiency. Match reservoir size to ride duration, ensure the fit minimizes bounce, and choose materials that stand up to your intended terrain. By focusing on durability, insulation, and ergonomics, you’ll find a hydration solution that keeps you performing at your best, mile after mile.