Upgrading a bicycle doesn’t have to break the bank. With thoughtful planning and a focus on key areas, you can enhance your ride’s performance, improve durability, and boost overall comfort without overspending. This guide will walk you through practical steps to make meaningful upgrades on a budget, covering component selection, low-cost enhancements, hands-on maintenance, and strategic budgeting.
Choosing the Right Components
Before purchasing any new parts, identify which components on your bike most need improvement. Upgrading selectively allows you to allocate funds where they’ll have the greatest impact. Common upgrade targets include wheels, tires, saddle, pedals, and handlebars. Each can deliver noticeable gains in efficiency and ride quality.
Wheels and Tires
Swapping out stock wheels or tires can dramatically change handling and rolling resistance. Look for lightweight, durable rims paired with quality tubes and puncture-resistant tires. Even a modest set of performance road tires can:
- Reduce rolling resistance by up to 15%
- Improve grip in wet conditions
- Lower overall weight for easier climbing
Search for last-season models on clearance or gently used wheelsets on online marketplaces to stay budget-friendly.
Saddle and Contact Points
A comfortable saddle and well-fitted handlebars can transform long rides. Investing in a saddle with proper padding and support helps prevent numbness and soreness. Similarly, ergonomic grips or bar tape enhance control and reduce hand fatigue. Look for:
- Gel or foam padding for shock absorption
- Anatomic cutouts to relieve pressure
- Durable materials that resist wear
Essential Upgrades Under $100
If you’re working with a limited budget, focus on upgrades that offer the best value per dollar spent. Many high-impact modifications can be made for under $100 each. Below are some of the most effective:
- High-Quality Tires: Replace worn stock tires with performance models featuring improved tread and puncture protection. Expect to pay $40–$60 per pair.
- Upgraded Brake Pads: Switching to resin or semi-metallic pads can shorten stopping distances and reduce squeal. Cost: $15–$25.
- Lightweight Pedals: Clipless or high-grip flat pedals improve pedaling efficiency and power transfer. Budget $30–$80.
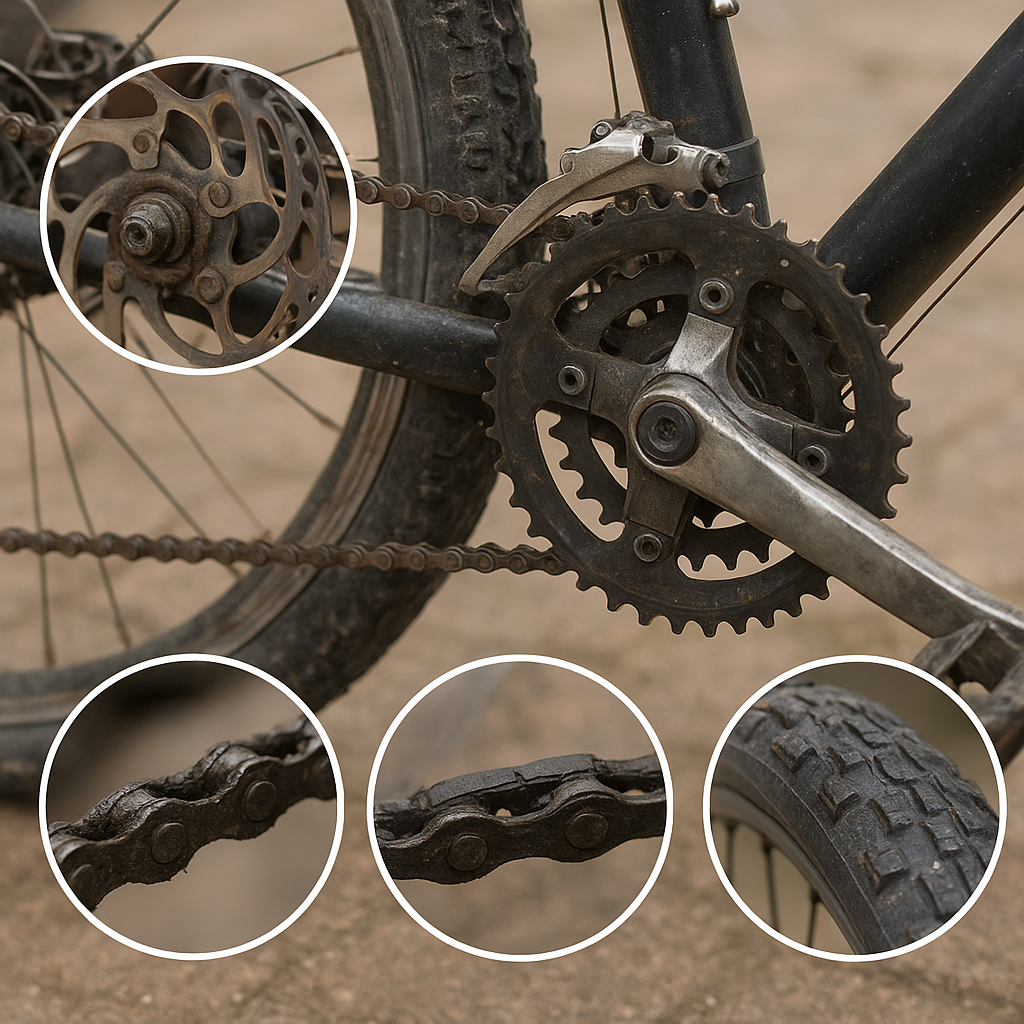
- Chain and Cassette: A fresh chain and cassette restore smooth shifting and reduce drivetrain wear. Combined cost around $50–$90.
- Cable and Housing Sets: Crisp shifting and reliable braking depend on clean cables. Replace old, frayed cables for under $20.
By tackling these items first, you’ll notice more responsive handling, snappier acceleration, and improved reliability.
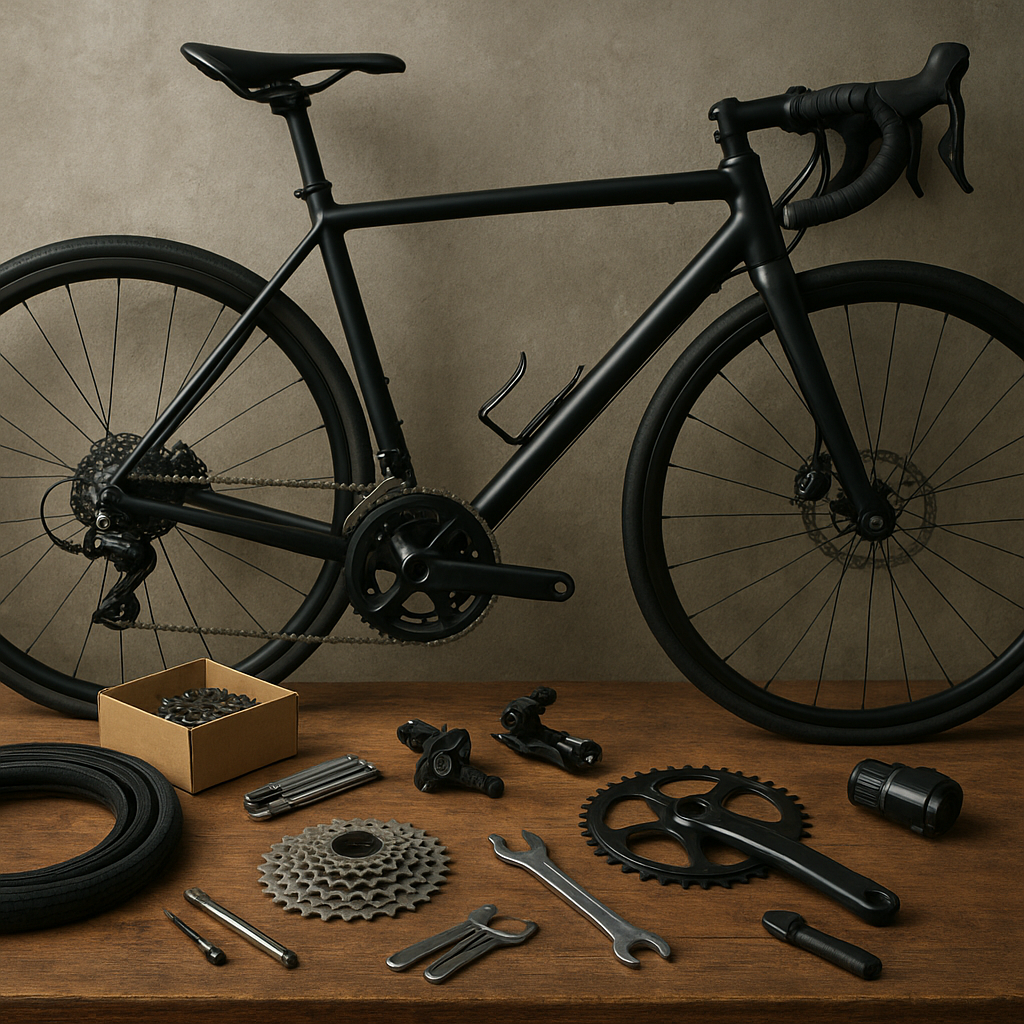
DIY Maintenance and Customization
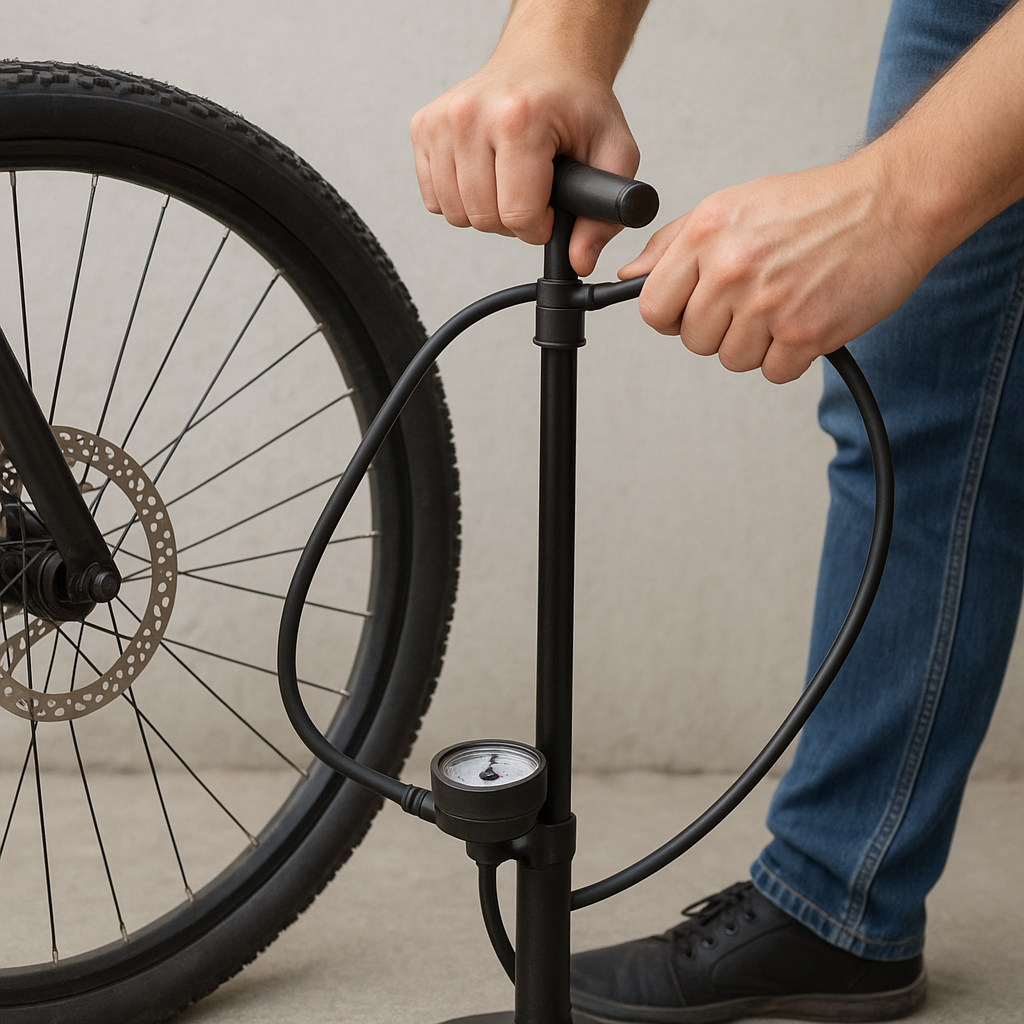
Learning to perform simple upgrades yourself can save significant labor costs and deepen your connection with your machine. Essential tools include a basic hex key set, torque wrench, cable cutters, and a floor pump. With these on hand, you can:
Clean and Lube the Drivetrain
A clean chain, cassette, and derailleur pulleys ensure smooth shifts and prolong component life. Use a biodegradable degreaser, a stiff brush, and a quality chain lubricant. Regular maintenance prevents wear and maximizes efficiency.
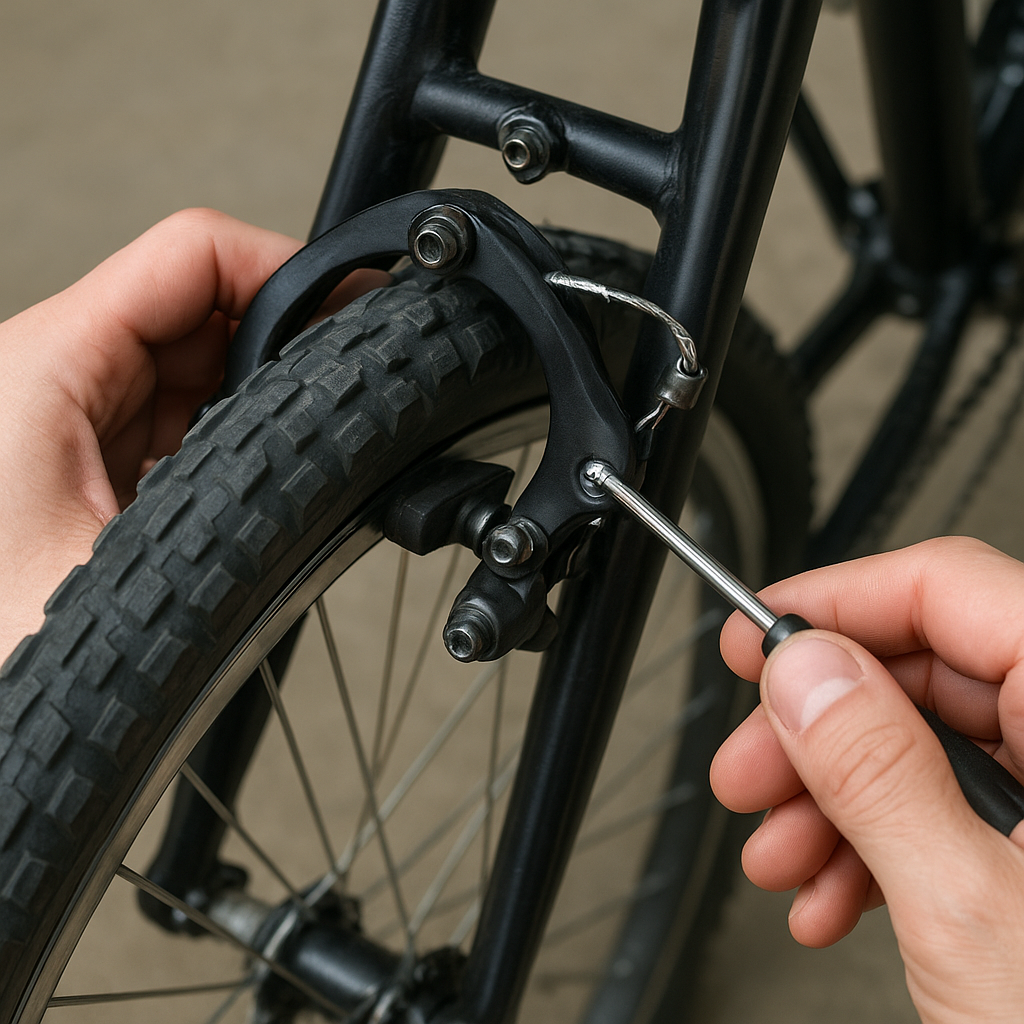
Adjust Derailleurs and Brakes
Fine-tuning shifting and braking alignment offers near-instant performance gains. Adjust cable tension, centering springs, and pad alignment to eliminate noise and improve stopping power.
Handlebar Tape and Grips
Replacing old bar tape or grips can feel like a brand-new cockpit. Choose cushioned, sweat-resistant tape and finish with secure bar-end plugs. For mountain bikes, ergonomic grips with support under the palm reduce hand fatigue on long rides.
Custom Decals and Paint Touch-Ups
While largely aesthetic, a fresh decal kit or minor paint restoration can personalize your ride. High-quality vinyl decals are inexpensive and easy to apply, giving your bike a unique look without a professional paint job.
Planning and Budgeting
Effective upgrades rely on clear goals, realistic budgeting, and patient searches for deals. Follow these steps to stretch your dollars further:
- Set Priorities: Decide whether you want better speed, comfort, durability, or style. Focus on one or two areas at a time rather than spreading funds too thin.
- Research Prices: Compare local bike shops, online retailers, and secondhand markets. Seasonal sales and closeout deals often yield the best bargains.
- Create a Timeline: Plan upgrades around the riding season. Off-season purchases can be 20–30% cheaper.
- DIY vs. Professional Service: Balance cost savings against skill level. Some tasks are easy to learn, while others—like headset bearing replacement—might require a professional touch.
By mapping out your upgrade path and being patient, you can assemble a bike that excels in efficiency, reliability, and rider satisfaction—all while honoring a tight budget.