Dealing with a slipping bike chain can be both frustrating and dangerous, especially when you’re miles away from home on a challenging trail. Understanding the core reasons behind this issue and learning how to address it effectively will not only enhance your riding experience but also prolong the life of your bicycle. In this guide, you’ll find detailed steps to diagnose, fix, and prevent a slipping chain, complete with helpful tips and recommended practices.
Understanding the Root Causes
Before diving into the repair process, it’s crucial to identify why the chain is slipping. A slipping chain often results from one or more of the following factors:
- Excessive wear on the chain or cassette teeth
- tension causing it to skip under load
- Dirty or insufficient lubrication leading to poor engagement
- Misaligned derailleur or bent components
- Incompatible components or incorrect chain length
Thoroughly examining these potential issues will help you determine the right course of action and avoid unnecessary component replacements.
Comprehensive Inspection and Diagnosis
Key Inspection Points
Start by rotating the pedals backward while observing the chain’s interaction with the gears. Look for the following warning signs:
- Skipped Engagement: Chain jumps over a tooth under load.
- Poor Shifting: Delayed gear changes or ghost shifts.
- Visible Damage: Broken links, rust, or significant stretch.
- Noise and Vibration: Unusual sounds indicating misalignment.
Measuring Chain Wear
Use a chain checker tool to measure elongation. If the tool indicates more than 0.75% wear, it’s time to replace the chain. An overly stretched chain accelerates wear on the cassette cogs, making future slips more likely.
Assessing Cassette and Chainrings
A worn-out cassette or chainring will have teeth shaped like shark fins. Carefully inspect each cog for hooked or excessively thin peaks. If you notice these signs, replacing the cassette—or at least the worn cogs—becomes necessary to restore proper engagement.
Gathering Tools and Preparing for Repair
Having the right tools at hand ensures a smooth repair process. Here’s what you’ll need:
- Chain breaker or quick-link pliers
Gather these supplies and set up in a well-lit, ventilated space. Lay out a clean cloth to catch any dropped parts and ensure you have easy access to water and a towel for cleanup.
Step-by-Step Repair Process
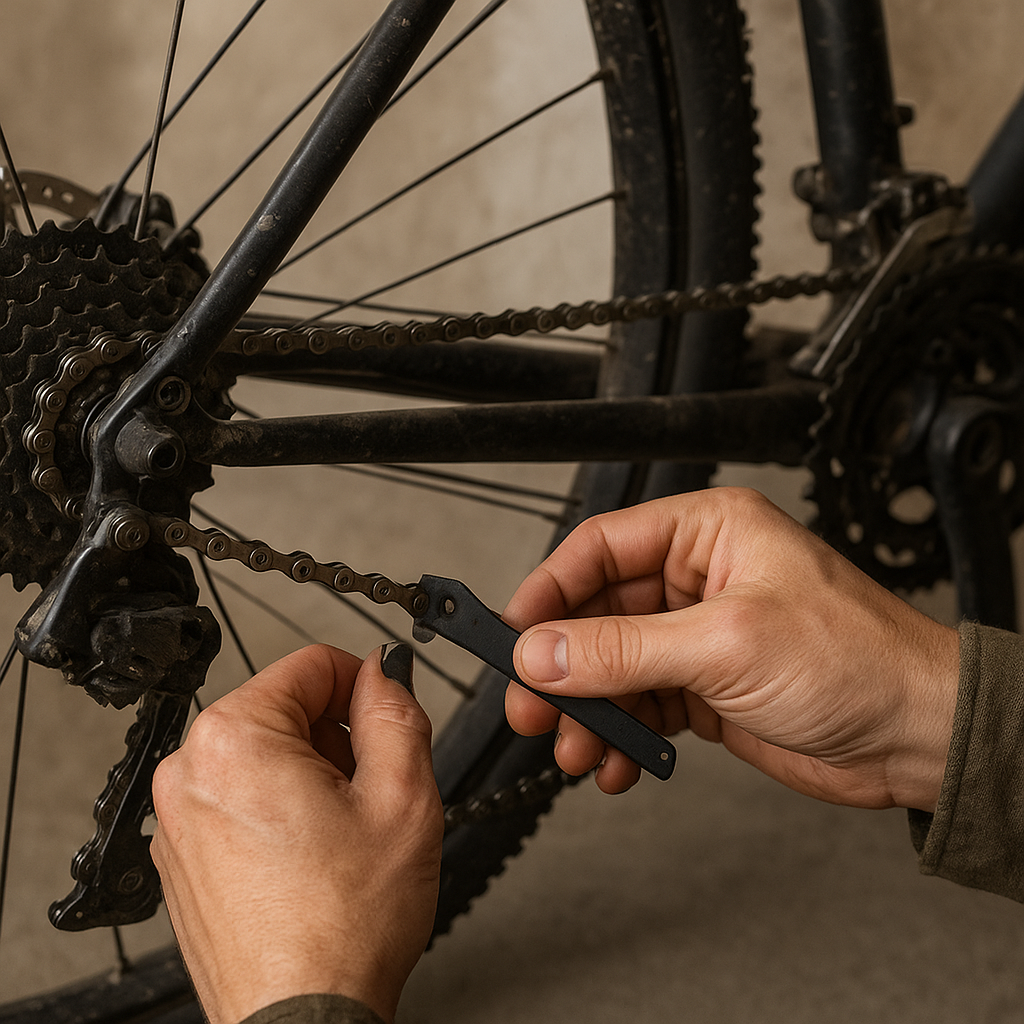
1. Remove the Chain
- Shift the derailleur to the smallest chainring and smallest rear cog.
- If your chain has a quick link, open it with quick-link pliers. Otherwise, use a chain breaker to push out a pin and disconnect the chain.
- Take note of the chain’s orientation for reinstallation.
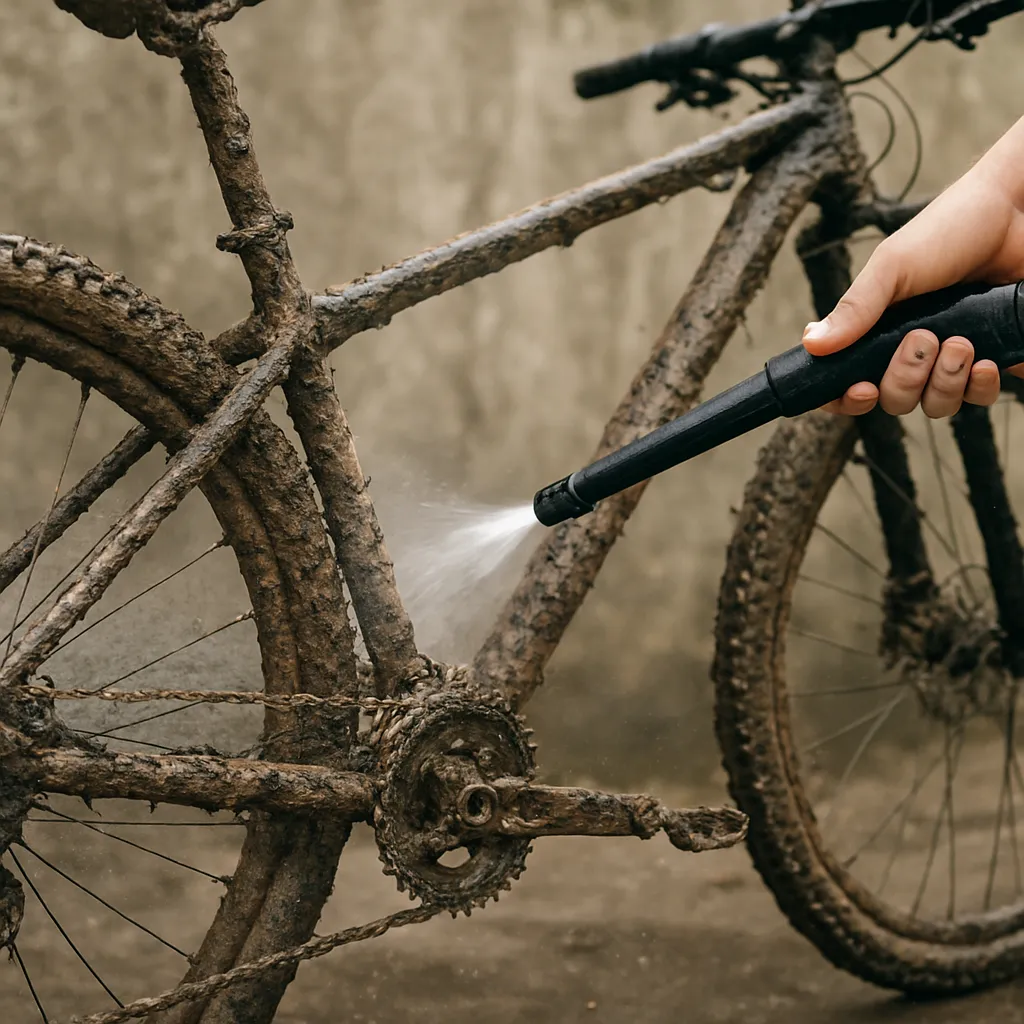
2. Clean and Inspect Components
- Apply a degreaser to the chain, cassette, and chainrings. Use a stiff brush to remove built-up grime.
- Wipe everything down thoroughly with a rag.
- Inspect the derailleur pulleys for smooth rotation and the cassette teeth for wear.
3. Adjust Derailleur Alignment
- Check the derailleur hanger alignment using a hanger gauge. Bend it back gently if misaligned.
- Fine-tune the high- and low-limit screws to ensure the chain doesn’t overshoot the largest or smallest cogs.
- Set the B-tension screw so the top jockey wheel maintains optimal gap from the cassette.
4. Reinstall or Replace Chain
- If the old chain passed the wear test, reinstall it, threading it through the derailleur cage and onto the chainrings.
- Join the chain with a new quick link or by driving a new pin with the chain breaker.
- For a new chain, match the length by wrapping it around the biggest chainring and biggest cog, adding two extra links.
5. Verify Tension and Shifting
- Pedal forward and shift through all gears, listening for chain skips or hesitation.
- Adjust barrel adjusters on the shifter to fine-tune cable tension.
- Ensure smooth transitions without sudden jumps or drops.
6. Lubricate the Chain
- Apply a drop of high-quality bicycle lube to each roller while slowly turning the pedals backward.
- Let the lubricant penetrate for a few minutes, then wipe off excess oil to prevent dirt attraction.
Implementing Preventive Maintenance
Routine care is essential to avoid future slipping incidents and extend the lifespan of your drivetrain. Consider the following practices:
- Regular Cleaning: Wipe down the chain after every ride in wet or dusty conditions.
- Scheduled Lubrication: Lube the chain every 100-150 miles or after heavy rain.
- Periodic Inspections: Check chain wear and derailleur alignment monthly.
- Component Compatibility: Replace chain and cassette as a set when significant wear is detected.
- Proper Storage: Keep the bike in a dry place to prevent rust and corrosion.
By following this comprehensive guide, you’ll be well-equipped to tackle a slipping bike chain efficiently and confidently. Embracing both corrective and preventive measures ensures smoother rides and fewer mechanical headaches.