Transporting a bicycle can be a smooth experience when you follow the right steps and choose proper equipment. Whether you need to load your favorite ride onto a car or bring it aboard a train, understanding the essentials will help you avoid damage, save time, and ensure a stress-free journey. This guide covers everything from preparing your bike to secure mounting techniques, as well as key regulations and best practices for train travel.
Preparing Your Bike for Transport
Before you even think about attaching your bicycle to a vehicle or boarding a train, some essential preparation is required. Proper preparation not only protects delicate components but also makes installation and removal faster and safer. Focus on cleaning, component protection, and basic adjustments.
Cleaning and Maintenance
- Thoroughly wash the frame and components to remove dirt and grime that might scratch surfaces during loading.
- Inspect the chain, cassette, and derailleurs for wear or damage. Apply lubricant sparingly to moving parts.
- Check tire pressure: slightly deflated tires are easier to fit into tight mounts or storage areas without risking pinch flats.
Protecting Vulnerable Parts
- Wrap your handlebars, saddle, and rear derailleur in soft cloth or foam padding. This prevents scratches and absorbs shock.
- Remove accessories such as water bottle cages, frame pumps, and saddle bags. Store them separately in a padded bag.
- Consider using protective frame wraps or tape on top tubes and seat stays to guard against abrasion.
Adjustments and Disassembly
- Lower or remove the seatpost if your rack or storage space has height constraints.
- Rotate handlebars parallel to the frame or detach the front wheel to reduce overall width.
- Check quick-release skewers for snugness; loose skewers can rattle or cause the wheel to shift.
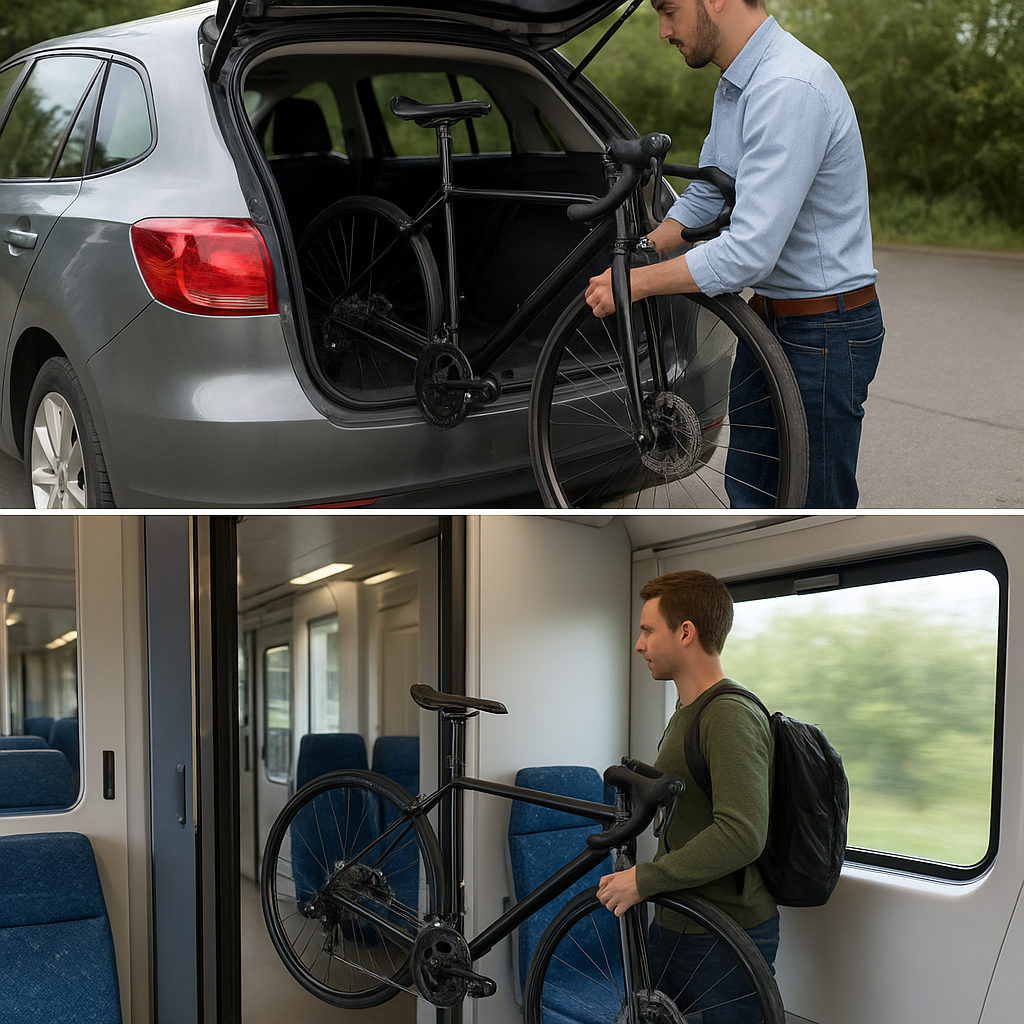
Transporting by Car: Techniques and Equipment
A car offers flexibility when you’re heading to bike trails, races, or distant events. The right equipment and installation method can make all the difference between a smooth drive and a nerve-wracking ride.
Types of Bike Racks
- Roof-mounted racks: Securely clamp the front fork or wheel. Ideal for cars with crossbars, but raises your vehicle height and can increase wind resistance.
- Hitch-mounted racks: Slide into a trailer hitch receiver and carry multiple bikes without roof clearance concerns. They often offer tilt-away features for rear access.
- Trunk-mounted racks: Strap onto the trunk or hatch. Affordable and easy to install, though may obscure rear lights and require careful positioning to avoid damage.
Installation Best Practices
- Always follow the manufacturer’s torque specifications for clamp bolts and straps:
- Over-tightening can strip threads or crack composite frames.
- Under-tightening can lead to bouncing or loss of the bike.
- Test stability before setting off: gently shake the bike to ensure no wobble.
- Use additional tie-downs or bungee cords for long journeys to minimize vibration.
- Attach a reflective flag or taillight to the bike if it extends beyond the rear of the car.
Special Considerations for Electric Bikes and Folding Bikes
- Electric bikes are heavier. Confirm your rack’s weight rating and use two-point tie-downs.
- Removing the battery or display unit reduces weight and the risk of theft.
- Folding bikes can often fit in trunks or back seats without a rack. Secure them on mats or blankets to prevent scuffs.
Using Trains: Rules and Best Practices
Taking your bike on a train can be an efficient alternative to driving, especially for long-distance trips. However, each rail service has its own policies regarding bicycle carriage, so planning ahead is essential.
Understanding Railway Policies
- Many regional and national train lines require a reservation for bikes. Book your slot online or at the station well in advance.
- Check peak vs. off-peak rules. Bikes may be restricted during busy commuter hours.
- Fees vary: some rail operators include bikes free of charge, while others charge a nominal fare or day pass.
Packing and Labeling
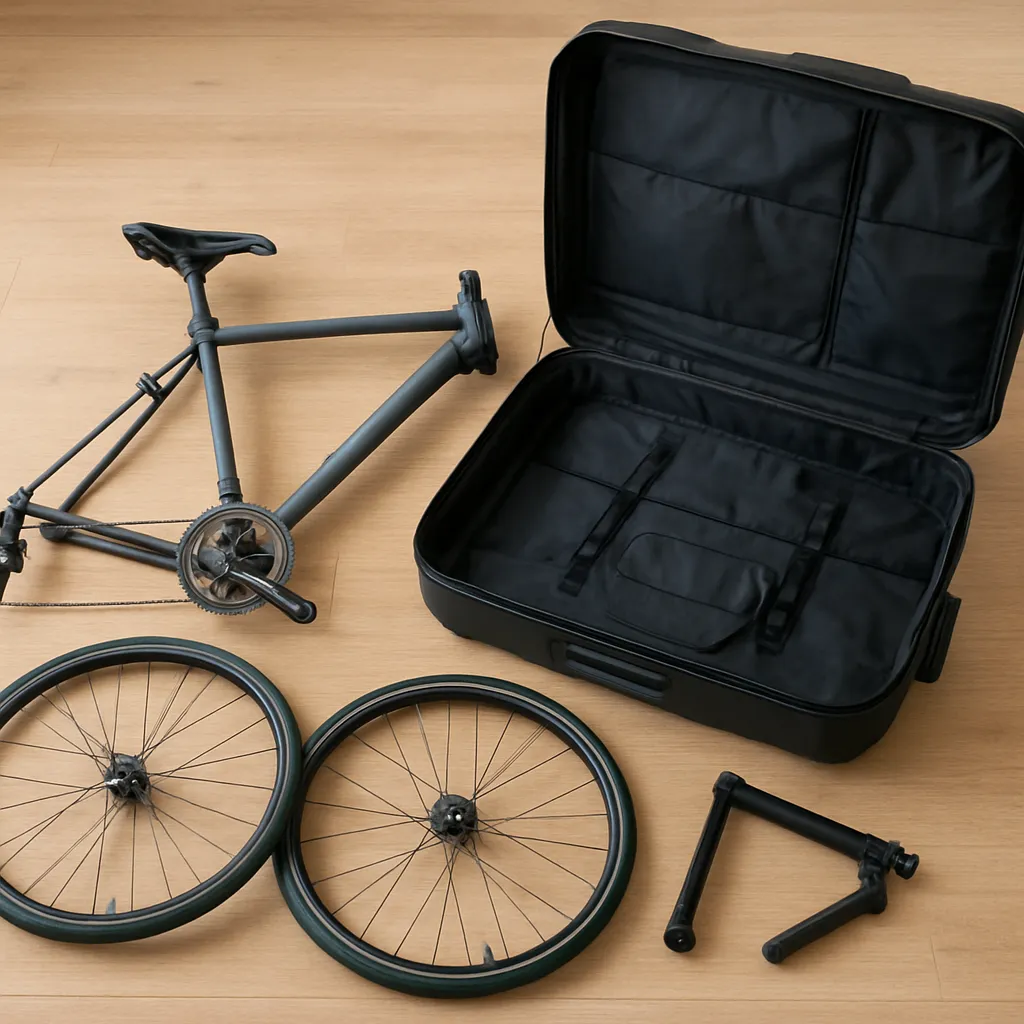
- Partially disassemble your bike if required: remove the front wheel and fold down handlebars to fit designated bike areas.
- Use a bicycle bag or cardboard bike box for full packaging, especially on high-speed or international trains.
- Clearly label your bike with your name and contact details. A removable sticker or luggage tag works well.
Onboard Storage Tips
- Securely hook or lean your bike in the allocated rack area. Some trains provide vertical or horizontal bike racks.
- If no racks exist, sit near your bike and apply the parking brake or use wheel locks to prevent rolling.
- Keep your helmet, gloves, and small tools within reach. This makes it easy to reassemble and ride off as soon as you disembark.
Additional Tips and Considerations
Whether on four wheels or rails, a few extra precautions will ensure your ride arrives in top condition and ready to roll.
Weather Protection
- Cover exposed parts with waterproof covers if you anticipate rain or heavy dew.
- Remove electronic devices or lights to prevent water damage.
Security Measures
- Use a lightweight cable lock to secure your bike to the rack or to a fixed point at the station.
- Mark components with UV pens or tamper-proof stickers as a deterrent against theft.
Post-Transport Checks
- Inspect the frame, wheels, and drivetrain for any signs of impact or shifting.
- Tighten bolts and quick-release skewers before setting off on your ride.
- Adjust gear indexing if the derailleur hanger was flexed during travel.