Building a bicycle from the ground up offers enthusiasts a chance to tailor every detail to their needs, resulting in a ride that reflects personal style and mechanical ingenuity. From selecting the perfect parts to mastering the art of precise alignment, this guide delves into the essential steps and best practices for crafting your dream bike.
Frame Selection and Preparation
Choosing the right frame sets the foundation for the entire build. Whether you opt for steel, aluminum, titanium, or carbon fiber, each material brings unique characteristics. Steel frames deliver classic ride quality and ease of repair, while aluminum offers lightweight stiffness. Carbon fiber frames excel in weight savings and vibration damping. Titanium strikes a balance with corrosion resistance and durability.
- Material Choice: Consider ride comfort, weight, and budget.
- Geometry: Match frame angles and dimensions to your riding style, whether it’s road racing, off-road trail riding, or urban commuting.
- Sizing: Ensure proper standover height and reach for optimal comfort and control.
Once your frame arrives, inspect all welds or joints for quality. If you’re working with a raw metal frame, clean surfaces with a degreaser and sand lightly to improve paint adhesion. For a custom-painted finish, mask areas requiring protection, apply primer, then multiple coats of paint and clear coat. Allow ample curing time between layers to avoid uneven textures.
Components and Assembly
With the frame prepped, it’s time to gather and install components. From headsets to bottom brackets, each piece plays a crucial role in overall performance.
Headset and Fork Installation
- Press-fit or threaded headsets require precise alignment. Use a headset press tool to seat bearings evenly.
- Ensure the fork steerer is cut to the correct length, leaving room for the stem and top cap.
- Tighten the top cap just enough to eliminate play without over-constraining the bearings.
Bottom Bracket and Crankset
- Choose a bottom bracket compatible with your frame’s shell standard (BSA, BB30, or press-fit).
- Apply grease or anti-seize on threads or interfaces to prevent creaking and facilitate future removal.
- Torque crank bolts to manufacturer specifications, ensuring proper chainline alignment.
Installing the drivetrain requires careful attention to cable routing. Internal routing offers a sleek look but demands patience. External guides simplify future adjustments. Use high-quality cables and housing for smooth shifting and long-term reliability.
Wheels, Tires, and Drivetrain Setup
Wheels and tires define ride feel and control. Pair your frame with wheelsets that balance strength, weight, and aerodynamics. Tubeless setups have gained popularity for improved puncture resistance and lower rolling resistance. Follow rim manufacturer specs for sealant quantities and tire pressures.
- Spoke Tension: Even tension prevents wheel wobble and reduces stress on hubs.
- Truing: Use a truing stand or brake calipers as indicators to correct lateral and radial deviations.
- Tire Selection: Road, gravel, or mountain tires require different tread patterns and casings.
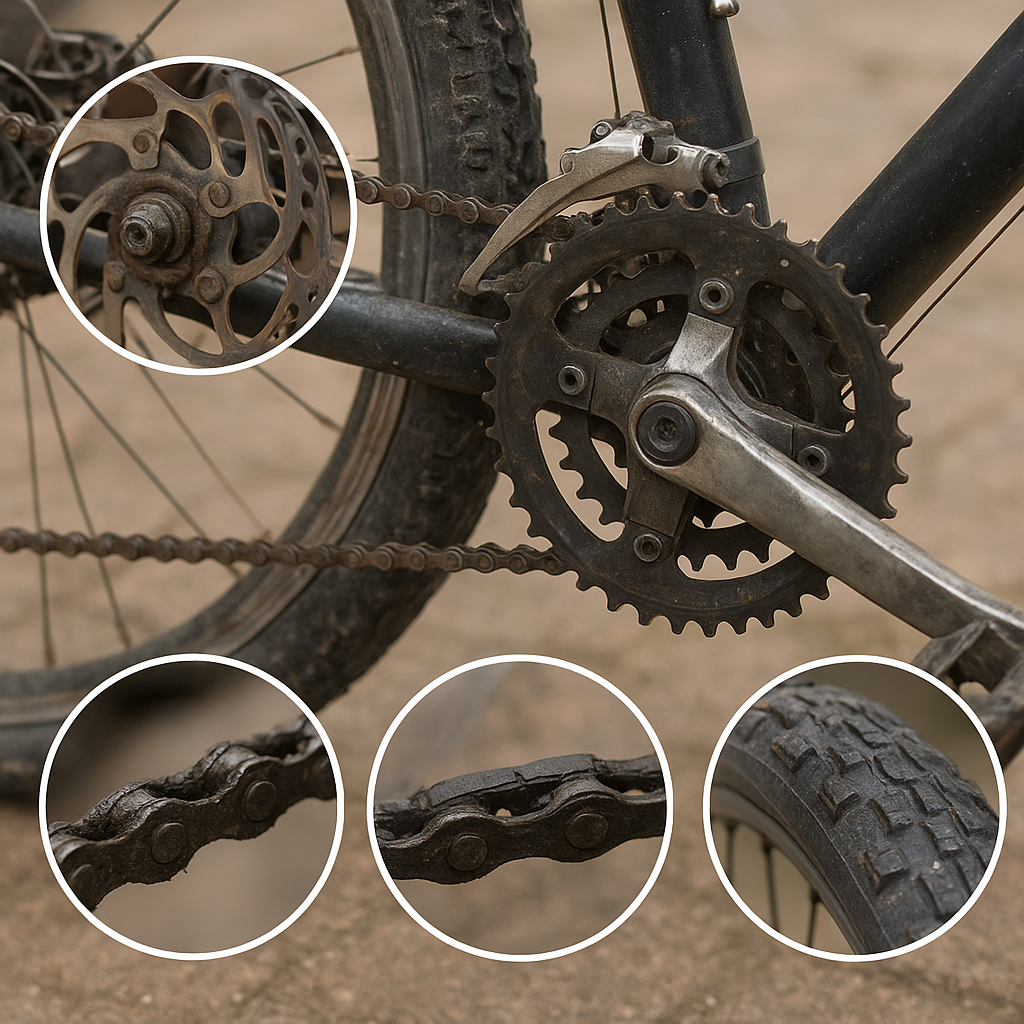
For the drivetrain, mount chainrings and cassette, then fit the chain. Adjust derailleur limit screws and indexing for crisp gear changes. Check chain length by wrapping around the largest chainring and largest cassette cog, adding two full links. Lubricate the chain with a quality lubricant, focusing on penetration between rollers.
Braking System and Control Setup
Brakes are critical for safety. Disc brakes (mechanical or hydraulic) have become the norm for consistent stopping power in varied conditions. Rim brakes still offer low weight and simplicity, especially on classic or track builds.
Hydraulic Disc Brakes
- Mount calipers aligned to rotors with minimal pad rub.
- Bleed lines to remove air bubbles, ensuring firm lever feel.
- Check rotor trueness and adjust caliper position if necessary.
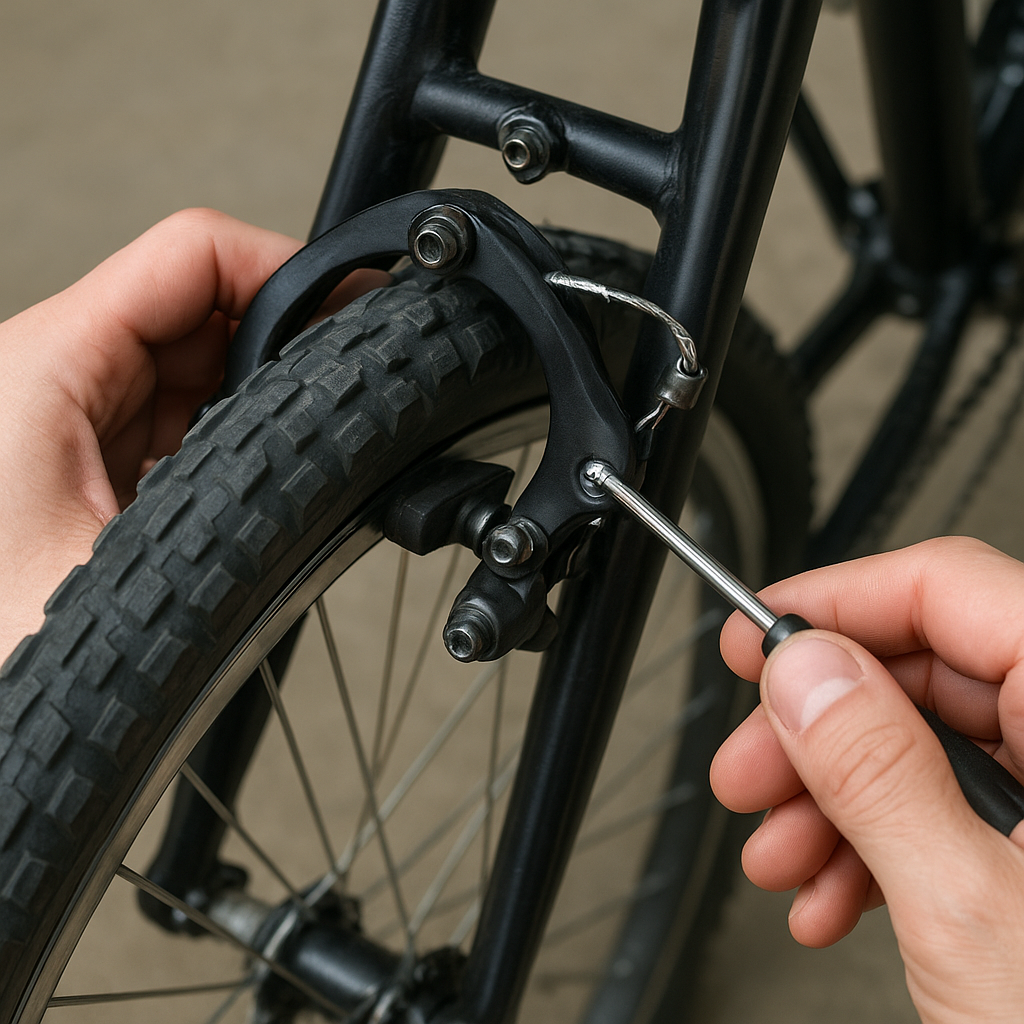
Mechanical Rim Brakes
- Center brake calipers and set pad-to-rim clearance.
- Route cables smoothly with minimal bends to reduce friction.
- Fine-tune cable tension for responsive braking without drag.
Install handlebars, grips or bar tape, and brake/shift levers. Proper ergonomic setup, including reach and angle, prevents fatigue and promotes control. Tighten all bolts using a torque wrench, adhering to specified values to avoid over-tightening or component damage.
Finishing Touches and Customization
Beyond mechanical assembly, aesthetics and personal comfort define the final ride quality. Consider the following:
- Saddle Choice: Select a saddle that matches your sit bone width and riding posture.
- Pedals: Platform, clipless, or hybrid pedals each offer distinct benefits based on your footwear and pedaling style.
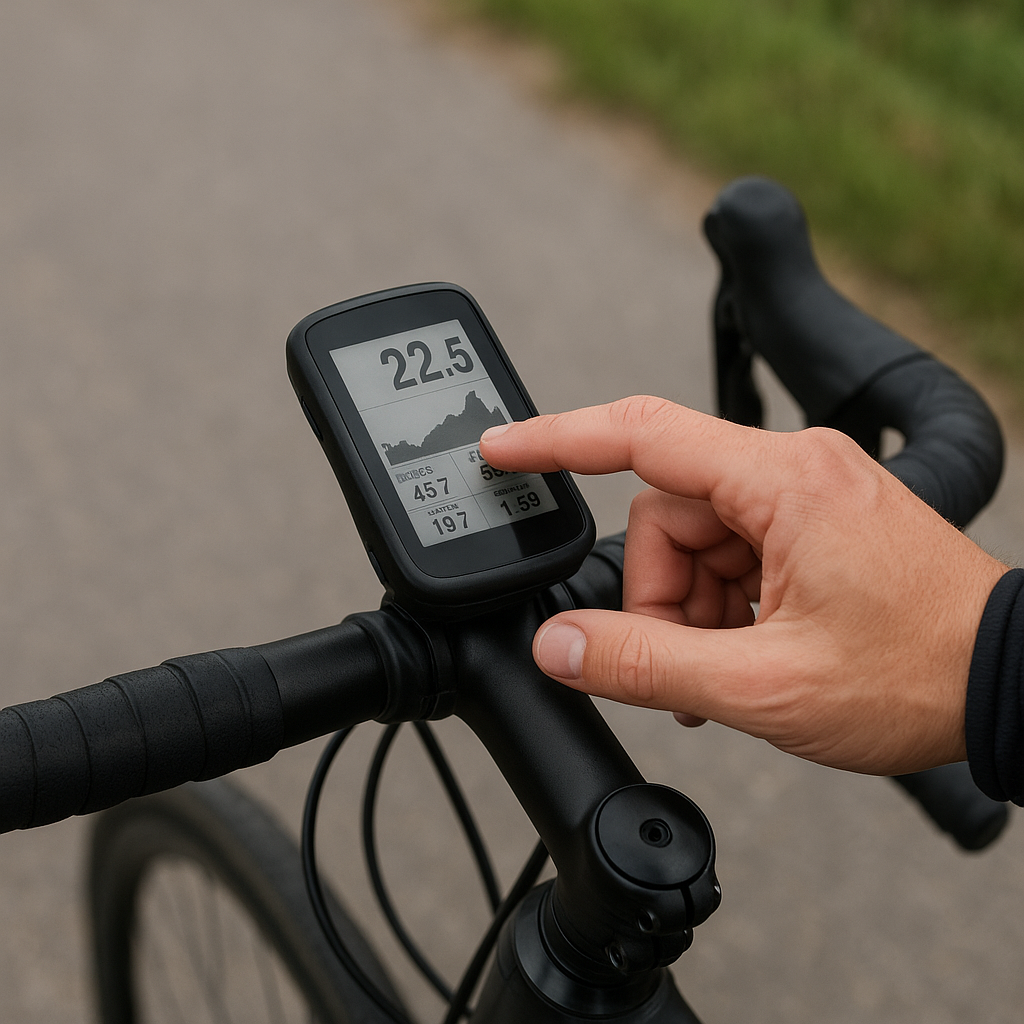
- Accessories: Bottle cages, lights, fenders, and racks enhance functionality for commuting or touring setups.
Protect exposed areas with frame protectors and apply clear tape to high-wear points. Install cable end caps and secure loose housing with zip ties or silicone straps. Clean and polish the frame for a professional finish. For added flair, wrap sections of the top tube or chainstay with colored tape or vinyl decals.
Maintenance and Longevity
Regular upkeep ensures durability and peak performance. Establish a maintenance routine:
- Inspect bolts monthly with a torque wrench.
- Clean drivetrain components weekly and re-lubricate the chain.
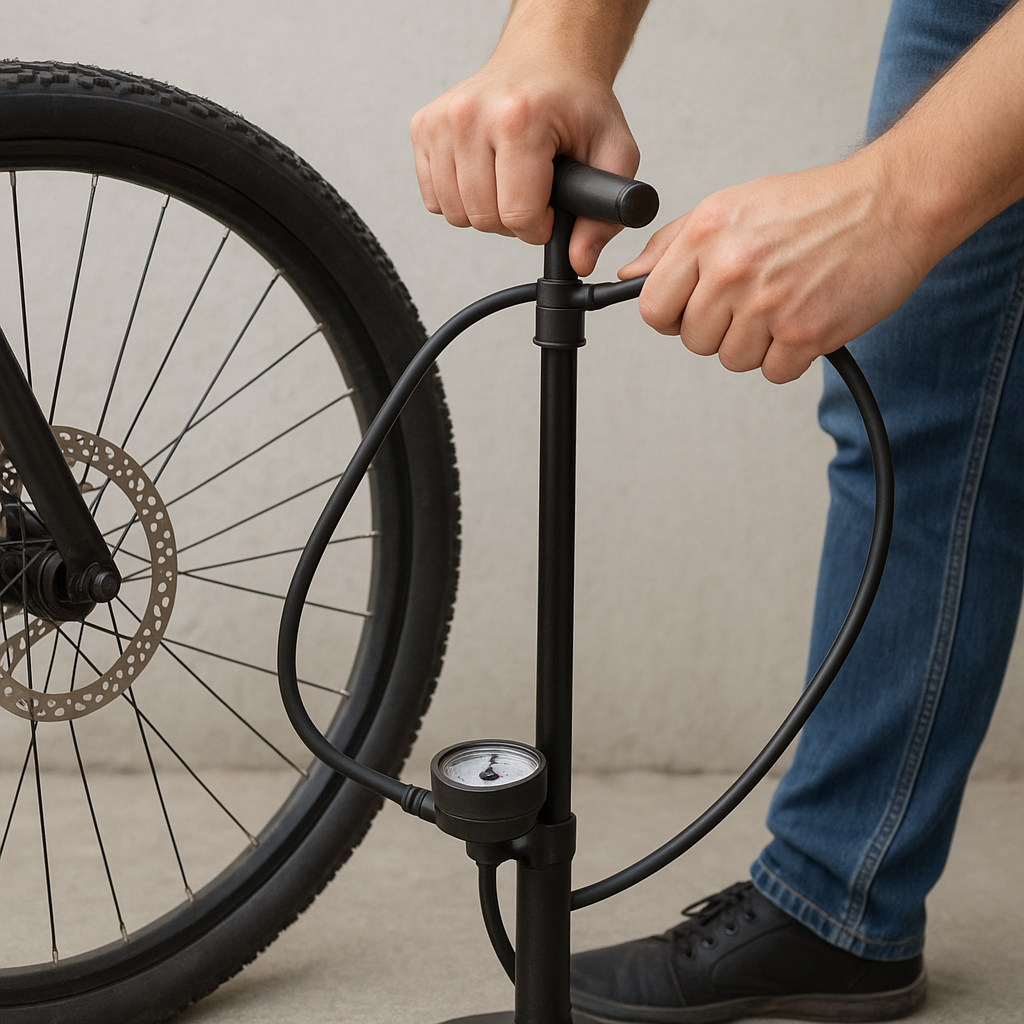
- Check tire pressures before each ride.
- Monitor cable and housing wear, replacing when frayed.
- Service suspension components or hubs after specified mileage intervals.
By committing to these practices, your custom-built bicycle will deliver reliable performance and continue to reflect the care invested in its creation. Enjoy the satisfaction of riding a machine you crafted with your own hands.