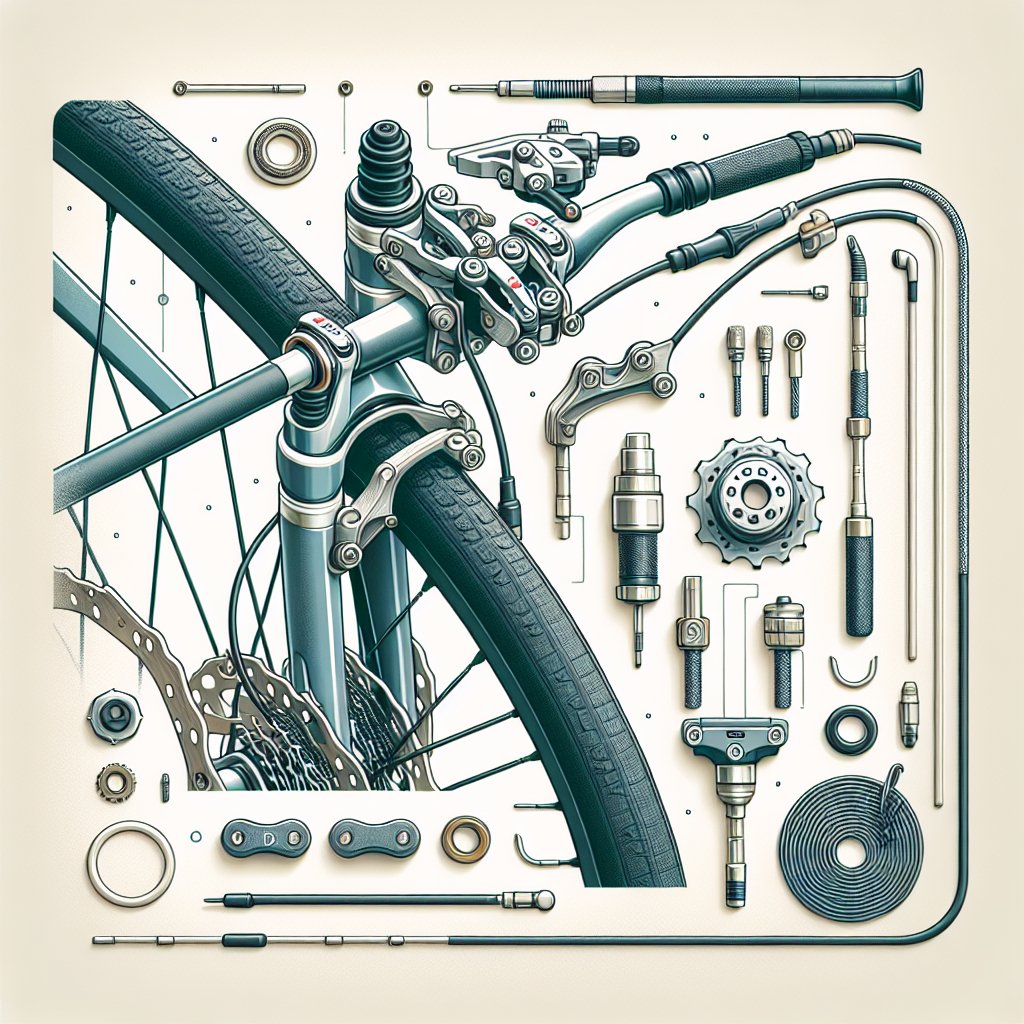
Replacing worn brake pads and cables is an essential skill for any cyclist, ensuring both safety and optimal performance. This guide will walk you through the process step-by-step, making it easy to maintain your bike’s braking system.
Understanding the Importance of Brake Maintenance
Brake maintenance is crucial for the safety and efficiency of your bicycle. Over time, brake pads wear down, and cables can become frayed or stretched, reducing braking power and responsiveness. Regularly checking and replacing these components can prevent accidents and prolong the life of your bike.
Signs of Worn Brake Pads
Knowing when to replace your brake pads is the first step in brake maintenance. Here are some common signs that your brake pads need replacing:
- Reduced Braking Power: If you notice that your bike takes longer to stop, it could be a sign that your brake pads are worn.
- Squeaking or Grinding Noises: Unusual noises when braking can indicate that the pads are worn down to the metal.
- Visual Inspection: Check the thickness of your brake pads. If they are less than 1/8 inch thick, it’s time to replace them.
Signs of Worn Brake Cables
Brake cables are equally important and should be inspected regularly. Here are some signs that your brake cables may need replacing:
- Fraying or Rust: Visible fraying or rust on the cables is a clear sign that they need to be replaced.
- Stiff or Sticky Brakes: If your brakes feel stiff or don’t return to their original position, the cables may be stretched or corroded.
- Inconsistent Braking: If your braking feels inconsistent or spongy, it could be due to worn cables.
Tools and Materials Needed
Before you begin, gather the necessary tools and materials. Having everything on hand will make the process smoother and more efficient.
- New brake pads
- New brake cables
- Allen wrenches
- Cable cutters
- Needle-nose pliers
- Bike stand (optional but recommended)
- Lubricant
- Rag or paper towels
Step-by-Step Guide to Replacing Brake Pads
Step 1: Remove the Wheel
To access the brake pads, you’ll need to remove the wheel. Release the brake caliper by squeezing the brake arms together and disconnecting the cable. Then, use a quick-release lever or axle nuts to remove the wheel.
Step 2: Remove the Old Brake Pads
Use an Allen wrench to remove the bolts holding the brake pads in place. Slide the old pads out of the brake caliper. Take note of the orientation and positioning of the pads, as you’ll need to install the new ones in the same way.
Step 3: Install the New Brake Pads
Insert the new brake pads into the caliper, ensuring they are correctly aligned. Tighten the bolts with an Allen wrench, but don’t over-tighten them. The pads should be secure but still able to move slightly.
Step 4: Reinstall the Wheel
Place the wheel back into the frame, ensuring it is properly aligned. Reconnect the brake cable and squeeze the brake arms together to secure the caliper. Spin the wheel to check for any rubbing or misalignment.
Step 5: Adjust the Brake Pads
Use the barrel adjuster on the brake lever to fine-tune the position of the brake pads. They should make contact with the rim evenly and simultaneously. Test the brakes by squeezing the lever and ensuring the pads engage smoothly and effectively.
Step-by-Step Guide to Replacing Brake Cables
Step 1: Remove the Old Cable
Shift the bike into the highest gear to release tension on the cable. Use an Allen wrench to loosen the bolt securing the cable to the brake caliper. Pull the cable out of the housing and remove any cable ends or ferrules.
Step 2: Install the New Cable
Thread the new cable through the housing, starting at the brake lever. Ensure the cable is properly seated in the lever and runs smoothly through the housing. Attach the cable to the brake caliper and tighten the securing bolt with an Allen wrench.
Step 3: Adjust the Cable Tension
Use the barrel adjuster on the brake lever to fine-tune the cable tension. The brake lever should feel firm but not too tight. Test the brakes by squeezing the lever and ensuring the pads engage smoothly and effectively.
Step 4: Trim and Cap the Cable
Use cable cutters to trim any excess cable, leaving about an inch of extra length. Crimp a cable end onto the cut end to prevent fraying. Tuck the cable end neatly out of the way.
Final Checks and Maintenance Tips
After replacing your brake pads and cables, it’s essential to perform a few final checks and follow some maintenance tips to keep your brakes in top condition.
Final Checks
- Test the Brakes: Take your bike for a test ride and check the braking performance. Ensure the brakes engage smoothly and effectively.
- Check for Rubbing: Spin the wheels and check for any rubbing or misalignment of the brake pads.
- Inspect the Cables: Ensure the cables are properly seated and not frayed or kinked.
Maintenance Tips
- Regular Inspections: Check your brake pads and cables regularly for signs of wear and replace them as needed.
- Keep Components Clean: Clean your brake pads, rims, and cables regularly to prevent dirt and debris from affecting performance.
- Lubricate Moving Parts: Apply a small amount of lubricant to the brake lever pivot points and cable housing to ensure smooth operation.
By following these steps and tips, you can ensure your bike’s braking system remains in excellent condition, providing you with safe and reliable performance on every ride.


