Choosing the ideal bicycle for a child involves more than picking a colorful frame or a popular brand. Parents and guardians must consider a range of factors including safety, comfort, durability, and the child’s growing needs. This guide will walk you through essential points, from understanding critical safety features to selecting the right size, exploring various bike types, and equipping yourself with practical maintenance advice and must-have accessories.
Understanding Safety Essentials
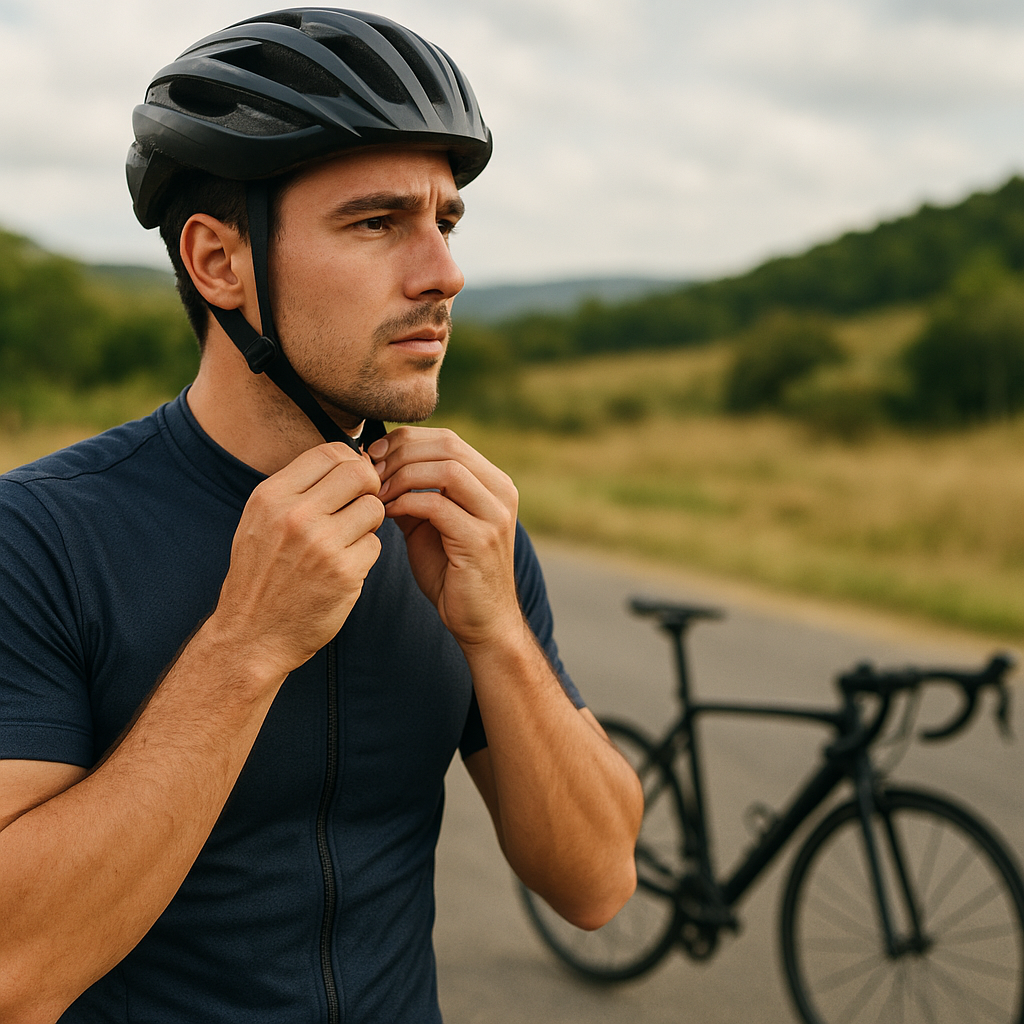
Helmet Compatibility and Fit
A proper helmet is the first line of defense against head injuries. Ensure that any helmet chosen meets the latest safety standards (e.g., CPSC or EN 1078) and sits level on the child’s head. Look for models with an adjustable dial or strap system that allows a snug yet comfortable fit. Always perform the “two-finger” check: two fingers should fit between the strap and the chin.
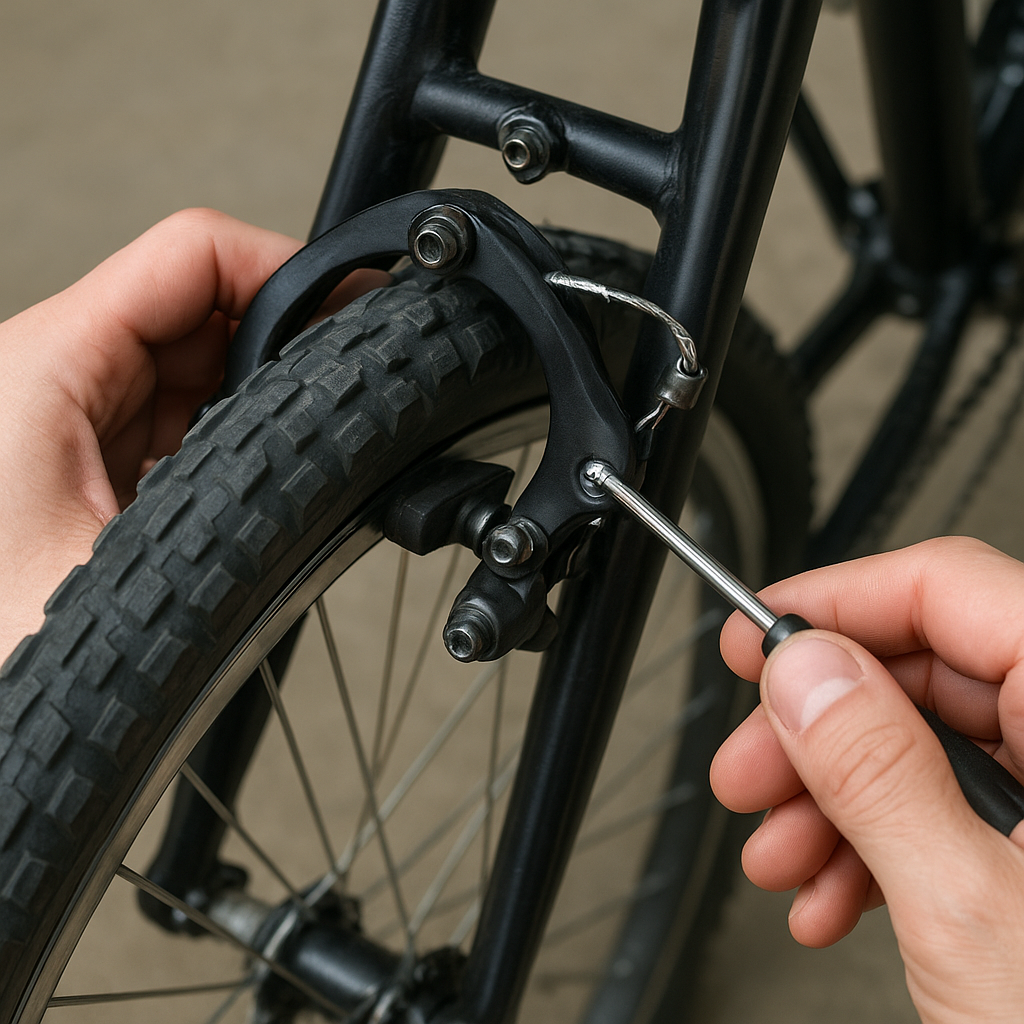
Brake Systems and Responsiveness
Effective braking is critical for preventing accidents. For younger children (typically under age six), coaster brakes—activated by pedaling backward—offer simplicity and ease of use. As kids develop stronger hand muscles, transition them to hand-operated rim or disc brakes. Test the brakes to ensure they provide stability and quick stopping power without requiring excessive force.
Sturdy Frame Construction
Evaluate the bike’s frame material and weld quality. Steel frames are robust and can withstand rough handling, while aluminum is lightweight and resistant to corrosion. Look for smooth weld joints and reinforcements at stress points like the head tube and chainstays. A quality frame not only extends the bike’s lifespan but also enhances performance and confidence for young riders.
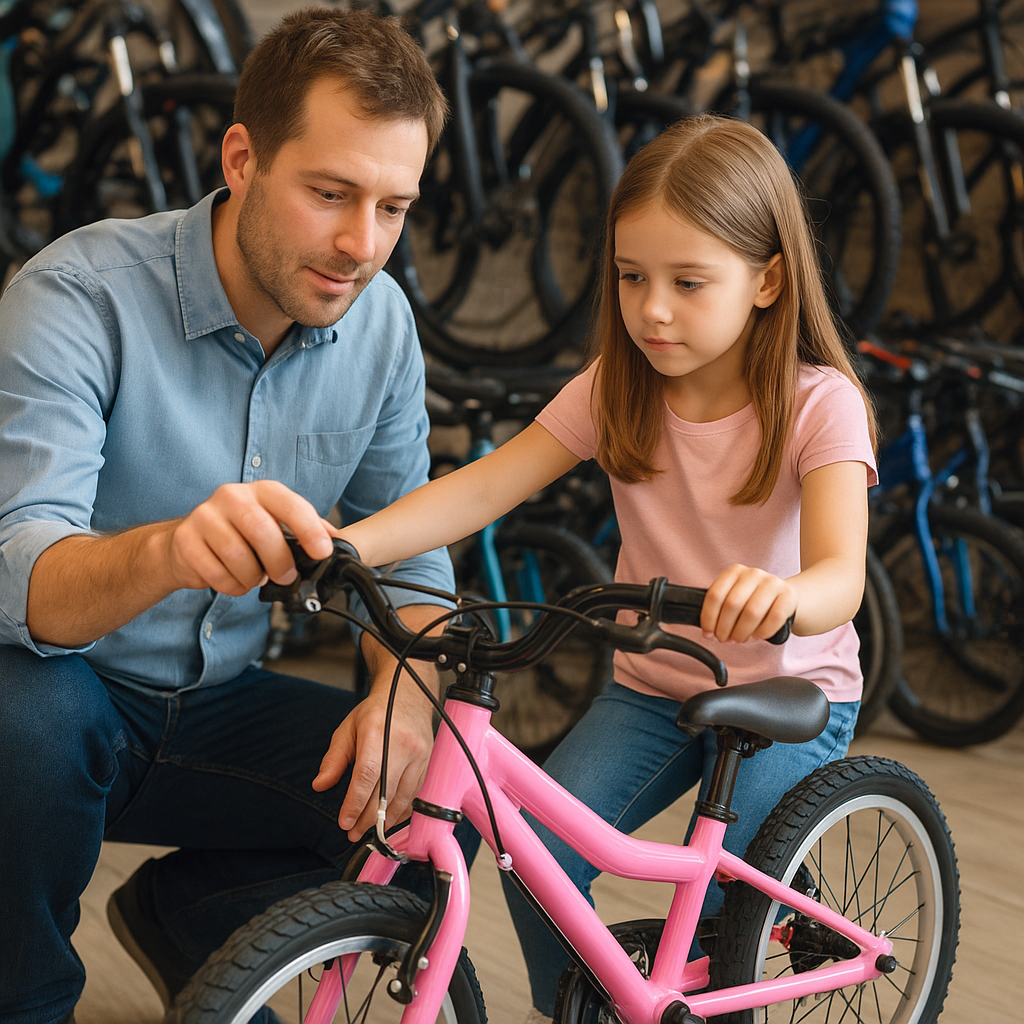
Getting the Right Size and Fit
Measuring Inseam and Stand-Over Height
Proper sizing is non-negotiable. Have your child stand with legs slightly apart and measure from the crotch to the ground—this inseam measurement guides you to the correct frame height. The ideal stand-over height leaves 1–2 inches of clearance for younger kids and 2–4 inches for older children to ensure a comfortable and safe riding stance.
Adjustable Seat and Handlebar Positions
Look for bikes with easy-to-adjust seat posts and handlebars. Quick-release levers or simple bolt mechanisms allow you to raise the seat as your child grows, maximizing the bike’s usability over multiple growth spurts. Proper handlebar height and reach promote an upright posture, reducing strain on the back and shoulders.
Weight Considerations
An overly heavy bike can hinder a child’s ability to learn balance and control. Aim for a bike that weighs no more than 40% of the child’s body weight. Lighter models crafted from aluminum or carbon composites may cost more but offer superior maneuverability and ease of handling, boosting a youngster’s self-assurance on two wheels.
Exploring Bike Types and Features
Balance Bikes vs. Pedal Bikes
Balance bikes, which feature no pedals, teach the fundamental skill of balancing before introducing pedaling mechanics. Children as young as 18 months can start on these. Pedal bikes come with training wheels initially; remove the wheels once balance is mastered. Both approaches foster motor skills, but balance bikes often accelerate the learning process.
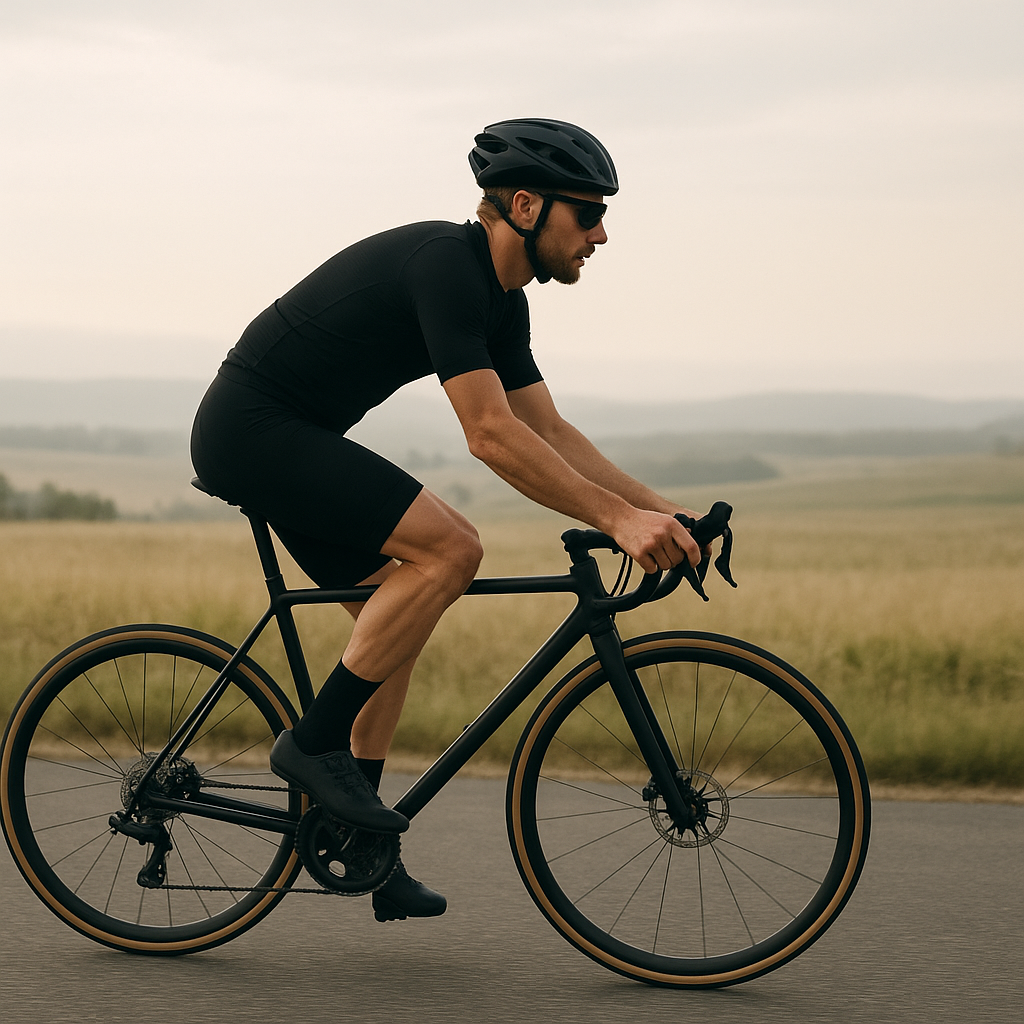
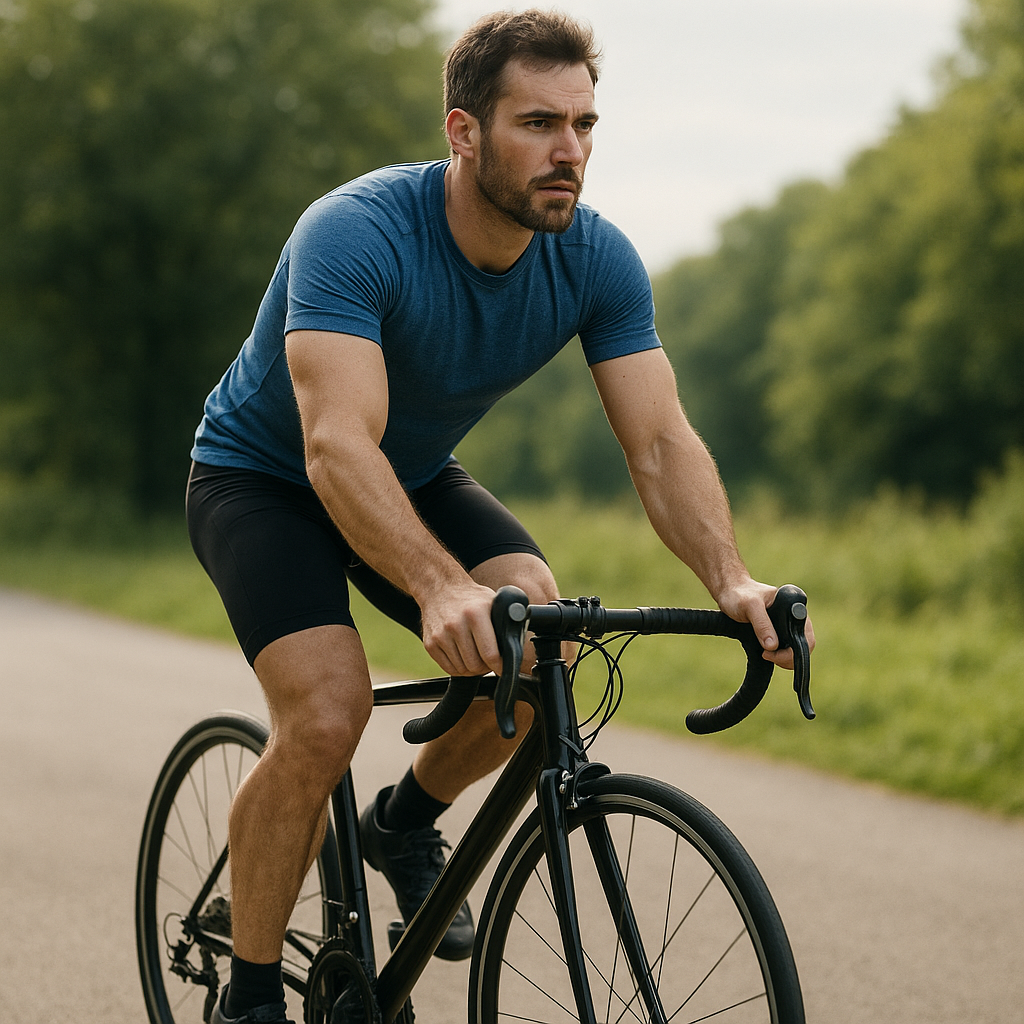
Mountain Bikes, Road Bikes, and Hybrids
Consider where your child will ride most frequently. Mountain bikes with knobby tires and front suspension excel on trails and uneven surfaces. Road bikes, featuring narrow tires and drop handlebars, are geared toward speed on paved roads. Hybrid bikes combine elements of both, offering a comfortable upright riding position and versatile tire treads for mixed terrain.
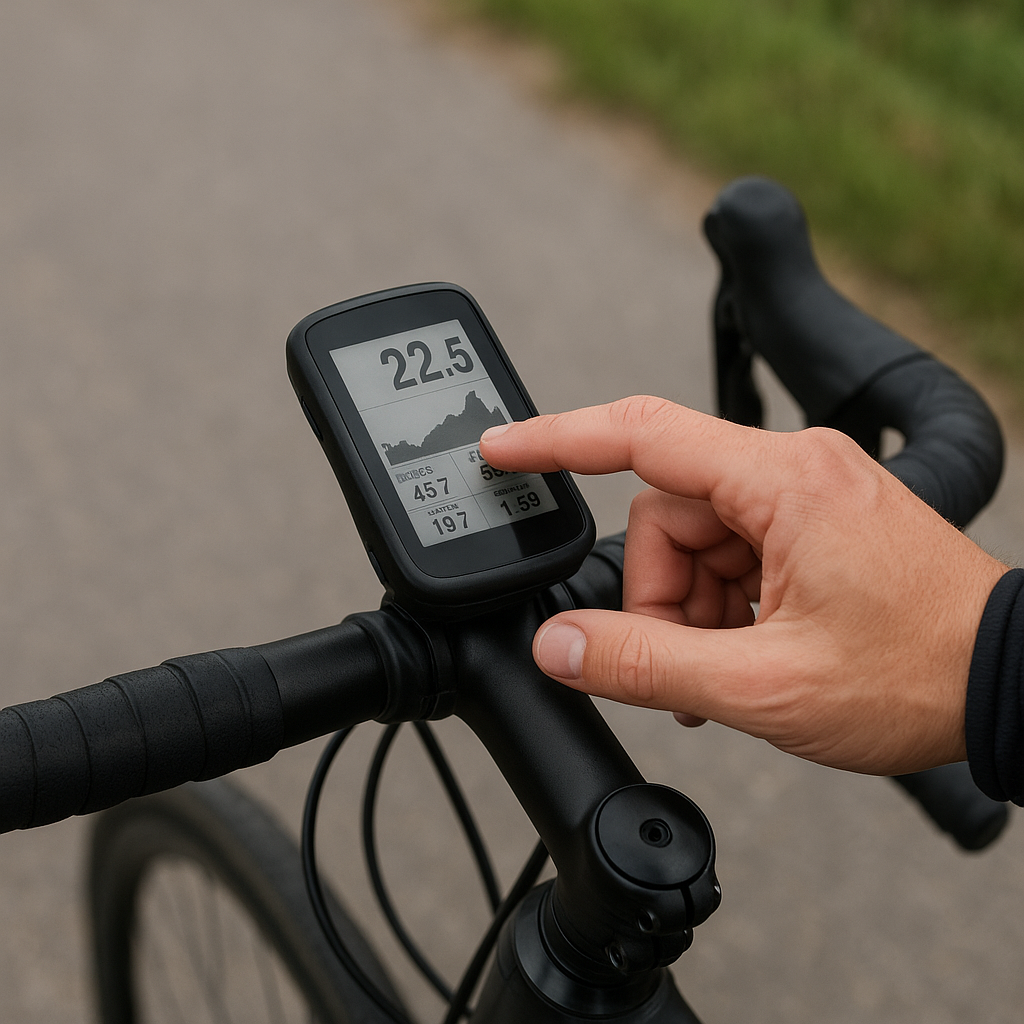
Gearing and Transmission Options
Single-speed bikes are low-maintenance and ideal for flat urban areas. Multi-gear models expand a child’s range, allowing easier pedaling uphill and stronger speeds on descents. For younger riders, look for bikes with internal hub gears—these are protected from dirt and require minimal upkeep. Derailleur systems offer a broader gear range but demand more regular adjustments.
Maintenance Tips and Essential Accessories
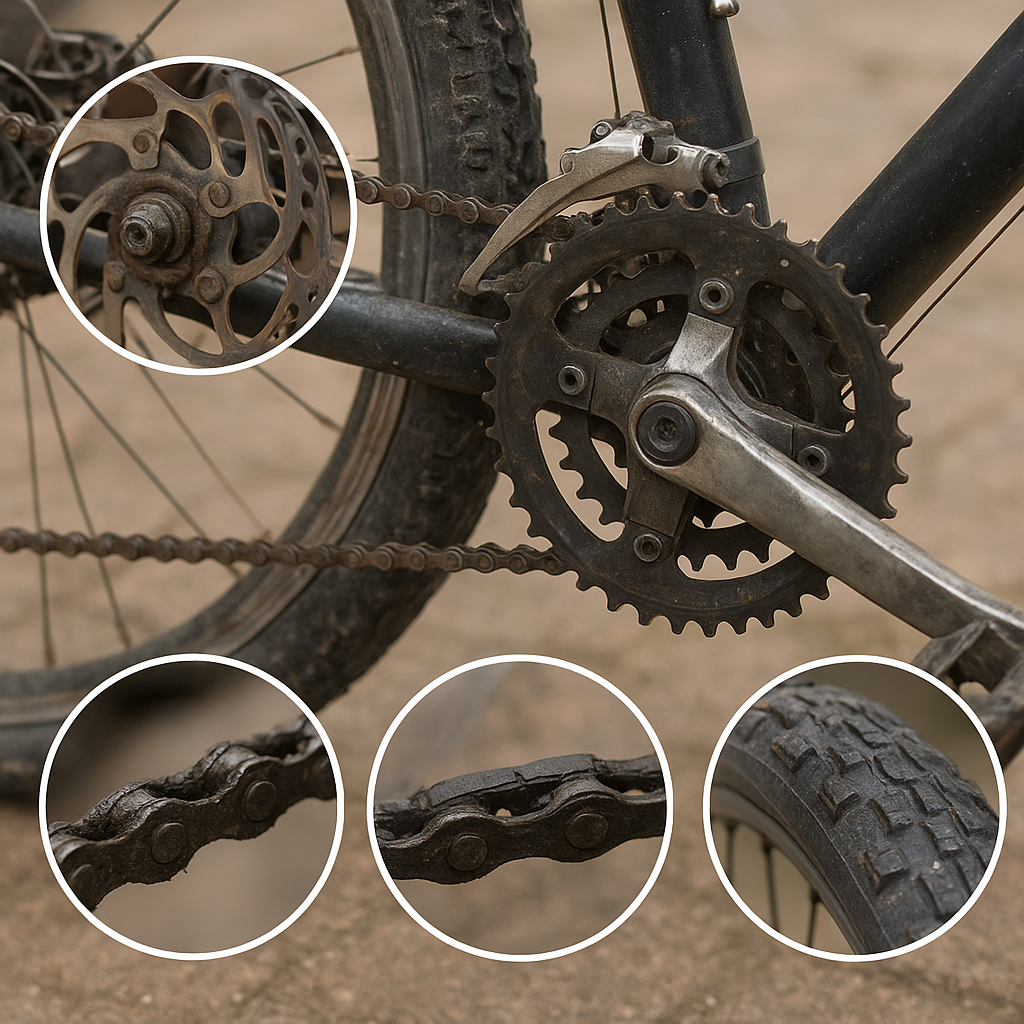
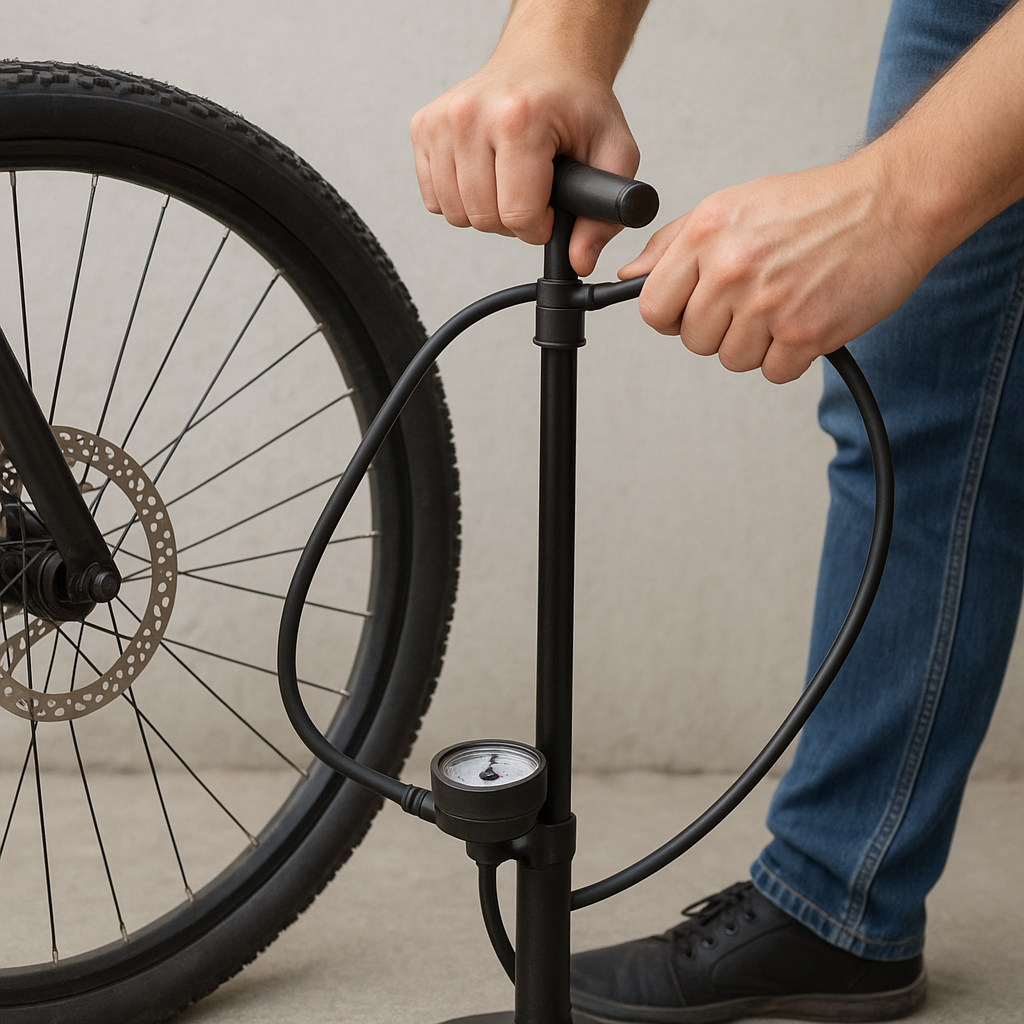
Routine Inspection and Tune-Ups
Regular maintenance ensures longevity and quality performance. Check tire pressure weekly and inflate according to manufacturer recommendations. Inspect brake pads for wear and replace them when the grooves are no longer visible. Clean and lubricate the chain monthly to prevent rust and ensure smooth shifting.
Essential Gear for Young Riders
- Reflective gear: Vests and stickers improve visibility in low light.
- Lights: Front and rear LEDs help others see the rider after dusk.
- Bell or horn: Allows kids to alert pedestrians and other cyclists.
- Knee and elbow pads: Provide extra protection during learning stages.
Teaching Safe Riding Habits
Beyond equipment, instilling responsible riding behavior is vital. Teach your child to look both ways before crossing roads, signal turns with clear hand signals, and maintain a safe distance from parked cars. Encourage practice in quiet, open spaces before venturing onto busier bike paths.
By focusing on these key areas—safety essentials, correct sizing and fit, selecting the right bike type, and maintaining strong riding habits—you’ll equip your child with the tools and confidence needed to enjoy cycling adventures for years to come.