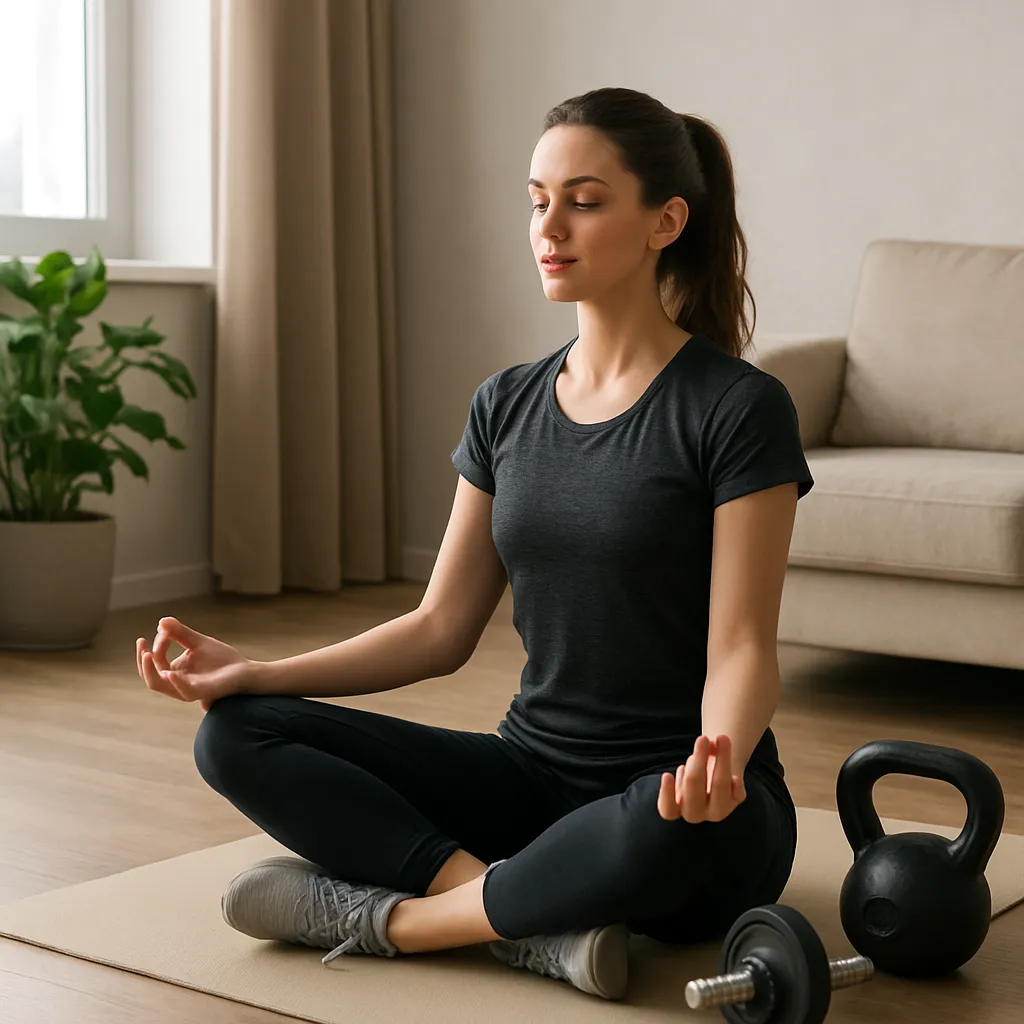
Choosing the right bicycle frame size is crucial for ensuring comfort, efficiency, and safety during every ride. An ill-fitting frame can lead to discomfort, poor handling, and even injuries. This guide provides a step-by-step approach to measuring your bike frame size accurately, helping you match your body’s proportions to the perfect frame.
Understanding Frame Geometry
Every bike frame comes with a set of measurements that describe its geometry. Familiarizing yourself with these terms will help you make an informed decision:
- Top tube length: The horizontal distance between the head tube and the seat tube. Influences reach and riding posture.
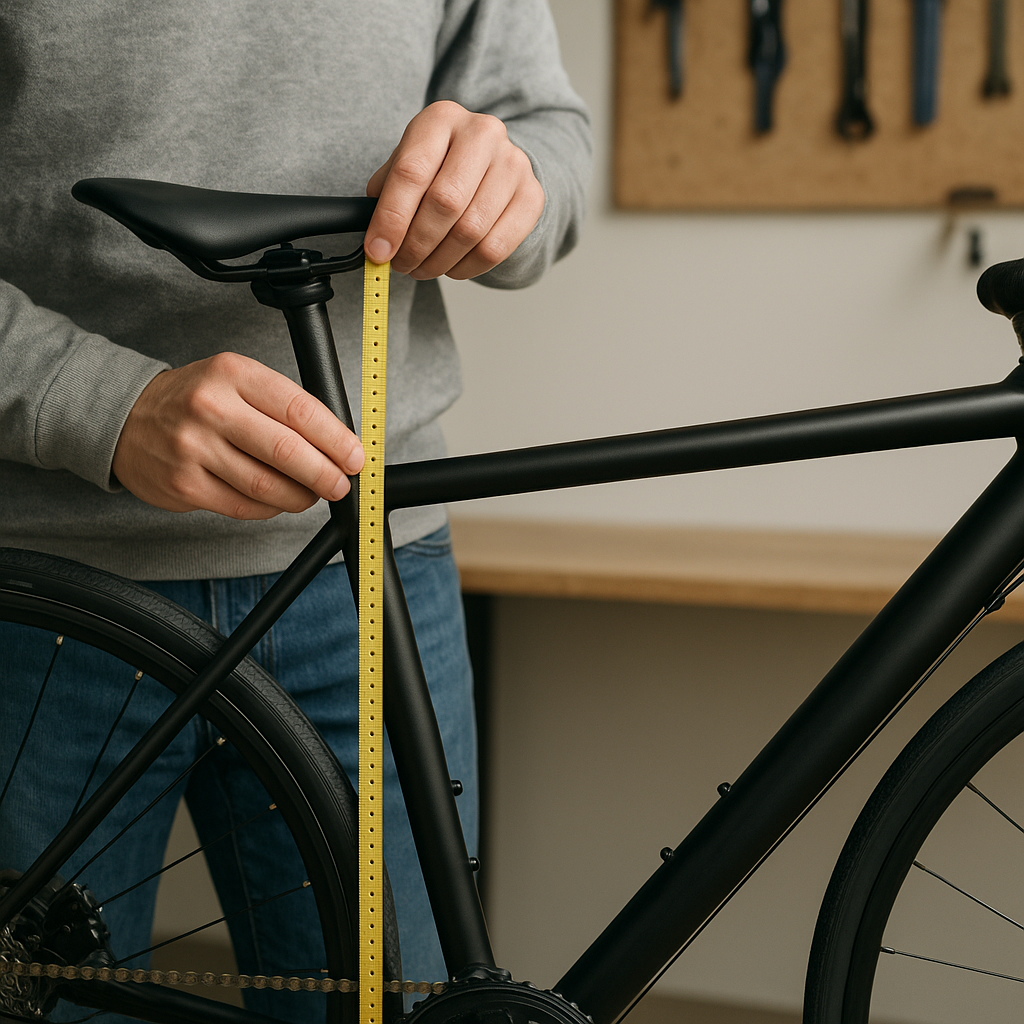
- Seat tube length: The distance from the bottom bracket to the top of the seat tube. Often used to label frame sizes.
- Head tube angle: Affects steering responsiveness and stability.
- Chainstay length: Impacts rear-wheel position and overall performance.
- Standover height: The clearance between the top tube and your crotch when straddling the bike.
Frame geometry differs across bike categories—road, mountain, hybrid, and gravel. Each builds in adjustments to accommodate varying riding styles, from aggressive aerodynamic positions on road bikes to more relaxed, upright setups on hybrids.
Measuring Your Inseam for Accurate Sizing
One of the most reliable indicators of a correct frame size is your inseam measurement. Follow these steps:
- Stand against a vertical surface with your feet approximately 15–20 cm apart.
- Place a hardcover book or similar object snugly between your legs, simulating the bike’s saddle.
- Measure from the floor to the top of the book. This is your inseam length in centimeters or inches.
Once you have your inseam measurement, use the following formulas for general frame categories:
- Road bike frame (cm): inseam × 0.67
- Mountain bike frame (inches): inseam × 0.685
- Hybrid bike frame (inches): inseam × 0.66
These calculations provide a starting point. Always consult the manufacturer’s size chart for exact recommendations, as tube angles and frame layouts can vary significantly.
Matching Frame Size to Riding Style
Different disciplines demand different fits. Consider your primary use to refine your choice:
Road Cycling
- Longer top tube for aerodynamic posture.
- Lower handlebar position to reduce wind resistance.
- Focus on ergonomics for sustained power transfer.
Mountain Biking
- Shorter top tube and slacker head tube angle for agile control on technical terrain.
- Higher standover for better maneuverability.
- Ensure enough clearance for aggressive flexibility when descending.
Commuting and Touring
- More upright geometry for increased visibility and comfort on city streets.
- Longer wheelbase for stability under carry loads.
- Consider frame mounts for racks and fenders.
Additional Fit Considerations
Beyond raw frame size, these factors further refine your ideal setup:
- Saddle height: Adjust so your leg is nearly straight at the bottom of the pedal stroke.
- Saddle setback: The horizontal distance between the saddle and bottom bracket affects balance and pressure distribution.
- Handlebar width and stem length: Crucial for proper shoulder alignment and precision steering.
- Crank arm length: Should match your leg length to maximize power and minimize joint stress.
Professional bike fitting services combine these adjustments into a personalized package, optimizing every contact point on the bike for peak performance.
Tools and Tips for Precise Measurement
Accuracy is key. Use the right equipment and follow these best practices:
- Quality tape measure or bike-specific sizing gauge.
- Flat shoes—avoid bulky soles that distort leg length.
- Repeat each measurement two or three times for consistency.
- Record values and compare them against multiple brand charts to account for alignment differences.
If in doubt, visit a local bike shop for hands-on assistance. Expert technicians can verify your measurements and recommend a frame that balances all critical parameters, ensuring your new bicycle fits like a glove.