Cyclists of all levels know the frustration of ending a ride with numb toes. That unsettling tingling or complete loss of sensation can turn a rewarding outing into a painful ordeal. Understanding the root causes and applying targeted strategies will help you stay comfortable, efficient, and in control. This guide explores footgear, bike setup, technique tweaks, and circulation tips to keep your toes alive and thriving on every pedal stroke.
Choosing the Right Footwear and Cleats
Proper footwear is the foundation of comfort on the bike. Shoes that are too tight compress nerves and blood vessels, while those that lack structure can leave your feet unsupported. By selecting the correct shoe type, sizing, and cleat position, you will reduce unwanted pressure on sensitive areas and maintain healthy circulation.
1. Shoe Selection: Road vs. Mountain vs. Commuter
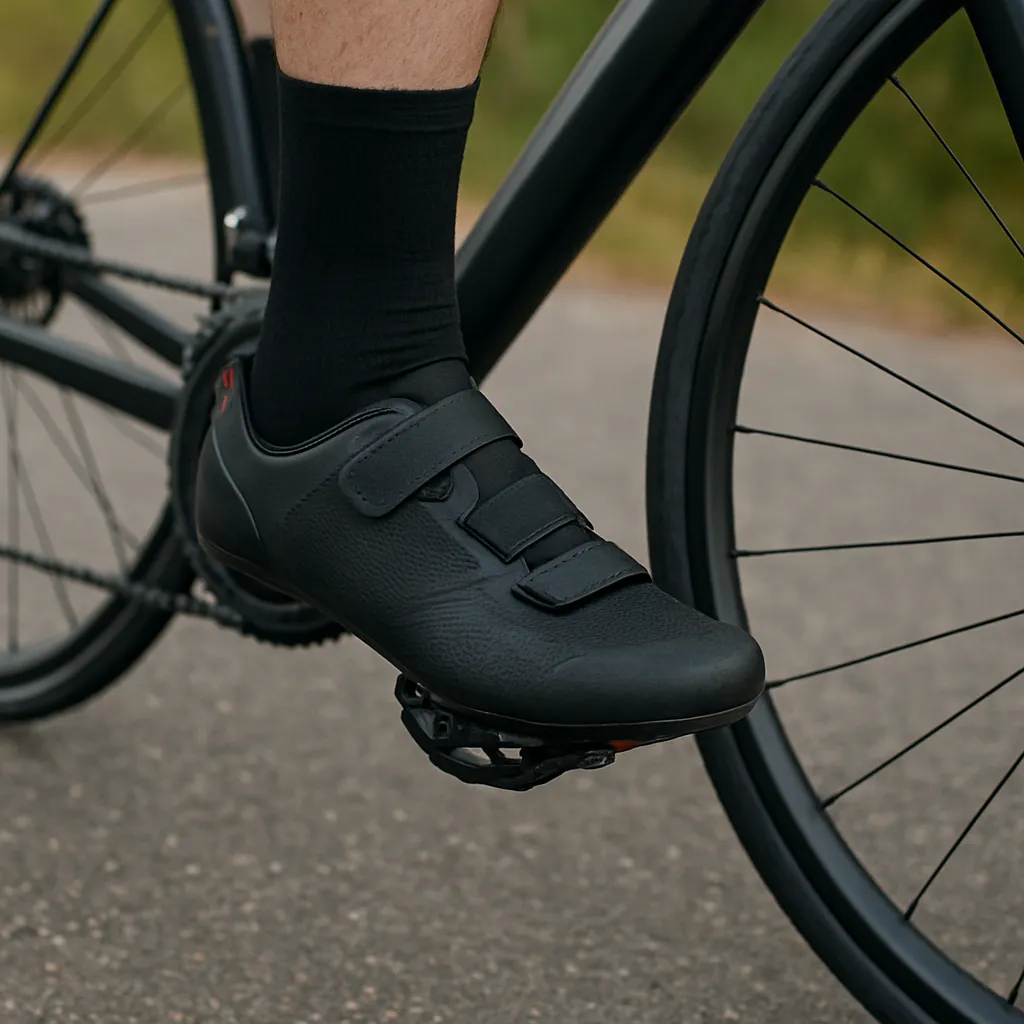
- Road cycling shoes often feature stiff soles and snug fits. Opt for models with adequate volume adjustment (BOA dials or velcro straps) to dial in a firm yet comfortable seal.
- Mountain bike footwear usually offers more cushioning and a slightly more forgiving fit. If you ride mixed terrain, these can give extra comfort without sacrificing efficiency.
- Commuter or touring shoes tend to be roomier, trading some pedaling efficiency for all-day comfort and walking flexibility. Ideal for rides that blend paved roads and errands.
2. Correct Sizing and Volume Control
When shopping, leave a thumbnail’s length of space between your longest toe and the shoe’s front. Feet expand slightly during exertion; fitting shoes with adjustable straps or BOA systems lets you fine-tune tightness mid-ride. Avoid overly loose footwear, which can cause your foot to slide and increase friction points.
3. Cleat Positioning
Cleats wield significant influence over foot biomechanics. A forward cleat may boost power in sprints but can intensify forefoot pressure. Shifting cleats slightly rearward distributes force more evenly. Ensure cleat rotation aligns your foot’s natural angle, preventing twisting that aggravates nerves.
Optimizing Bike Fit and Reach
An ill-fitting bike can force your feet into unnatural postures, compressing nerves and blood vessels. Proper adjustments to saddle height, fore-aft position, and handlebar reach are crucial to sustaining healthy posture and balance.
Saddle Height and Tilt
- Set saddle height so your knee retains a slight bend (around 25–35 degrees) at the pedal’s bottom stroke. Too high or too low can shift unwanted load to your forefoot or heel.
- A level saddle is generally best. A slight downward tilt can relieve anterior foot pressure, but excessive tilt causes you to slide forward, increasing strain.
Fore-Aft Saddle Adjustment
Slide the saddle along its rails until your knee cap sits directly above the pedal axle when the cranks are horizontal. This alignment balances force through the pedal and foot, minimizing hotspots in the toe box.
Handlebar Reach and Drop
Excessive reach can lead to overextension, shifting weight forward onto your toes. Narrow or shallow handlebar drops keep you more upright, reducing forward bias. Test stem lengths and riser bars to find a comfortable compromise between aerodynamics and ergonomic balance.
Fine-Tuning Pedaling Technique
How you apply force through each revolution influences foot comfort. Smoothing power delivery and avoiding abrupt spikes lessens localized compression under the metatarsals and toes.
Cadence and Smoothness
- A cadence of 80–100 revolutions per minute encourages a fluid pedal stroke. Slower spinning amplifies muscular force at each stroke, increasing pressure points under your feet.
- Practice “pedal circles” by focusing on pulling up as well as pushing down. Engaging hamstrings and hip flexors distributes effort away from the forefoot.
Foot Orientation and Pressure Distribution
Keep your foot parallel to the bike frame. Pointing toes too far inwards or outwards can create torque on the forefoot and compress nerves. Aim for an even spread of pressure across the entire sole. Experiment with foot beds and insoles that arch under your foot to guide natural alignment.
Unweighting Techniques
On rough terrain or during high-intensity efforts, you may grip the pedals tightly, inadvertently restricting blood flow. Practice brief moments of relaxed foot contact—lightly rolling through the limb when coasting—so circulation rebounds.
Improving Circulation and Comfort
Even with perfect gear and technique, long rides can cause natural swelling and stiffness. Incorporating specific measures to boost blood flow and relieve tension will keep your toes lively mile after mile.
Pre-Ride Warm-Up
- Perform ankle rolls and toe flexes off the bike to wake up the tiny muscles surrounding the metatarsal heads.
- A brief 5-minute easy spin on the trainer or a local path increases core temperature and primes capillary networks.
On-the-Road Strategies
Taking short standing breaks every 20–30 minutes can dramatically enhance lower limb circulation. While standing, wiggle your toes and gently roll your ankles. If your route includes stoplights or rolling terrain, use these natural pauses to shake blood through the feet.
Post-Ride Recovery
After dismounting, remove shoes and gently massage your feet, focusing on the arch and the base of toes. Cold water dips and light stretching of the calf muscles help relieve residual swelling and maintain tissue flexibility.
Advanced Tips and Accessories
For riders who still experience occasional numbness, consider exploring speciality products and professional services that offer targeted relief.
Custom Orthotics and Insocks
Custom-fitted orthotics can correct foot imbalances, distribute load more evenly, and reduce hotspots that lead to numbness. High-quality insoles made from foam or carbon fiber add arch support and dampen road vibration.
Compression and Circulatory Gear
- Compression socks designed for cycling help pump blood back to the heart and prevent pooling in the toes.
- Gel toe caps slip directly over each toe, acting as micro-cushions to shield sensitive nerves.
Professional Bike Fit
A session with a certified bike fitter can unearth subtle alignment issues invisible to DIY adjustments. By measuring limb lengths, joint angles, and dynamic movement, these experts configure your bike for optimal anatomical harmony.
Implementing these strategies—from selecting the correct footwear and cleat placement to refining your pedaling technique and enhancing circulation—will empower you to ride longer, harder, and with happy, responsive toes. A few adjustments can make the difference between dull, numbing discomfort and crisp, energizing contact with every revolution of the crank.