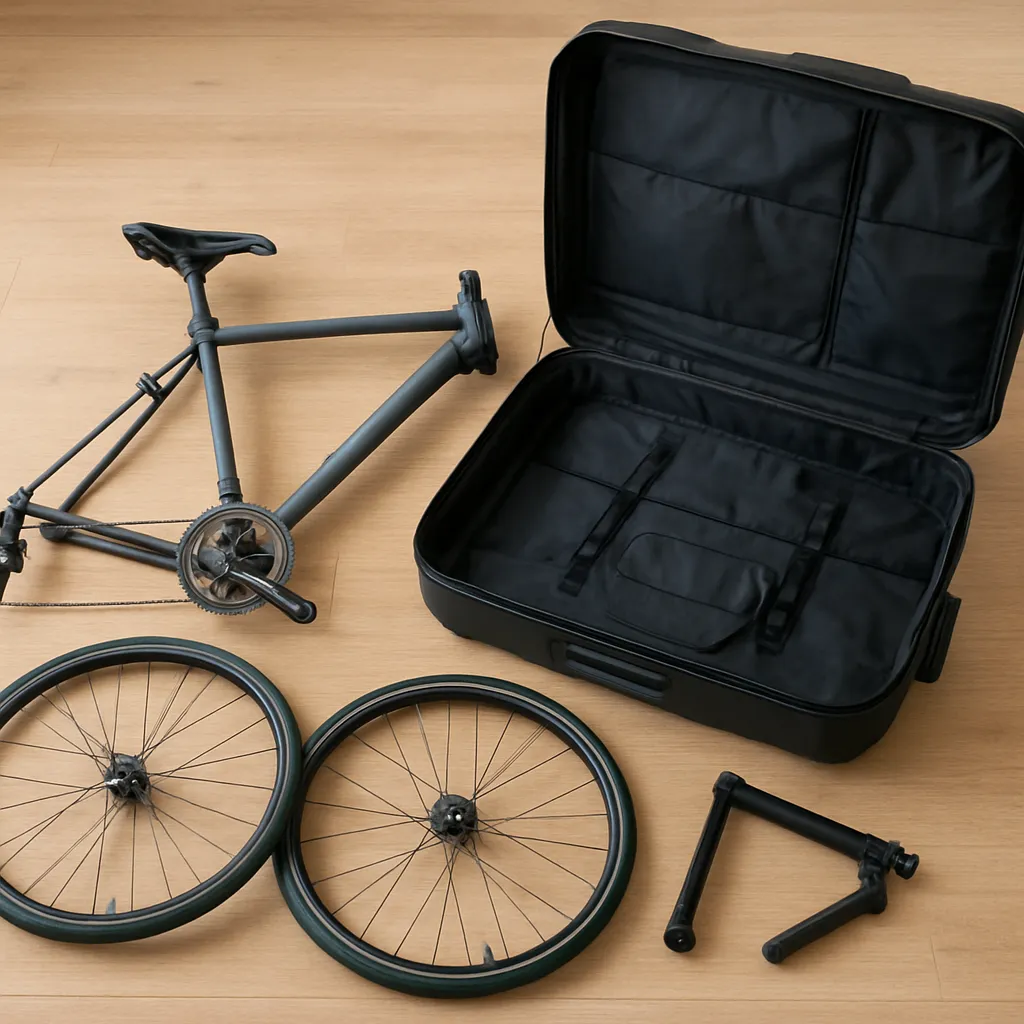
Storing a bicycle for an extended period requires more than simply locking it in a garage corner. Proper care before, during, and after storage can protect delicate components and ensure your ride springs back to life when you’re ready to hit the road again. This guide covers essential steps to prevent corrosion, maintain optimal performance, and save you time and money on repairs down the line.
Preparation Before Storage
Before tucking your bike away, spend time performing a thorough pre-storage routine. Neglecting this phase can lead to seized chains, seized bearings, and a host of frustrating issues once you retrieve the bike. Focus on these key areas:
1. Comprehensive Cleaning
Remove dirt, dust, and grime to stop abrasive particles from chewing away at metal surfaces. Begin by rinsing the frame lightly with water. Avoid high-pressure sprays near sealed bearings and suspension components. Use a gentle bicycle-specific cleaner and a soft brush to scrub the frame, wheel rims, and drivetrain. Rinse thoroughly and dry with a clean microfiber cloth. Ensuring the bicycle is completely dry will help prevent moisture-induced damage.
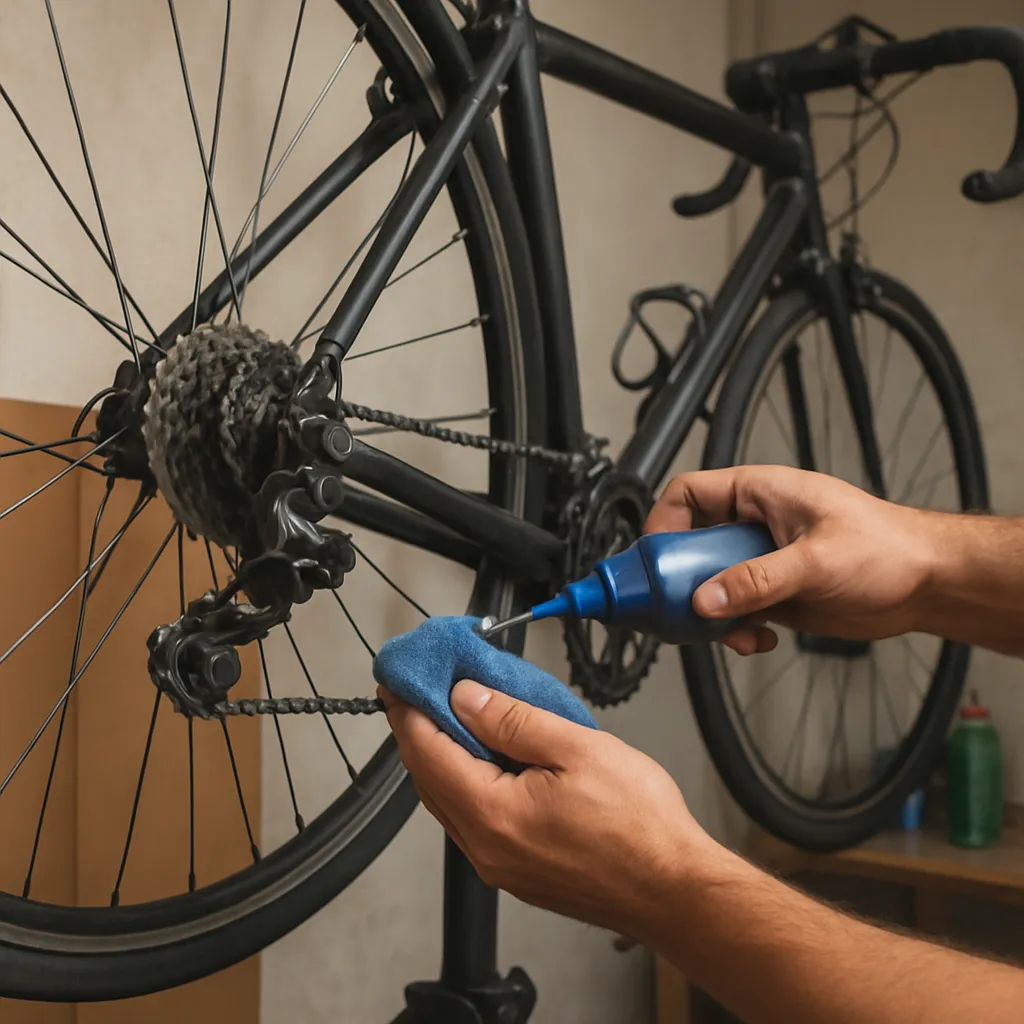
2. Lubrication of Moving Parts
Once the bike is spotless and dry, apply high-quality bicycle lubricant to the chain, derailleur pivots, and cables. Use a wet lube if you expect a humid storage environment; otherwise, dry lube works well in dryer conditions. Wipe off any excess to avoid attracting dust. Pay close attention to:
- Chain links and rollers
- Pivot points on the derailleur
- Brake and gear cables
3. Protecting Tires and Tubes
Inflate the tires to the manufacturer’s recommended pressure to keep them from developing flat spots. If possible, slightly reduce pressure for tubular tires, as overinflation over months can weaken casings. Consider moving the bike periodically (even just rotating wheels) if space allows. This simple act prevents long-term deformation of the tires and tubes.
Protective Measures during Storage
Choosing the right location and setup can make all the difference in preserving your bicycle’s integrity. Follow these guidelines to create an optimal storage environment:
1. Ideal Storage Conditions
Select a place that is dry, well-ventilated, and away from extreme temperatures. Avoid damp basements and uninsulated sheds prone to condensation. If you have no choice but to store in a less ideal location, invest in a small dehumidifier or moisture-absorbing packs. Humidity control is critical to preventing rust and mold growth.
2. Frame and Component Protection
Use a breathable bike cover or a cotton sheet to shield the frame from dust. Do not use plastic tarps, as they trap moisture and promote corrosion. If hanging the bike, employ sturdy wall hooks or ceiling hoists designed to support its weight without stressing the wheels. Alternatively, store the bike on a stand that relieves pressure from the wheels and tires.
Maintenance Checklist
- Verify all clamps and quick releases are secure but not overtightened
- Cover the bike with a breathable fabric
- Place moisture absorbers near the storage area
- Check indoor temperature remains within safe range (10–25°C)
3. Battery and Electronic Component Care
If your bicycle is equipped with an electric motor or electronic shifting, remove the battery and store it in a cool, dry spot away from direct sunlight. Aim to keep the battery charged between 30% and 60%, checking its level every two months. This prolongs battery health and prevents rust on any exposed terminals. For wireless electronic derailleurs, remove the batteries from every remote or display unit to avoid leakage during prolonged storage.
Revival after Long-term Storage
When the time comes to bring your bicycle back into service, follow a structured post-storage routine. Skipping these steps risks damage to components and safety hazards on the road.
1. Inspection and Cleaning
Start by wiping down the entire bike once more to remove settled dust. Inspect the frame for any signs of surface corrosion, cracks, or paint damage. Carefully examine the wheels for trueness and look for wear indicators on the rim braking surfaces or disc rotors.
2. Component Checks and Adjustments
Open the pre-storage checklist and reverse it:
- Reinstall the battery and perform a system power-on check
- Re-lubricate the chain, derailleur pivots, and cables. Old lube may degrade over time, so applying a fresh layer is crucial
- Check tire pressures and look for signs of cracking or flat spots. Replace tubes or tires if necessary
- Spin each wheel to detect any bearing play. Adjust or service hubs as needed
3. Brake and Gear Performance
Test the brakes by applying pressure on the levers. Listen for odd noises or spongy responses, and adjust cable tension or bleed hydraulic lines if required. Shift through all gears, ensuring the chain moves smoothly across each sprocket. Fine-tune the barrel adjusters on the derailleur to eliminate chain chatter or skipping.
4. Final Test Ride
Before embarking on a long journey, take a brief test ride around the block. Evaluate handling, braking, and shifting under light load. Pay attention to any unusual vibrations, rattles, or stiffness in the steering. This final check helps you catch lingering issues before heading out on a demanding ride.
By following these steps—comprehensive cleaning, proper lubrication, strategic environmental controls, and thorough post-storage inspections—you’ll keep your bicycle ready for action. Consistent attention to detail ensures that long-term storage doesn’t translate to lengthy repair sessions, letting you focus on the joy of riding instead.