Navigating the roads after dusk demands more than just skill and courage; it requires the right lighting setup to ensure unwavering safety and optimal visibility. Whether you’re a commuter weaving through city streets or an adventurer tackling off-road trails, selecting the best bike lights can make all the difference in how confidently you ride when the sun goes down. This guide breaks down essential considerations, types of lighting, mounting strategies, and maintenance tips to help you shine bright on every nocturnal journey.
Importance of Quality Bike Lights
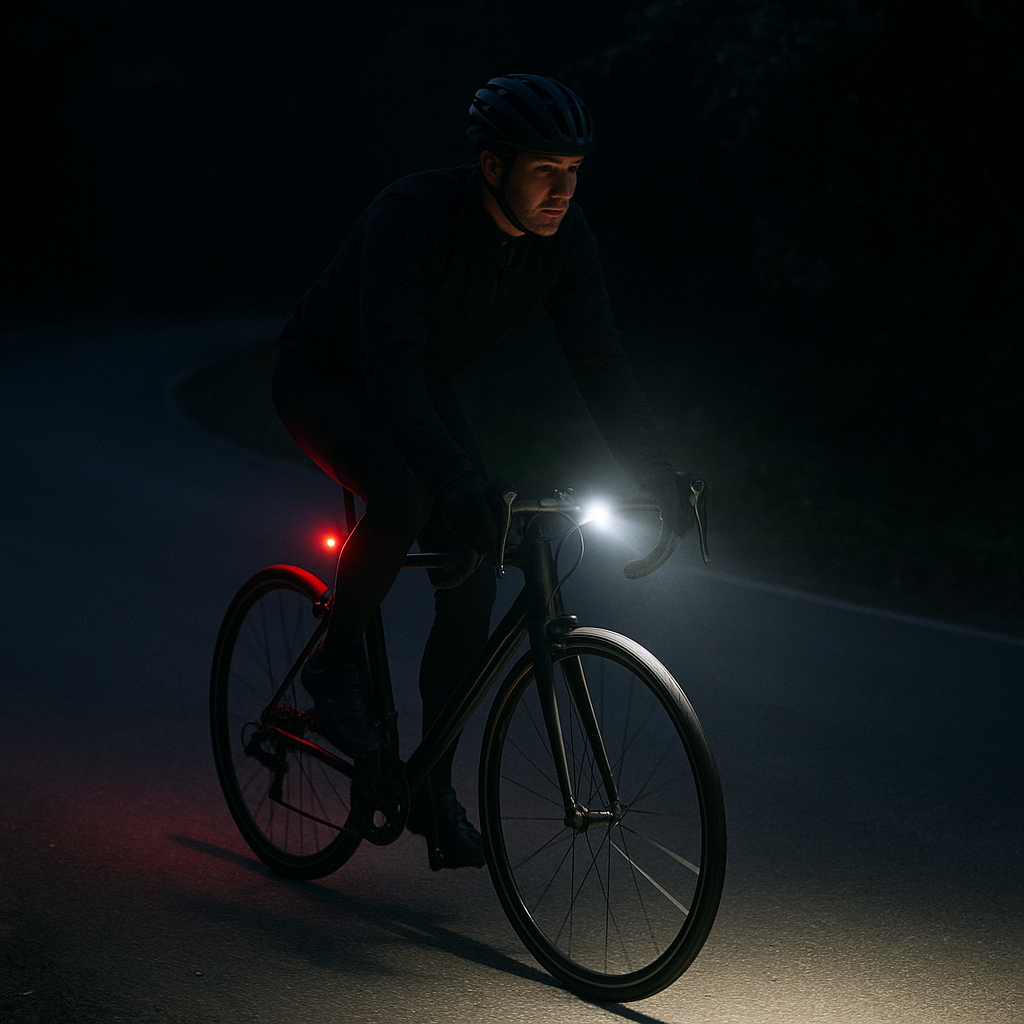
Cycling at night presents unique challenges: reduced reaction time, hidden obstacles, and less predictable traffic behavior. Investing in high-quality lights not only illuminates your path but also signals your presence to motorists, pedestrians, and fellow cyclists. Inferior or dim lights can create dangerous shadows, cause uneven beam patterns, and fail at critical moments. Strong, reliable lighting enhances your awareness of surface changes, potholes, and other hazards, while improving your overall riding experience.
Types of Bike Lights
- Front Lights (Headlights): Mounted on the handlebars or helmet, these lights provide forward illumination. They’re often rated by lumens, describing total light output.
- Rear Lights (Taillights): Red in color, designed to increase your visibility to traffic from behind. Many models feature multiple flash modes for maximum attention.
- Side Visibility Lights: Smaller LEDs attached to wheel spokes or frame to enhance lateral detection by drivers at intersections.
- Helmet Lights: Ideal for directing light where your head turns, offering flexibility but usually lower lumen output than handlebar-mounted units.
Key Features to Consider
Lumen Output and Beam Pattern
Brightness, measured in lumens, is often the first specification cyclists check. However, a high lumen count alone doesn’t guarantee a well-shaped beam. A focused center beam with a wide spill provides both depth perception and peripheral coverage. Look for lights that balance flood and spot functions:
- Spot Mode: Concentrates light on distant objects, useful for faster rides on open roads.
- Flood Mode: Widens the beam, enhancing your awareness of roadside hazards or trail edges.
Battery Life and Power Options
Long rides demand robust battery life. Consider:
- Rechargeable Lithium-Ion Packs: Offer consistent power and are eco-friendly, but require charging infrastructure.
- AA Batteries: Simple to replace in remote areas, though heavier and prone to leaking if left unused.
- USB Charging: Convenient for riders carrying power banks; check for quick-charge capabilities to minimize downtime.
Runtime varies with mode and output. Always carry a backup battery or a compact power pack for extended journeys.
Durability and Weather Resistance
Rugged construction ensures your lights survive bumps and drops. Seek aluminum housings or reinforced plastics with at least IPX4 water-resistant ratings. For frequent off-road use or harsh climates, an IPX7 rating provides added peace of mind against heavy rain or accidental submersion.
Mounting Systems and Adjustability
Strong, secure mounting keeps your light firmly in place on rough terrain. Popular options include:
- Rubber Straps: Quick to install and compatible with various tube diameters, but may loosen over time.
- Quick-Release Clamps: Allow tool-free removal and repositioning, ideal for commuters concerned about theft.
- Helmet Clips: Lightweight and versatile, though weight high on your helmet can cause neck fatigue during longer rides.
Mounting and Positioning Strategies
Proper alignment ensures the center beam illuminates the road at the correct angle without dazzling oncoming traffic. Follow these tips:
- Handlebar Mounting: Position lights about 2–3 fingers below horizontal to avoid glare into other riders’ eyes.
- Helmet Mounting: Always pair a handlebar light with a helmet light for maximum coverage when looking into corners.
- Rear Light Placement: Mount as high as possible on the seat post or saddle rails to improve visibility through traffic.
- Side Visibility: Use spoke-mounted LEDs at wheel hubs to create a glowing circle that’s visible from all angles.
Maintenance and Care
Charging and Storage
Adhering to recommended charging cycles preserves battery health. Avoid fully depleting rechargeable packs and store lights in a cool, dry place. If you won’t ride for weeks, remove batteries to prevent leaks or over-discharge.
Routine Checks and Cleaning
Dirt and grime can obscure lens clarity. After unpaved rides or in wet conditions:
- Wipe lenses with a soft, damp cloth.
- Inspect mounting brackets for cracks or wear.
- Test all flash modes monthly to confirm functionality.
Advanced Lighting Accessories
Enhance your setup with auxiliary attachments:
- Battery Packs with Integrated Display: Allow you to monitor remaining runtime in real time.
- Remote Switches: Enable mode changes without removing hands from the grips, crucial for technical trail riding.
- Reflective Stickers and Tape: Compliment your lights by adding passive safety elements to your frame.
Choosing Lights for Specific Cycling Styles
Every riding discipline demands different illumination strategies. Below are tailored suggestions:
Urban Commuting
- 500–800 lumens front light for well-lit streets
- Flashing rear mode for high visibility in traffic
- Compact, lightweight design to fit panniers
Mountain Biking
- 1200+ lumens with wide flood beam
- Helmet-mounted spot light for precise corner vision
- Sturdy mounts and high IP rating for wet trails
Endurance and Touring
- Dual battery system for ultra-long rides
- Multiple modes to conserve energy on overnight tours
- USB charging for power bank compatibility