Fixing a misaligned derailleur is essential for smooth rides and reliable shifts. A properly tuned derailleur ensures effortless gear shifting and maintains optimal performance on every ride. Whether you’re tackling steep climbs or cruising city streets, understanding the steps to correct alignment will elevate your bicycling experience. This guide walks you through the causes, tools, and step-by-step procedure for a flawless derailleur setup.
Understanding Misalignment Causes
Misalignment often stems from impacts, wear, or improper installation. A bent hanger can throw the entire system off, causing grinding, skipping, or chain drops. Even slight deviations in the derailleur’s position disrupt the smooth engagement of gears. Recognizing early signs—such as noise during shifts or inability to reach certain cogs—prevents damage to the chain and cassette. Proper diagnosis leads to targeted fixes, saving time and cost in the long run.
Common factors leading to misalignment include:
- Falls or crashes that bend the derailleur or hanger
- Loose mounting bolts allowing gradual shift off-center
- Excessive wear in the derailleur pivots reducing precision
A careful inspection at regular intervals supports proactive maintenance and keeps your drivetrain in top shape.
A slightly skewed frame or damaged dropout may require professional attention. However, most home mechanics can handle minor tweaks by following systematic checks. Measuring derailleur hanger alignment with a specialized tool reveals true vertical and horizontal deviation. Identifying the specific issue ensures that correction efforts are focused and effective.
Tools and Preparation
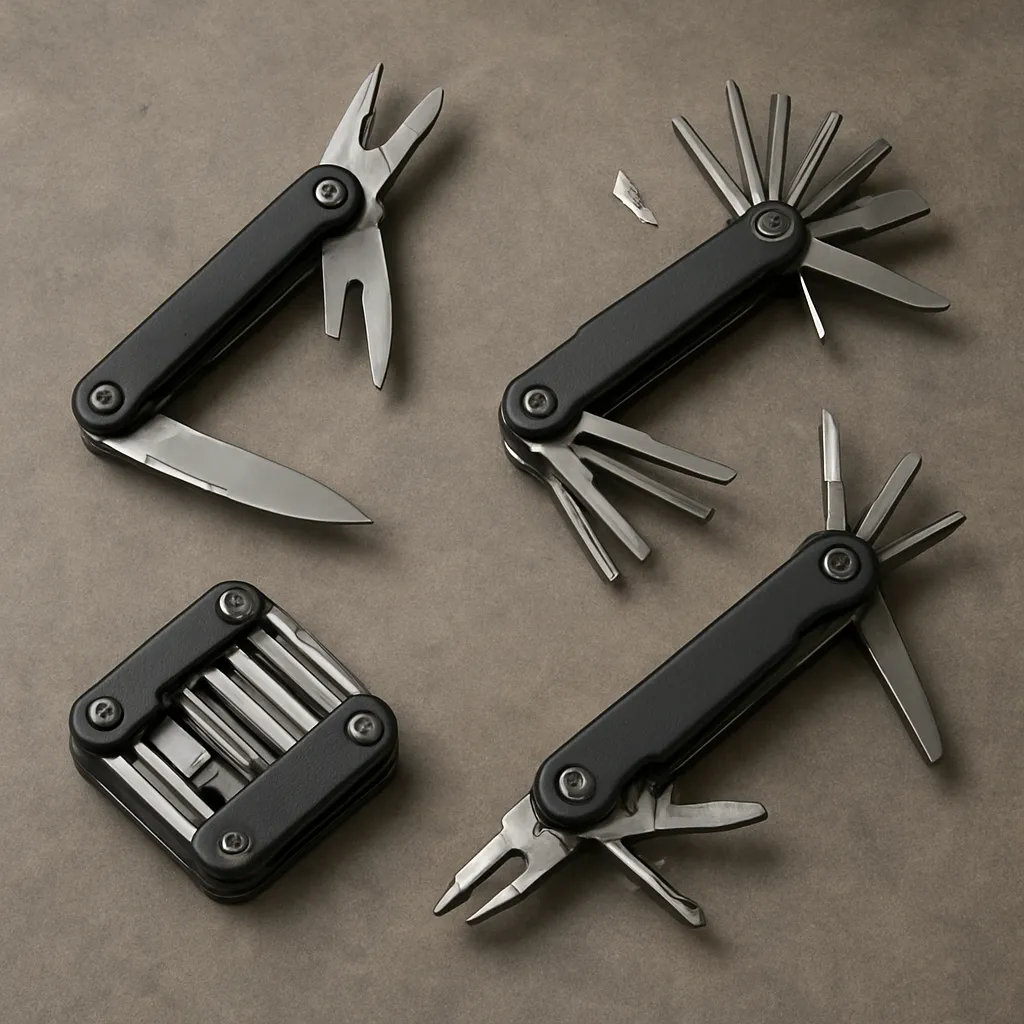
Gathering the right equipment simplifies the repair. Essential tools include:
- Hex wrenches (usually 5mm and 6mm) for derailleur mounting bolts
- A derailleur hanger alignment gauge for precision assessment
- Screwdrivers (flat or Phillips) to adjust high/low limit screws
- Chain checker or ruler to verify chain wear before adjustment
- Bike stand or stable surface for secure setup
Ensuring your workspace is clean and well-lit reduces mistakes. Place small parts into magnetic trays to prevent loss during the procedure.
Before starting, shift into the smallest chainring and smallest rear cog. This relieves tension on the derailleur and makes bolt removal easier. Check the derailleur hanger for straightness by eye, then confirm with the alignment gauge. Any wobble or tilt greater than a millimeter warrants correction.
Wearing gloves prevents grease from spreading on hands. A rag and degreaser allow you to remove built-up grime so that components ride smoothly and you can clearly see the derailleur’s mounting area. Clean surfaces ensure bolts seat correctly, crucial for maintaining lasting alignment.
Adjustment Procedure
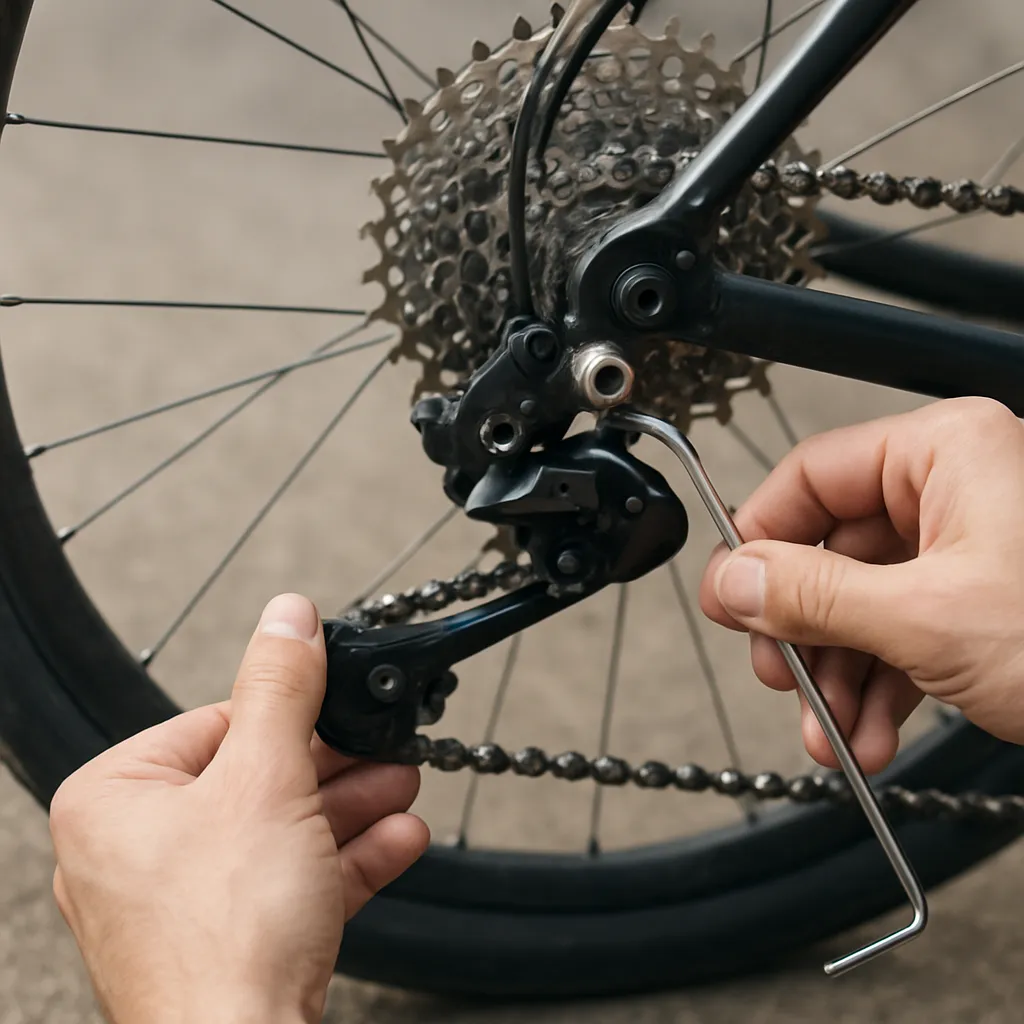
Step 1: Loosen the derailleur mounting bolt. Do not remove it completely—just enough to allow minor movement.
Step 2: Position the derailleur exactly under the smallest cog, ensuring the jockey wheels align vertically with the cog teeth.
Step 3: Tighten the mounting bolt once the vertical plane is corrected. Torque to manufacturer specifications to avoid over- or under-tightening.
Next, address the limit screws:
- High limit (H) screw sets the outer travel to prevent overshooting the smallest gear.
- Low limit (L) screw controls inward travel to stop the chain from falling into spokes.
Turn screws in small increments—about a quarter-turn—and test the shift after each adjustment. Proper limit screw calibration ensures safe stops at both ends of the cassette.
Finally, fine-tune the cable tension using the barrel adjuster. Turning it clockwise reduces tension; counterclockwise increases tension. With the chain on a mid-range cog, twist the barrel until shifts are crisp and without hesitation. The goal is to achieve consistent, accurate indexing across all gears.
Troubleshooting Common Issues
If shifting remains imperfect, consider these checks:
- Inspect cable housing for frays or corrosion that impede smooth cable movement.
- Ensure the derailleur pivots are not stiff. Lubricate if necessary.
- Verify that the chain is within wear limits; a stretched chain can skip under load.
Sometimes, replacing an old cable and housing yields significant improvement. Friction in the system often leads to shifting delays and requires more tension at the barrel adjuster, which can mask other problems.
In cases of extreme misalignment or a severely bent hanger, even perfect adjustments will fail. Use the alignment gauge to straighten the hanger or replace it if it’s beyond correction. New hangers are inexpensive and easy to swap, restoring ideal positioning.
Persistent noise or skipping on a particular cog may indicate a worn cassette. Inspect teeth for shark-fin shapes or significant wear. Replacing the cassette and chain together maintains even wear and restores reliable gear shifting.
Maintenance Tips for Lasting Performance
Regular care prevents future misalignment. Clean and lubricate the derailleur pulleys monthly, or more often in wet conditions. Light application of bike-specific lubricant at pivot points maintains precision and extends component life.
Inspect cable tension before every ride. Even a small stretch after a few outings can degrade shifting quality. Learning to make quick barrel adjuster tweaks means you can refine performance on the go, without tools or lengthy stops.
A complete drivetrain overhaul once a year—including chain, cassette, and chainrings—ensures all parts work in harmony. Replacing worn components in matched sets maintains optimal shifting and prevents cosmetic but functionally harmful misalignments.
Finally, consider professional service for comprehensive checks. A trained mechanic can spot hidden frame or dropout issues that DIY adjustments might miss. Investing in periodic tune-ups keeps your bike ready for any adventure.