Facing a stubborn bicycle pedal that refuses to budge can be both frustrating and time-consuming. Whether you’re preparing for a weekend ride or just performing routine servicing, getting that pedal free without causing damage requires patience, the right approach, and proper tools. This guide will walk you through diagnosing the issue, gathering the necessary equipment, executing safe removal steps, and applying preventive practices to keep your bike in peak condition.
Understanding the Cause of a Stuck Bike Pedal
Before diving into removal techniques, it’s essential to identify why the pedal is jammed. Several factors can contribute to a stuck pedal:
- Corrosion and rust: Exposure to water or humidity can eat away at the metal surfaces, causing the threads to fuse.
- Dirt and debris: Mud or grit trapped in the pedal-crank interface creates additional friction.
- Insufficient lubrication: Over time, the original grease can dry out or be washed away, leading to metal-on-metal contact.
- Cross-threading: Improper installation or over-tightening may have damaged the threads.
- Physical damage: A bent crank arm or pedal axle may lock components in place.
Recognizing the root cause will help you choose the most effective strategy for freeing your pedal without worsening the problem.
Essential Tools and Materials You’ll Need
Having the proper gear at hand will streamline the process and reduce the risk of injury or equipment damage. Here’s what you should gather:
- Pedal wrench or adjustable wrench – designed to fit the narrow flats on the pedal axle.
- Hex keys (Allen wrenches) – many modern pedals use an internal bolt.
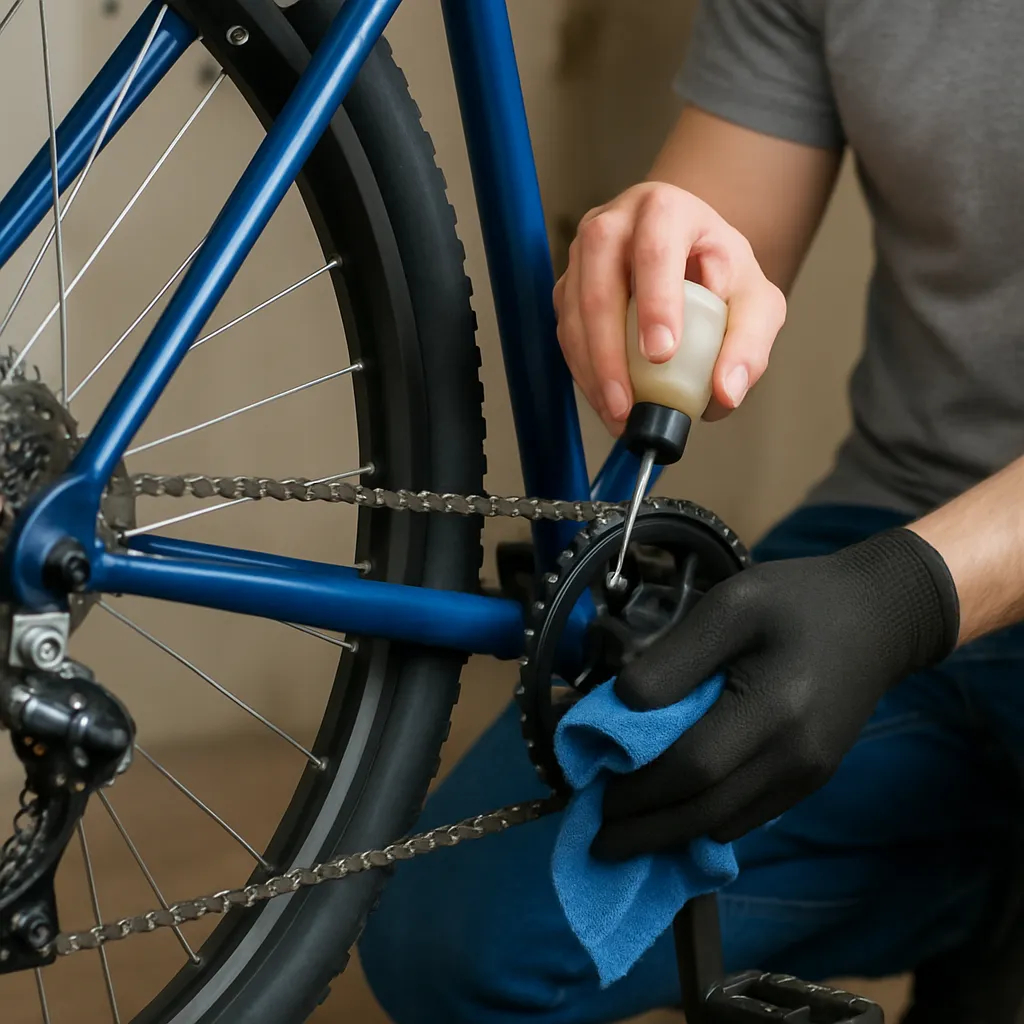
- Penetrating oil or spray lubricant – to loosen corrosion and old grease.
- Quality bicycle grease – for reassembly.
- Protective gloves – to guard against sharp edges and chemicals.
- Rags or paper towels – for cleanup.
- Rubber mallet or small hammer – for gentle tapping when necessary.
- Heat source (optional) – a heat gun or hairdryer helps expand metal parts.
With these tools ready, you’ll minimize delays and ensure a smooth operation from start to finish.
Step-by-Step Guide to Removing a Stuck Pedal
1. Secure the Bicycle
Position your bike in a stable repair stand or lean it against a solid surface. Ensure the crank arm is level with the ground so you can apply even force without the bike shifting. Engage the gears to prevent wheel movement if the bike isn’t secured in a stand.
2. Apply Penetrating Oil
Spray a generous amount of penetrating oil onto the pedal threads where they meet the crank arm. Let it soak for at least 10–15 minutes to allow the lubricant to work its way into tight spaces. For severe corrosion, you may need a second application and a longer dwell time.
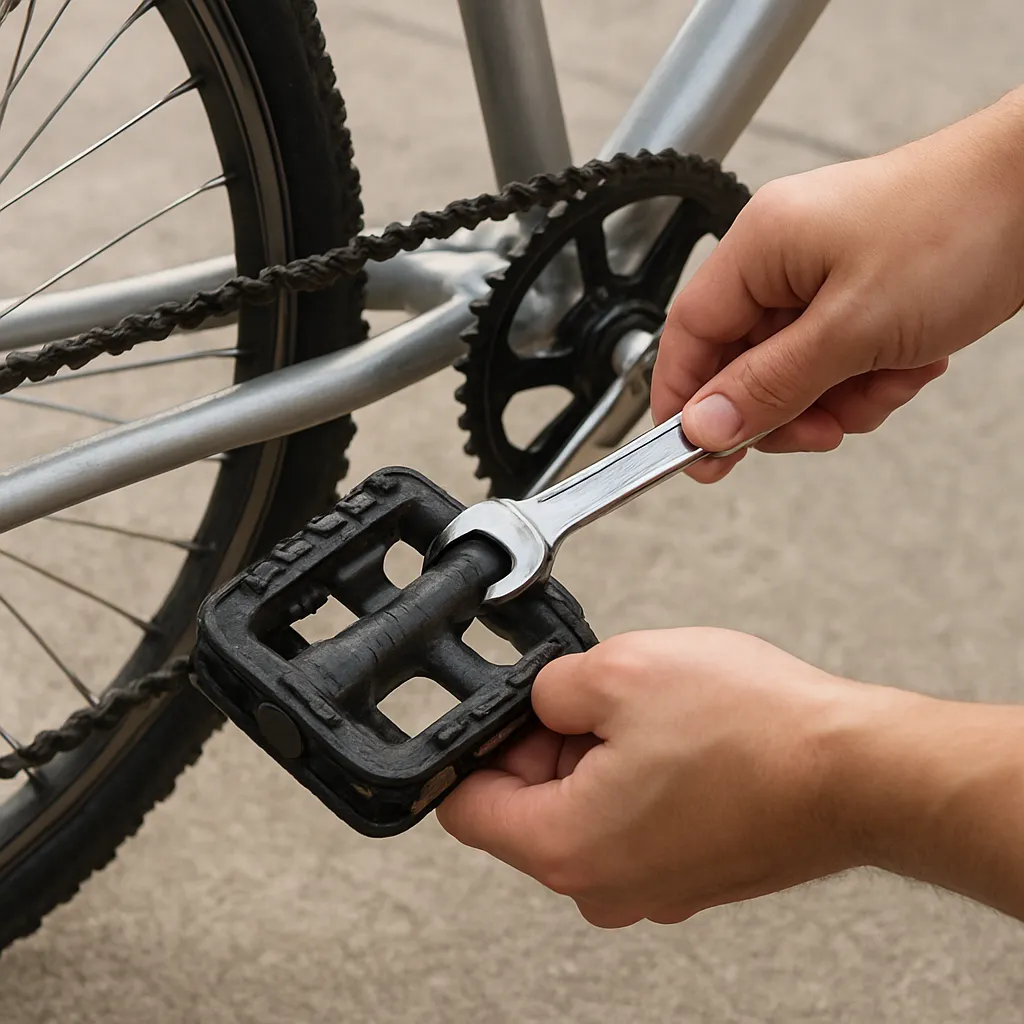
3. Select the Correct Wrench
Attach the pedal wrench or adjustable wrench to the flats on the pedal axle. For pedals with an internal bolt, use the proper hex key placed inside the crank arm. Remember: the right-side pedal (drive side) loosens counterclockwise, while the left-side pedal (non-drive side) loosens clockwise. This reverse threading can catch many people off guard.
4. Apply Controlled Force
With the wrench in place, apply steady, even pressure. Avoid sudden, forceful yanks that could round off the flats or damage the threads. If the pedal still refuses to move, use a length of metal pipe slipped over the wrench handle to increase leverage. Proceed incrementally to prevent over-torquing and stripping the fitting.
5. Use Heat to Loosen Tight Joints (If Necessary)
If lubrication and leverage fail, carefully apply heat to the crank arm around the pedal interface using a heat gun or hairdryer. Heating the crank metal will cause slight expansion, helping break the bond. Avoid using an open flame and protect nearby components from excessive heat.
6. Gentle Tapping Technique
Place a scrap of wood or a rubber block against the wrench handle to cushion contact, then tap lightly with a mallet or small hammer. The series of gentle impacts can jar the corroded connection free. Reapply penetrating oil afterward and attempt turning the wrench again.
7. Final Removal and Cleanup
Once the pedal begins to budge, continue unscrewing it fully. Remove any remaining debris or old grease from the threads using a clean rag. Inspect the crank arm threads and the pedal spindle for damage. If the threads are heavily corroded or deformed, consider replacing the pedal or crank arm to ensure safe operation.
Preventive Maintenance Strategies
Regular maintenance is the best defense against future issues with your pedals. Implement these practices to keep everything spinning smoothly:
- Clean and degrease pedal threads during every major service or when wheels are removed.
- Apply a fresh layer of high-quality bicycle grease to the threads before installation.
- Torque pedals to manufacturer specifications to avoid under- or over-tightening.
- Inspect pedals, spindles, and crank arms for signs of wear or damage at least twice a season.
- After wet rides, remove and dry pedals to prevent corrosion buildup.
- Use anti-seize lubricant in coastal or high-humidity environments.
Adhering to these guidelines will reduce the chances of encountering another stuck pedal and prolong the life of your bicycle components.