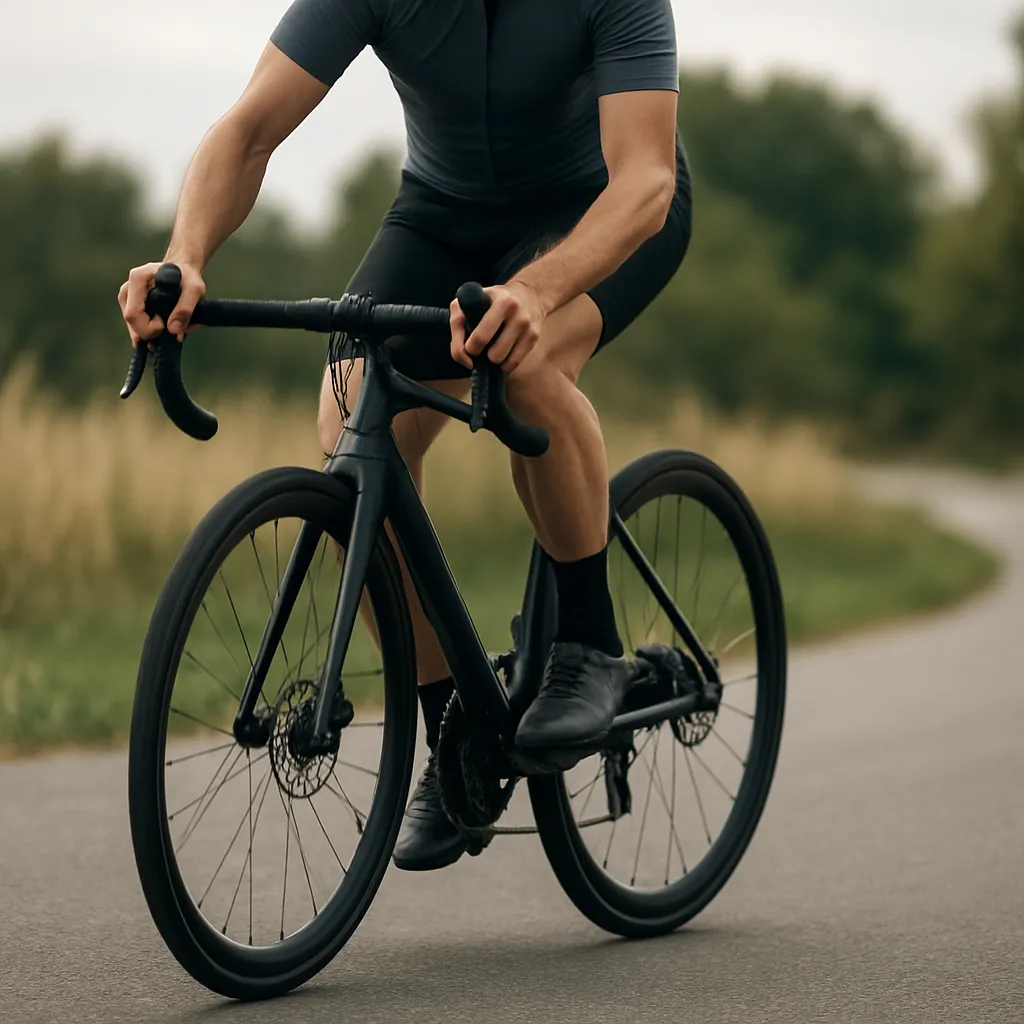
Mastering the use of clipless pedals can significantly enhance your cycling experience, offering unmatched efficiency, power transfer, and overall control. Whether you ride for recreation, competition, or commuting, understanding the nuances of these pedals will transform the way you push through each revolution.
Understanding Clipless Pedals
Contrary to their confusing name, clipless pedals actually involve clipping in and out of the pedal with a special shoe and cleat system. This design eliminates the bulky toe clips of old, delivering a streamlined interface between shoe and pedal.
What Are Clipless Pedals?
Clipless pedals consist of two primary components: the pedal body and the cleats attached to compatible cycling shoes. The cleats snap into the pedal mechanism, securing your foot to the crank. When properly engaged, the connection allows for a more stable ride and continuous force application throughout the entire pedal stroke.
Benefits of Using Clipless Pedals
- Improved power transfer by avoiding energy loss from foot slippage.
- Enhanced stability and foot positioning, reducing the risk of misplacement.
- Better pedaling efficiency with the ability to pull up as well as push down.
- Reduced fatigue due to optimized biomechanics.
- Increased bike handling precision thanks to a secure foot-pedal interface.
Preparing to Clip In
Before hopping on the saddle, some careful preparation ensures safe engagement and release. Follow these steps to get everything dialed in.
Choosing the Right Cleats
Select cleats compatible with both your pedals and your cycling shoes. Popular standards include SPD, Look Keo, and Crankbrothers. Each style offers different float angles, which dictate how much your foot can swivel while clipped in. Beginners often prefer cleats with some lateral float to reduce knee stress.
Adjusting Pedal Tension
Most pedals feature a tension adjustment screw. Turning it clockwise increases retention strength, making it harder to unclip, while counterclockwise eases release. Begin with a lower tension to build confidence, then gradually tighten as you become comfortable. Proper tension prevents accidental release on rough terrain.
Practicing Engagement and Release
Prior to your first trail or road ride, practice clipping in and out off the bike. Stand beside a wall or fence:
- Slip one cleat into the pedal, ensuring you feel a distinct “click.”
- Lift the pedal slightly and twist your heel outward to release.
- Repeat until your muscle memory allows swift movements.
This practice builds confidence and greatly reduces falls at stop signs or on technical sections.
Proper Clipping Technique
Executing a smooth clip-in and clip-out on the move requires attention to foot placement, timing, and body position. Master these elements for seamless transitions.
Correct Foot Position
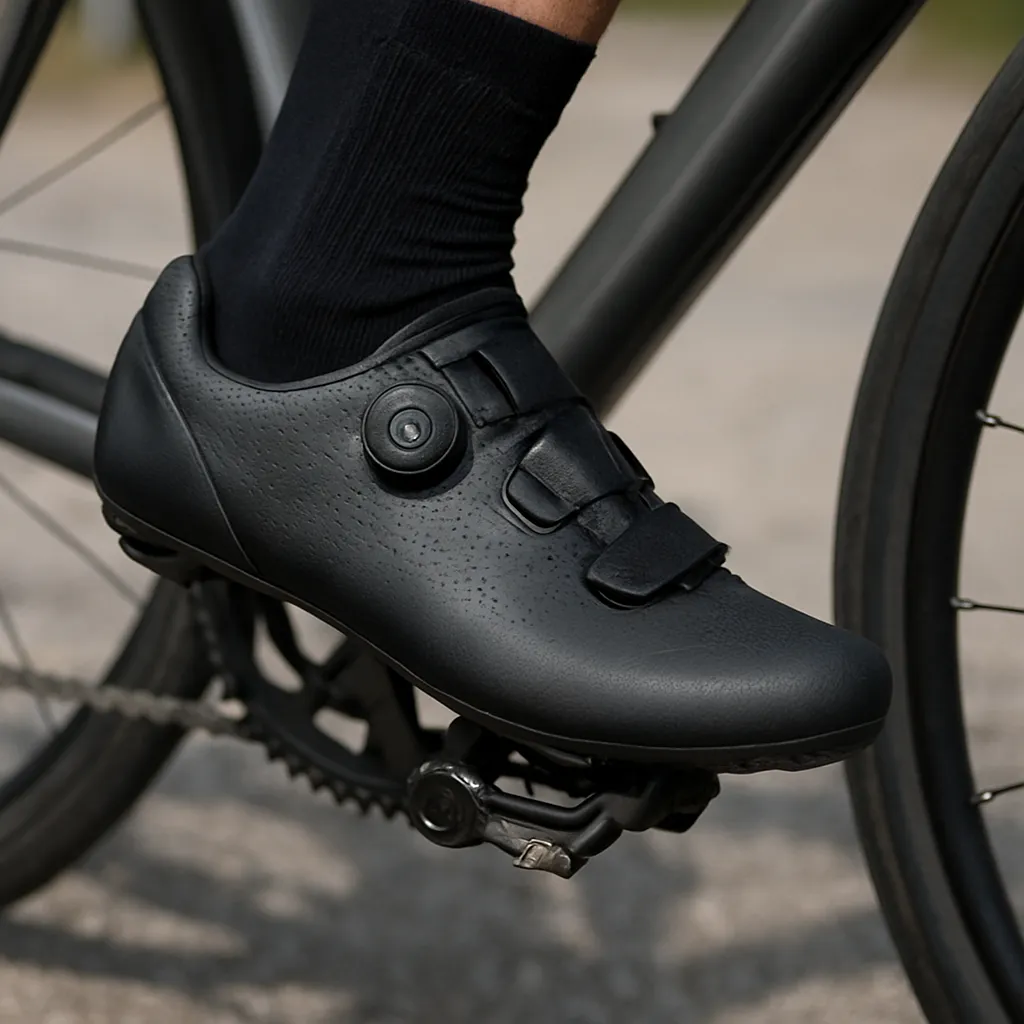
Align the cleat mechanism directly over the pedal spindle. Slide your foot forward until the cleat engages fully. Ensure the ball of your foot rests above the pedal axle for optimal power transfer. Feet too far back or forward can cause discomfort or reduce standing leverage.
Smooth Engagement
Don’t slam your foot down. Approach the pedal at a slight angle—typically 30 degrees—and press forward and down. This motion guides the cleat into the **spring-loaded** binding. Avoid sudden stomps, which can stress your knee and damage the mechanism.
Controlled Release
When stopping or adjusting, rotate your heel outward with a firm but controlled twist. Always anticipate your unclip point in slippery or technical zones. If you feel pressure building, release early to avoid tipping over.
Maintenance and Safety Tips
Regular upkeep extends the life of your clipless pedals and cleats, ensuring consistent performance and preventing unexpected failures.
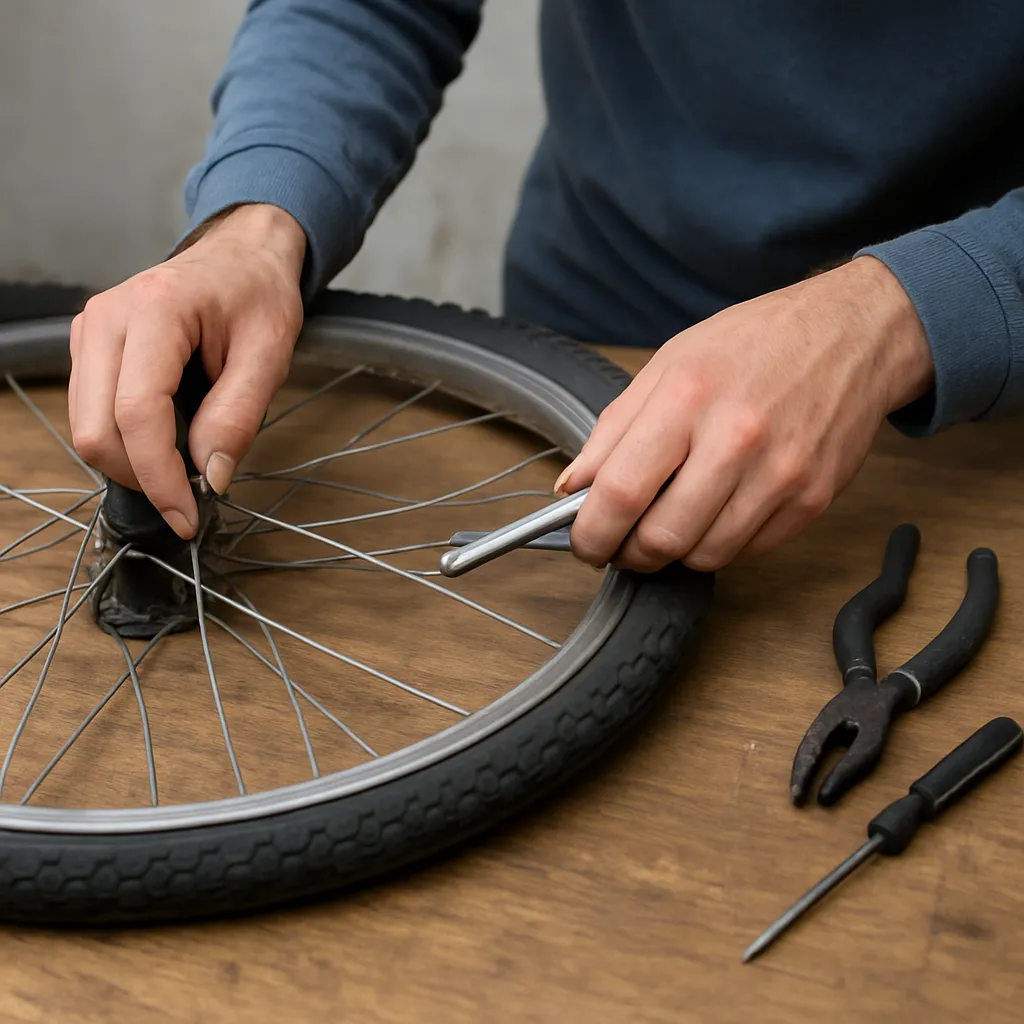
Cleat Inspection
- Check for wear on cleat edges—rounded or chipped areas impair engagement.
- Replace cleats every 1,000–2,000 miles or when you notice difficulty clipping in.
- Ensure bolts are tightened to manufacturer torque specifications to prevent loosening.
Pedal Cleaning
Dirt and grit can obstruct the spring mechanism. Clean pedals regularly:
- Use a soft brush to remove debris from the binding area.
- Apply a small amount of dry lubricant to the spring pivots—avoid over-lubrication, which attracts dirt.
- Wipe away excess with a clean rag.
Troubleshooting Common Issues
- Difficulty clipping in: Check cleat alignment and pedal tension settings.
- Unintended releases: Inspect for bent cleats or worn springs. Increase tension if necessary.
- Noise or grinding: Disassemble pedal as per manual, clean internal bearings, and re-grease.
Advanced Tips to Elevate Your Ride
Once you’ve mastered the basics, explore these strategies to fully leverage your clipless system.
One-Leg Drills
Perform pedaling drills with one leg to focus on the upstroke and build balanced power. Keep one foot clipped out, then switch legs after 30 seconds. This develops a smoother, more even pedal stroke.
Standing Climbs
Clip in before tackling steep ascents to maintain maximum traction. Remain centered over the bike, squeezing the top tube gently to maintain stability and prevent lateral slippage.
Emergency Unclipping Practice
Riding at moderate speeds, practice rotating your heel outward quickly at random intervals. This hones reactive skills, crucial when navigating urban traffic or unexpected obstacles.
Conclusion
Adopting clipless pedals can be a game-changer in terms of efficiency, comfort, and bike handling. With proper setup, diligent maintenance, and gradual skill-building practice, you’ll harness every watt of your effort and ride with newfound confidence.