Repairing a bent bike wheel can transform a shaky, uncomfortable ride into a smooth and safe cycling experience. With the right knowledge and a few handy tools, you can tackle most wheel deformations at home, restoring your rim’s original form. This guide breaks down the process into clear stages, ensuring you understand why wheels bend, what equipment you need, and how to perform a precise truing procedure. Embrace this opportunity to enhance your mechanical skills and gain confidence in maintaining your own bicycle.
Understanding the Causes of a Bent Wheel
Before diving into repairs, it’s essential to recognize how and why a wheel becomes deformed. A bent rim often results from sudden impact, prolonged stress, or manufacturing imperfections. Identifying the root cause helps prevent recurring issues and ensures you approach the repair with the correct mindset.
Common Impact Scenarios
- Hitting potholes or curbs at speed
- Crashing or falling over on one side
- Loading and unloading a bike from racks carelessly
Such impacts generate a shock concentrated on the rim, causing it to flex beyond its elastic limit. Once permanently bent, the rim no longer spins true, leading to brake rub and wobbles.
Stress and Fatigue Over Time
- Riding with underinflated tires
- Overloading the bike with gear
- Neglecting spoke tension checks
Even without a dramatic crash, repeated micro-stresses can slightly warp the rim. Without routine maintenance, these minor deviations accumulate into noticeable bends.
Tools and Preparations
Gathering the appropriate tools and setting up a safe workspace streamlines the repair. A clear bench, good lighting, and quality implements reduce frustration and increase precision.
Essential Tools
- Truing stand or a makeshift jig (like a fork mounted to a stable surface)
- Spoke wrench matching your spoke nipple size
- Padded vise or protective clamps
- Rubber mallet (for minor bends)
- Dish tool or calipers (for checking centering)
- Protective gloves and eyewear
- Marker (to highlight high or low spots)
Workspace Setup
- Mount the wheel securely in the truing stand.
- Ensure the wheel can spin freely without obstruction.
- Position a marker or a thin piece of toleranced plastic to act as a reference point for lateral alignment.
- Keep rags and light lubricant nearby to clean spokes and nipples.
A tidy area prevents dropped parts from being lost and helps you focus on subtle rim movements.
Step-by-Step Wheel Truing Process
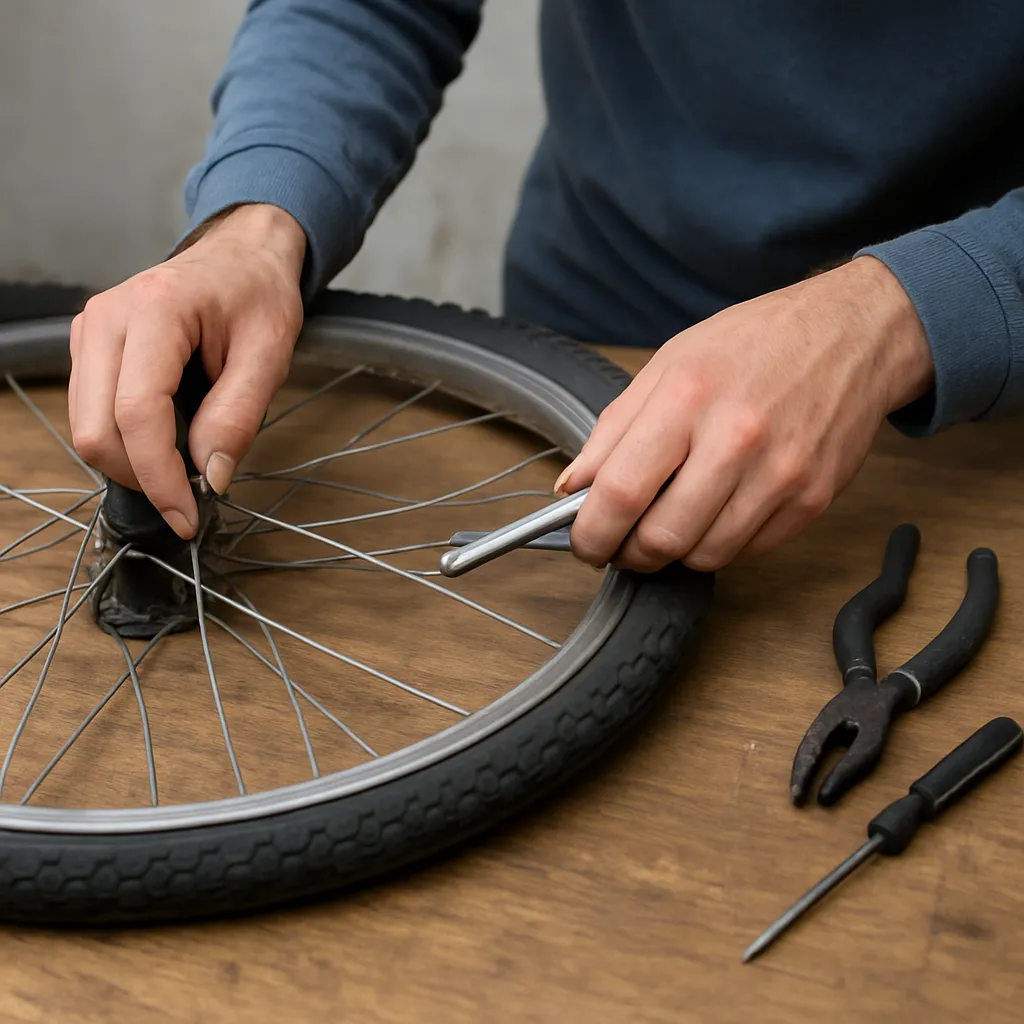
Wheel truing is the art of adjusting spoke tension to straighten the rim. By tightening or loosening spokes, you pull the rim toward a centered position and ensure a smooth rotation.
Identifying Deformation Areas
- Spin the wheel slowly and watch for any side-to-side deviation against the reference marker.
- Use the marker to note the exact spots where the rim approaches too near (high side) or moves away (low side).
- Mark each problem zone with a streak of paint or a non-permanent ink dot.
Adjusting Spokes for Lateral Truing
Spoke adjustments should be made in small increments, typically a quarter-turn at a time. Remember the rule: to move the rim toward a given area, adjust the spokes opposite that side.
- For a lateral bulge to the right, tighten the left-side spoke(s) nearest the bulge, or loosen the right-side spoke(s).
- Apply even tension: work on each problematic region, alternating sides to maintain balance.
- After each adjustment, give the wheel a spin to observe changes, and refine control until the rim runs true.
Correcting Radial (Up-and-Down) Deviation
- High spots (where the rim pushes into the brake pads): loosen surrounding spokes.
- Low spots (where the rim dips away): tighten the spokes around the dip.
Radial adjustments can affect lateral truing, so alternate between the two procedures until both dimensions are within acceptable tolerances.
Ensuring Proper Dish
“Dish” refers to the centering of the rim relative to the hub. A correctly dished wheel ensures the tire aligns under the frame or fork symmetrically.
- Use a dish tool or callipers to compare distances from each rim side to the hub locknut or dropout.
- If the rim is closer to one side, adjust the opposite spokes in tandem: tighten on the side it’s leaning toward and loosen on the other.
Fine-Tuning Spoke Tension
Once the wheel runs true and is properly dished, measure spoke tension—ideally using a tension meter. Uniform tension prevents future warping, improves strength, and extends wheel life.
Troubleshooting and Preventive Tips
Even after successfully truing your wheel, it helps to keep a few best practices in mind. Regular checks and mindful riding habits preserve your work and maintain a smooth ride.
Common Pitfalls
- Over-tightening spokes: leads to stress fractures or nipple stripping.
- Neglecting to relube spokes: can cause corrosion and make future adjustments harder.
- Failing to recheck after a few rides: newly trued wheels may settle and require minor tweaks.
Preventive Maintenance
- Inspect wheel trueness monthly or after any hard ride.
- Keep tire pressure within manufacturer recommendations to absorb shocks better.
- Regularly clean and relube spoke heads and nipples to ensure smooth adjustments.
- Ride with care over obstacles; anticipate bumps to reduce direct impacts on rims.
When to Seek Professional Help
Some damages go beyond simple truing:
- Severe dents or splits in the rim wall
- Broken or severely bent spokes
- Hub or axle damage affecting wheel alignment
In these cases, consult a trusted bike mechanic or wheel builder. Professional intervention may involve rim replacement or specialized repair techniques to guarantee durable results.